Last time I showed you how to make your own IO-cover, in this guide we…
How to Mod: Engraving
When I found out about modding, back in 2005-2006 there was one swedish modder called Wolverine who made these cool custom PC’s with awesome engravings on. So the first thing I did was to start trying to learn how to engrave.
It takes some practice but I think it is something almost everyone can learn. I am going to start posting some how-to’s here on the site about modding and the first one will be about engraving. I made a guide for work about this around a year ago so the original guide can be found here.
So first of all, what do you need for engraving your case?
- The part you are engraving (sidepanel, window, frontpanel etc)
- Rotarytool/multitool/”Dremel”
- Engraving bits
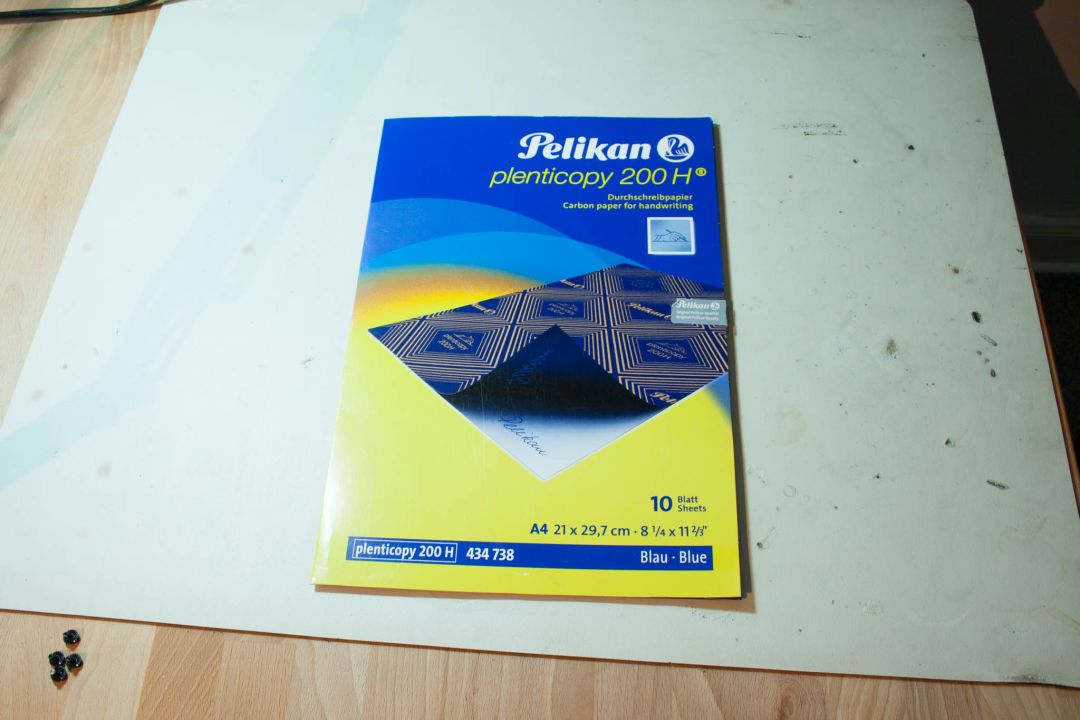
- Carbon paper
- Pen
- Motif/sketch
- A lot of patience
- Safety glasses
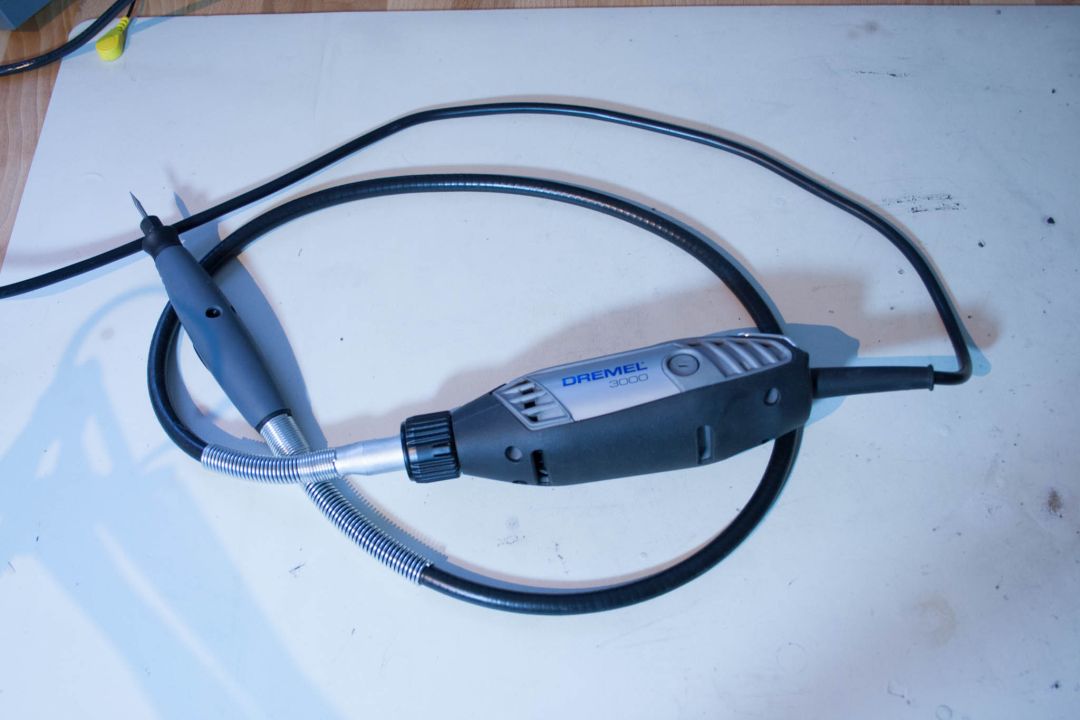

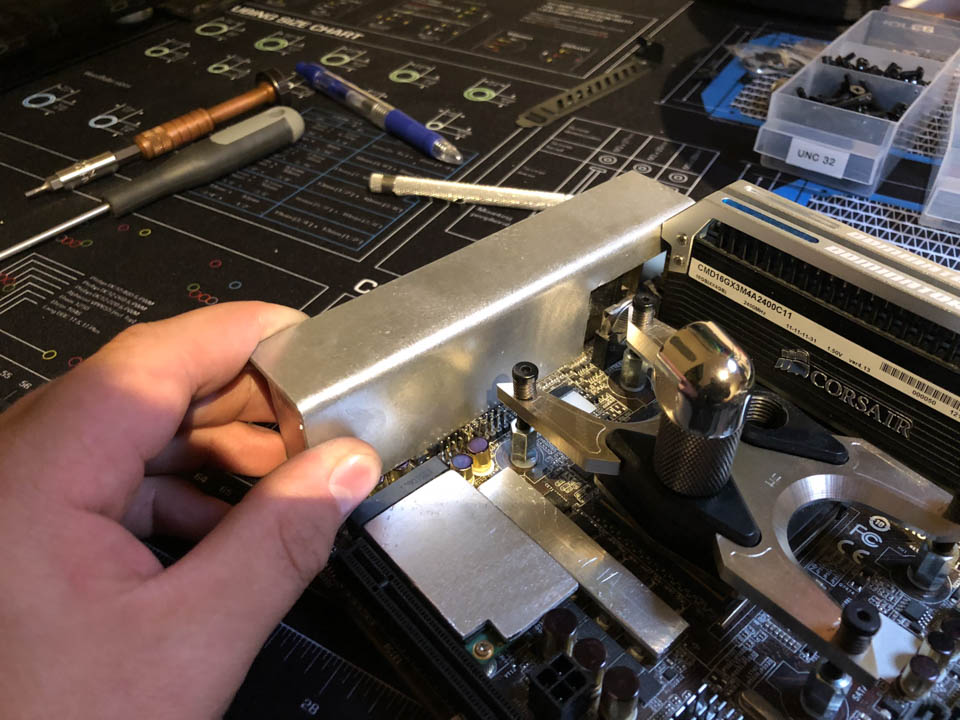
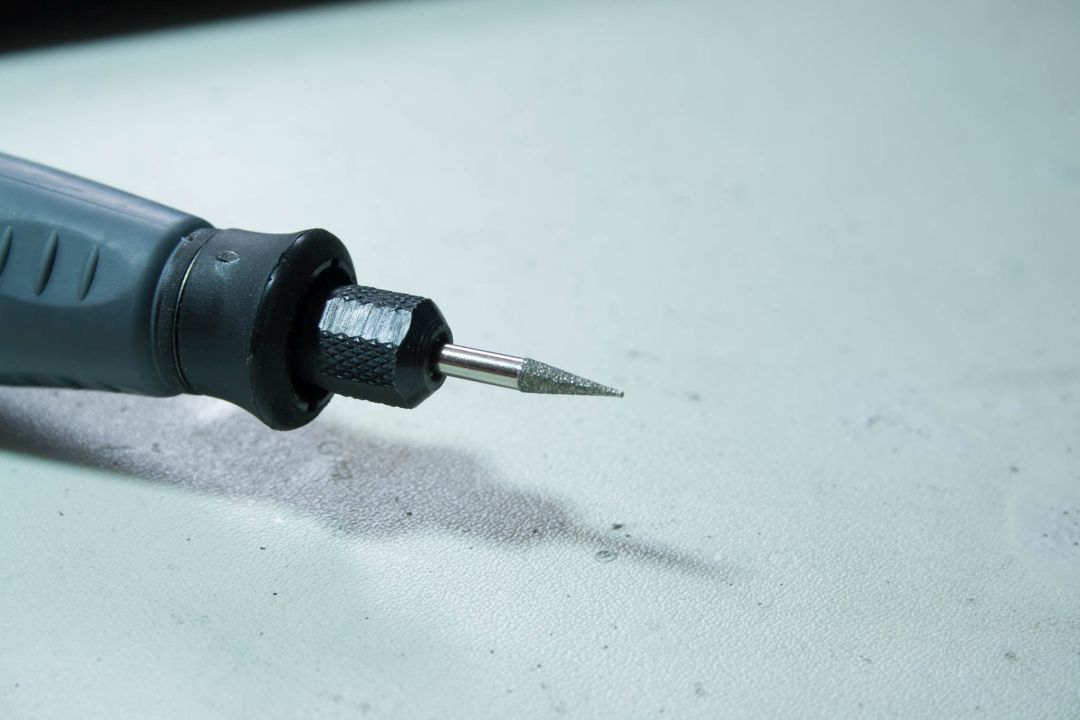
The tool I am using for engraving is a Dremel 3000. I also use a flex shaft that I can hook up to the Dremel which makes it much easier to engrave.
What about engraving bits then? Well I am using some of Dremels original ones as well as some from a kit I bought at the local hardware store. Depending on if you are doing very small details or just filling you have to change the bits.
The carbonpaper is used to transfer your motif/sketch to the piece you will be engraving, you put one sheet of carbonpaper on the surface that you are going to be working on, and then put the sketch on top and fill in the contours with a pen.
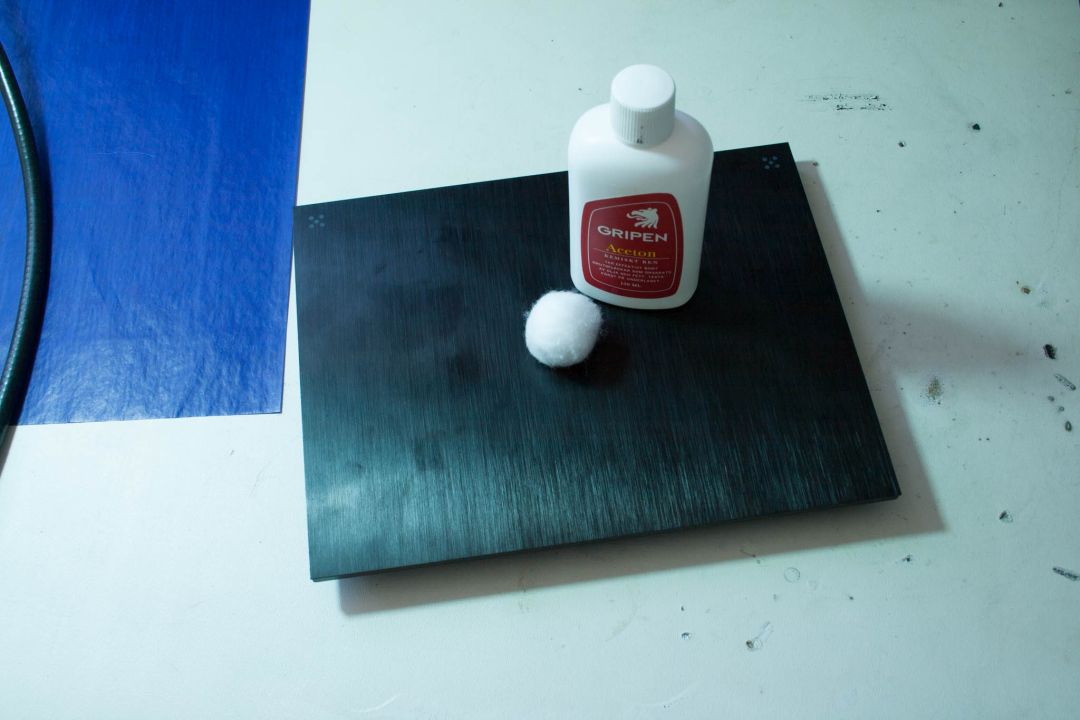
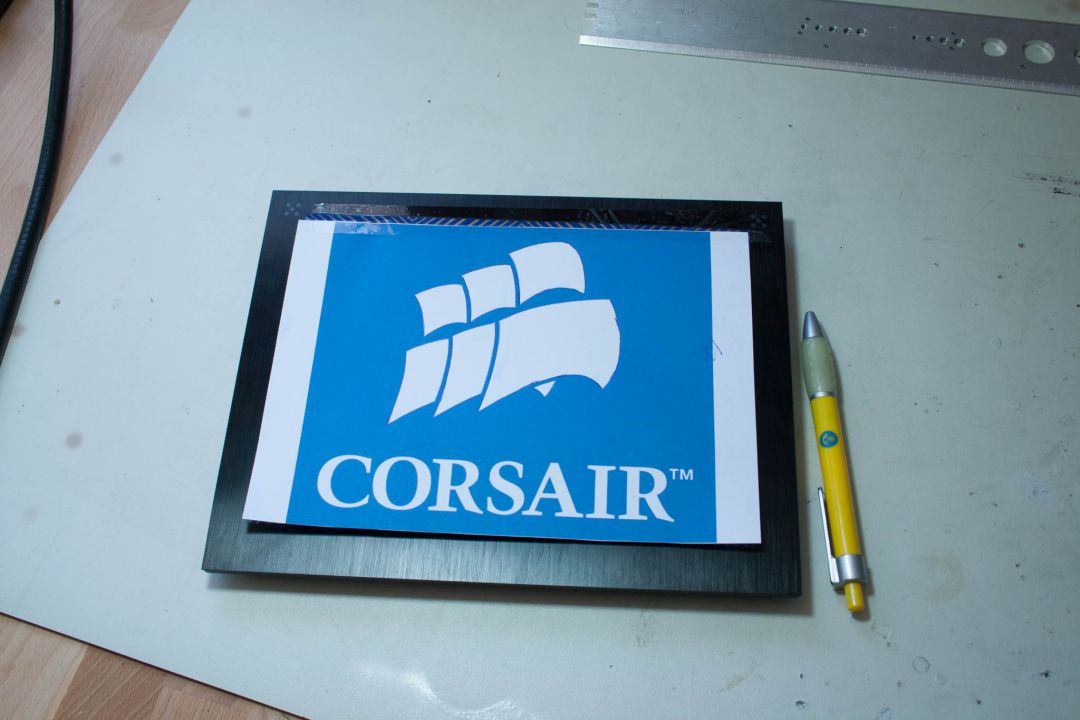
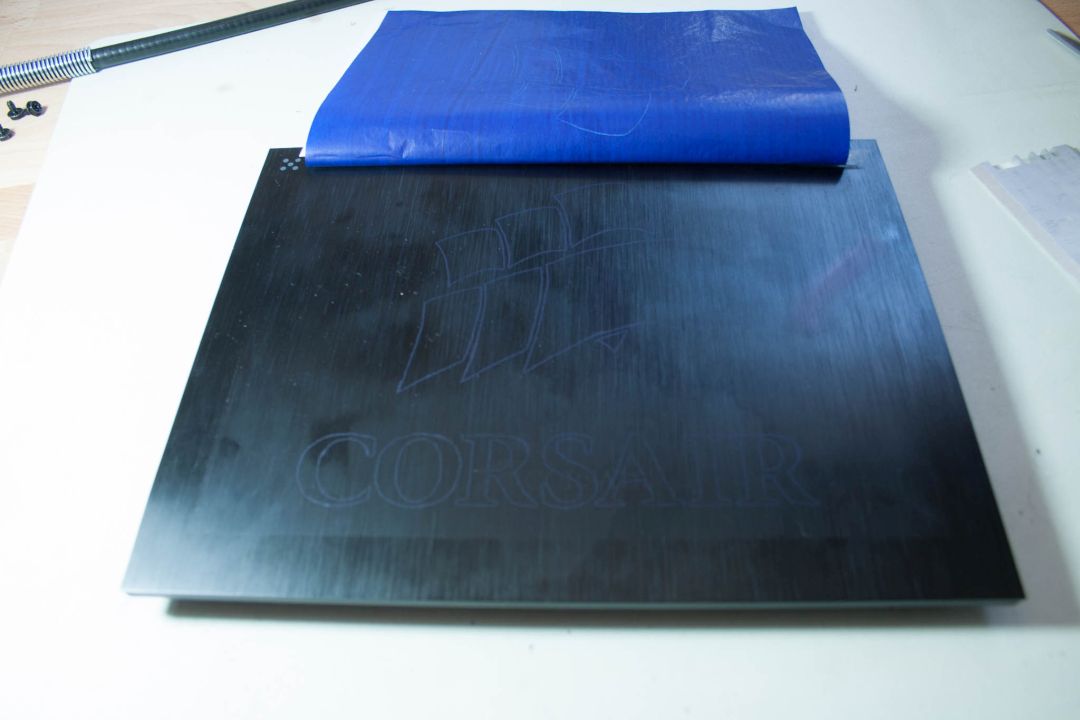

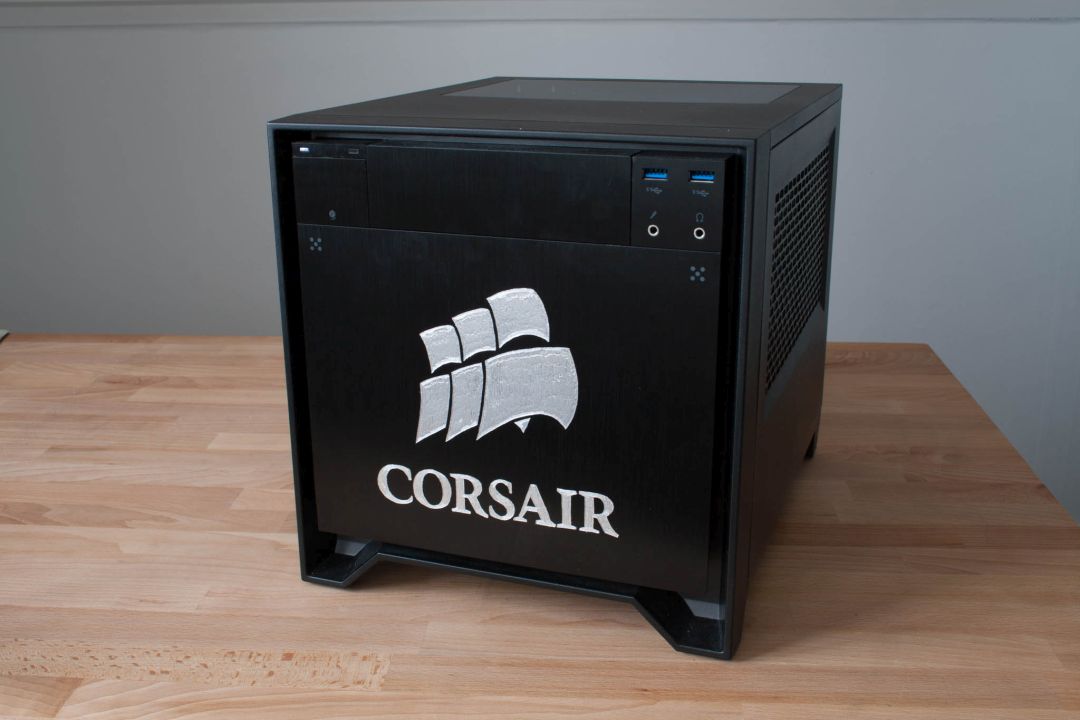
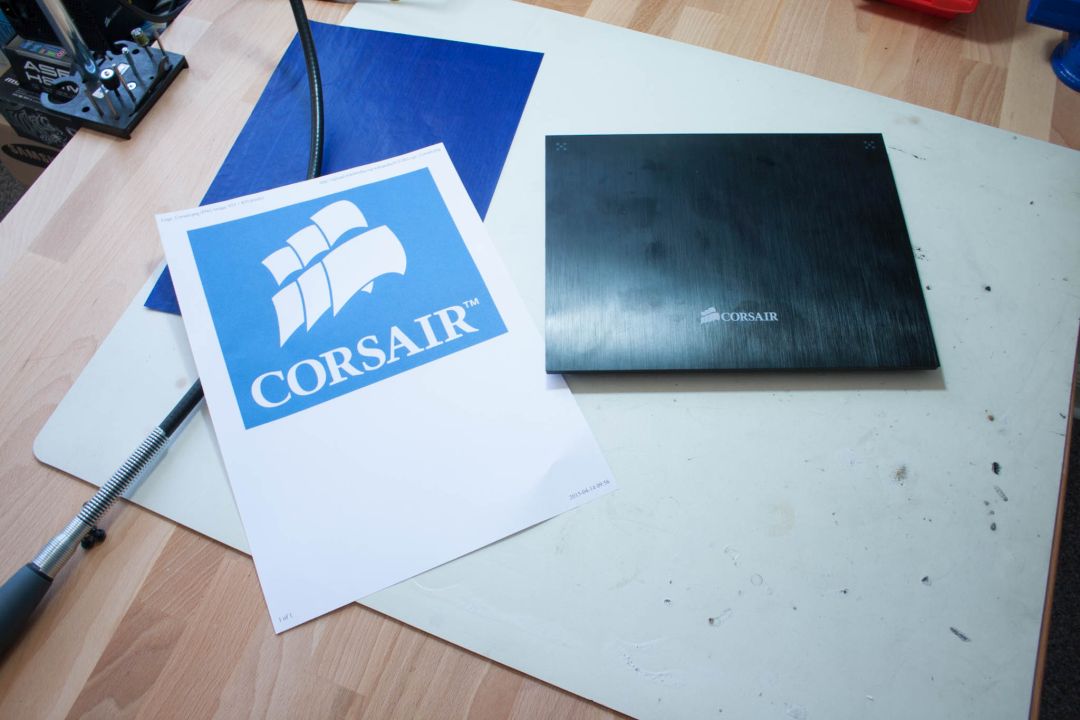
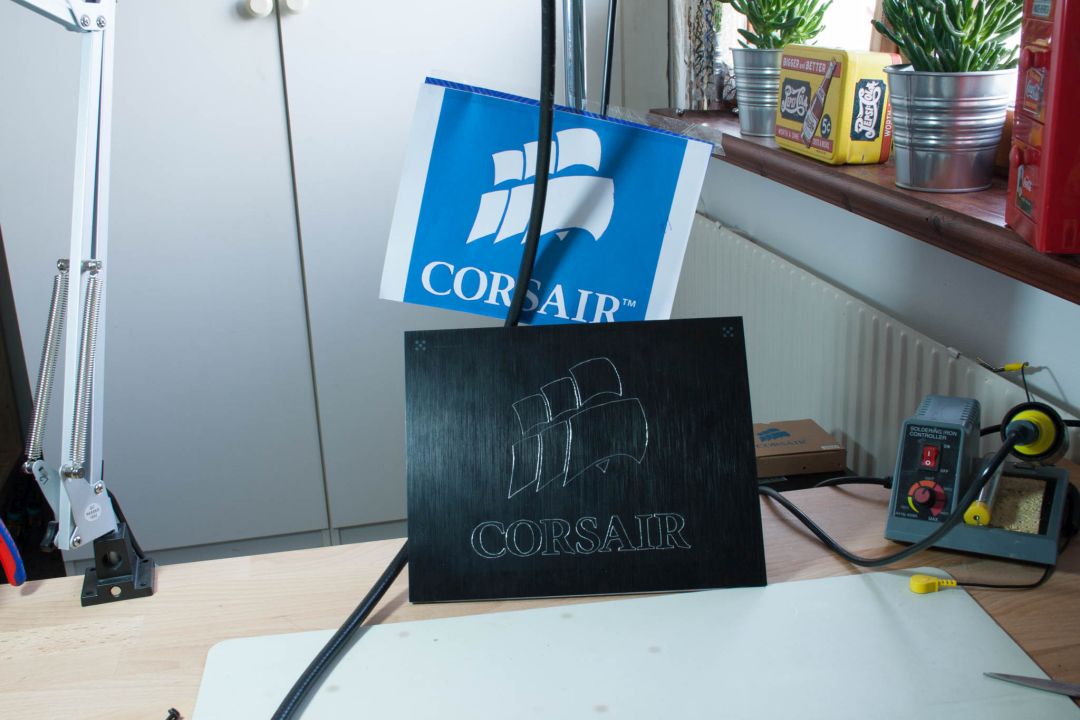
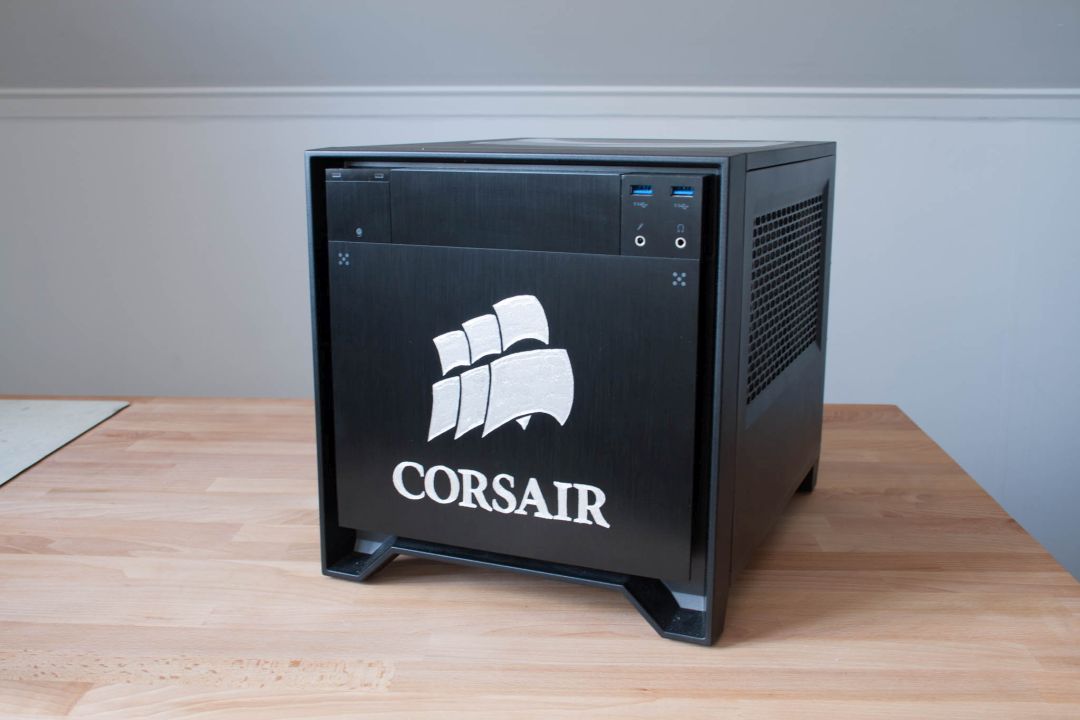
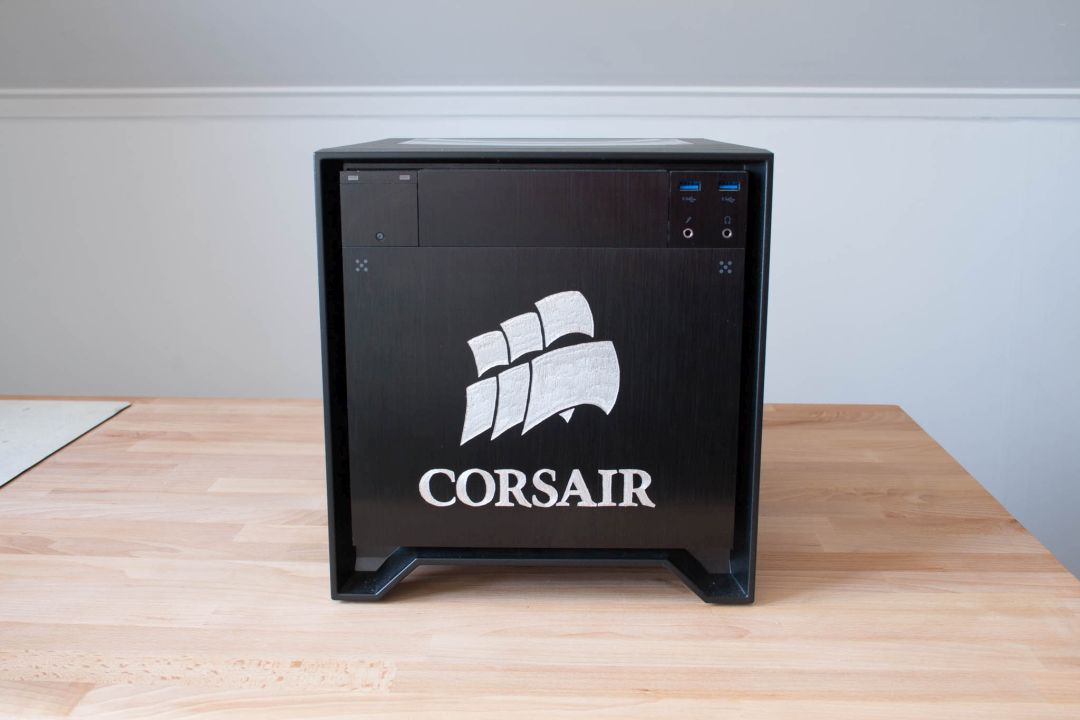
I chose to engrave the frontpanel from a 250D. First thing I did was to remove the existing logo with some acetone, then I printed out the logo, put a sheet of carbonpaper on the frontpanel, the logo on top and filled in the logo with a pen.
Now the logo is transfered to the frontplate and I can start engraving, when engraving the outlines I am using a sharp engraving bit.
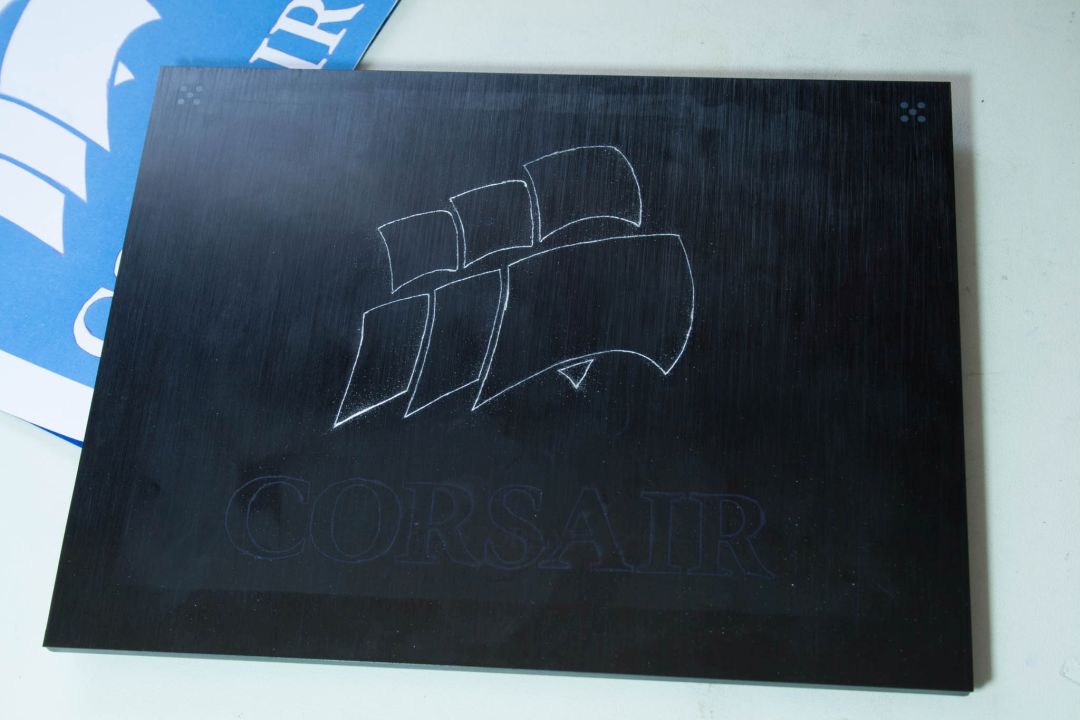
Start following the lines from the carbonpaper, remember to take a break when your hands start to get tired, otherwise you might slip and maybe ruin the entire frontpanel. It is a good idea to have your motif/sketch nearby if you missed anything with the carbonpaper.
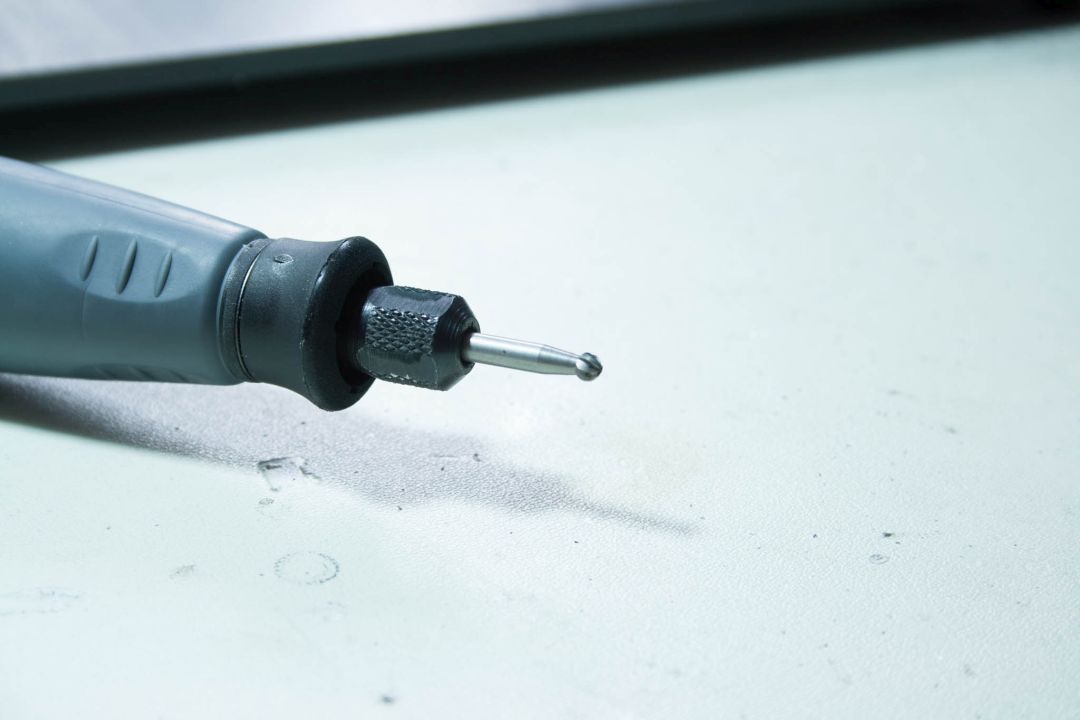
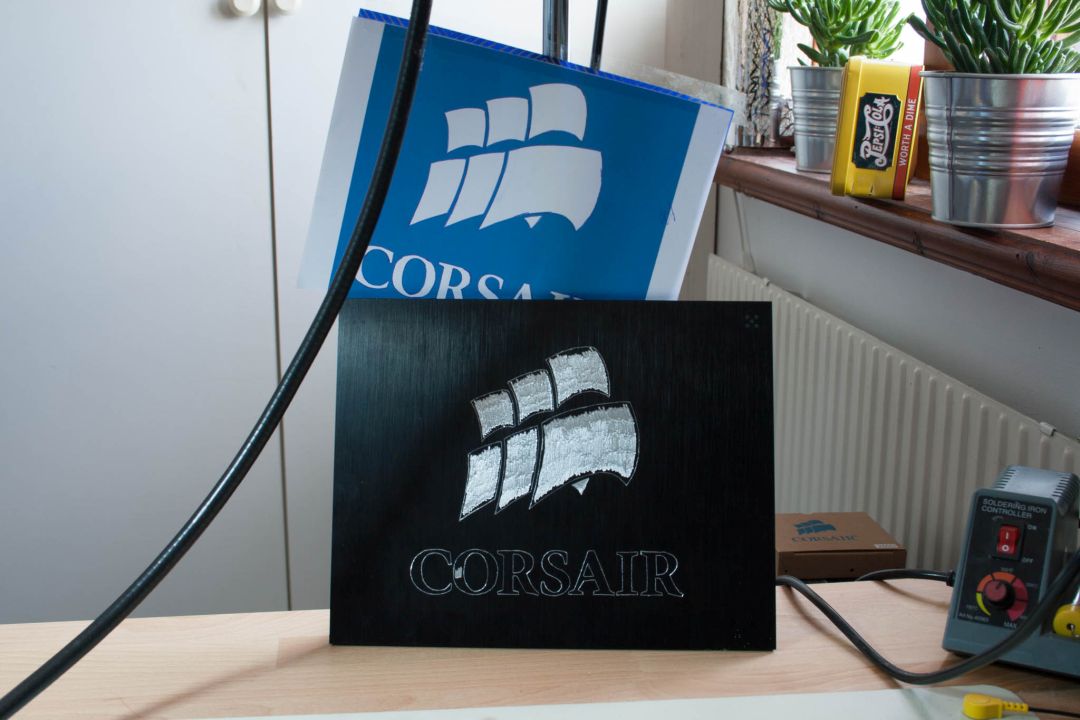
When all the outlines are done the next thing to do is to start filling in everything, for this I am using a round engraving bit. When filling in it is important to do it in the same direction otherwise it will not look good. What I do is to leave a small part at the edges, those I take last with a smaller engraving bit.
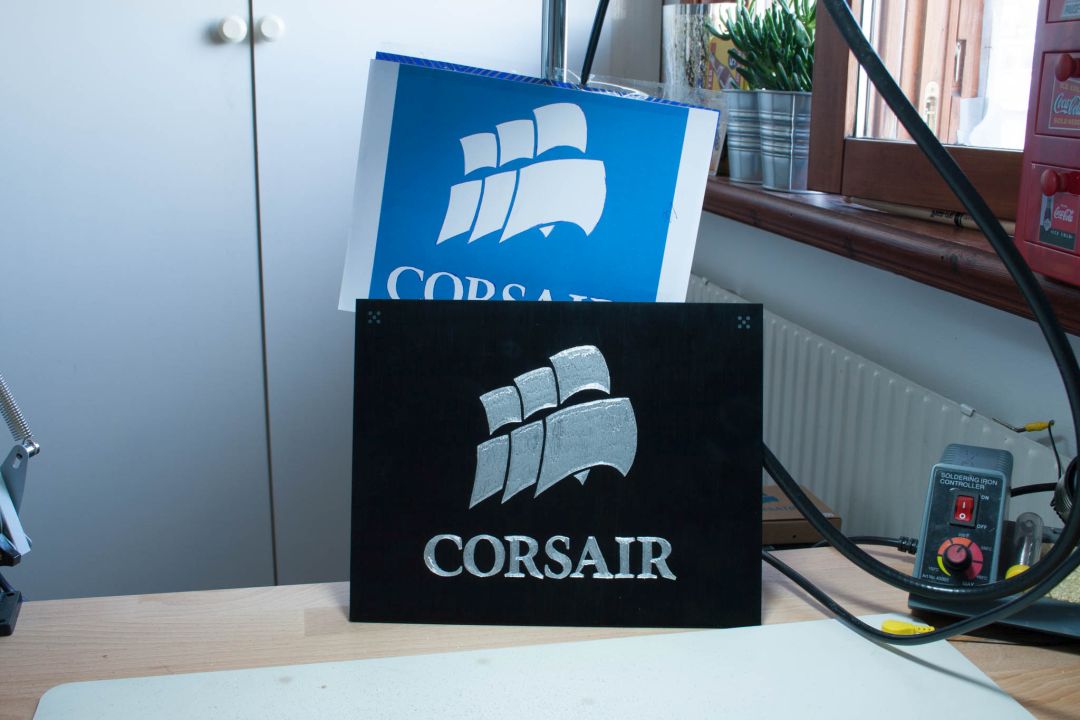

When you finished up all the filling, I advice to go back with a small engraving bit and clean up all the edges so it all looks good.
Well this is it, it does not have to be harder than this actually, it could take some practice though. Why not get some scrap material and start practicing on before going over to your case.
If you have any questions please make a comment and I will answer as soon as possible!