Last time I showed you how to make your own IO-cover, in this guide we…
How to Mod: Basics
Something that I have seen many times when someone shares a cool custom project on social media or a build log in a forum, is that a lot of people gets a bit intimidated by the whole modding-part. “I wish I could do the same”, “How did you do that? It looks so difficult!”
However, it does not have to be that difficult. The professional modders started somewhere as well, everyone was a beginner sometime. But where do you start if you want to get into modding?
In this guide I will go through how with a few very simple steps you could make your PC look better as well as my thoughts on how to start doing modding.
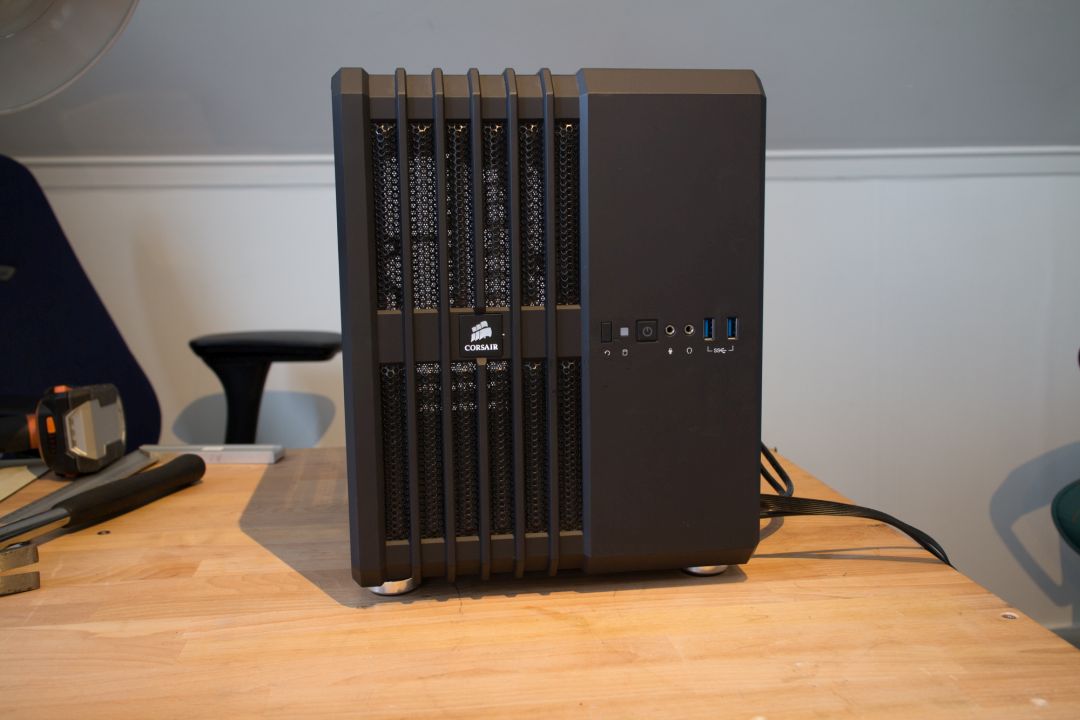
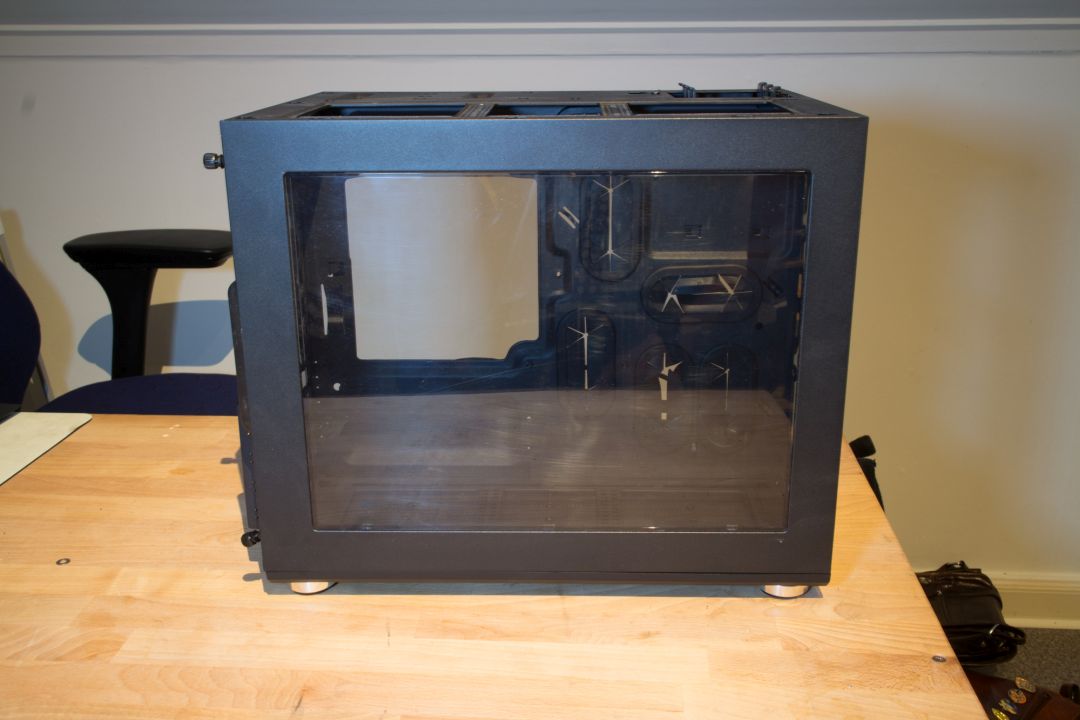
First of all, we need something to start working on, for this guide I chose a Air 240 from Corsair. It has a lot of potential for modding as it can be turned upside down as well as on the side without having to do any big modding to it.
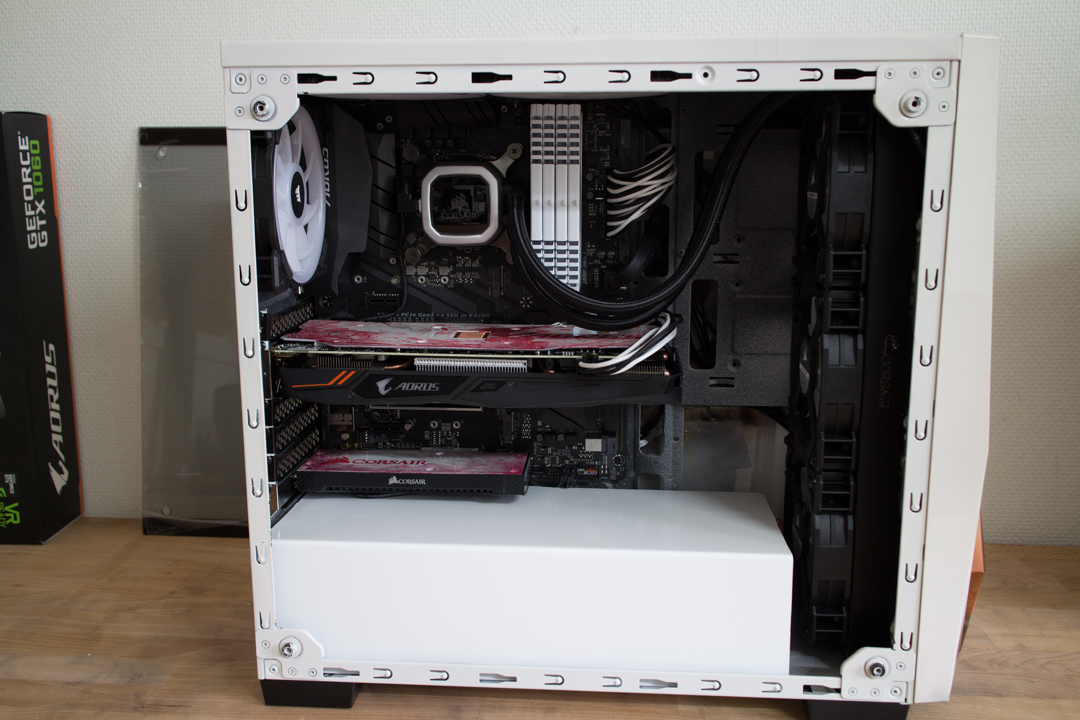
Next thing I tend to do is to decide on a theme of the build, some people likes to do a build based on a movie or game while others just go for a color-theme. For this guide I will go for a black/silver/grey theme. The good thing about deciding on a theme is that then you can look for hardware that specific fit that theme.
So what are we going to do with this little project?
- Painting parts.
- Using custom-parts.
- Sleeving and lighting.

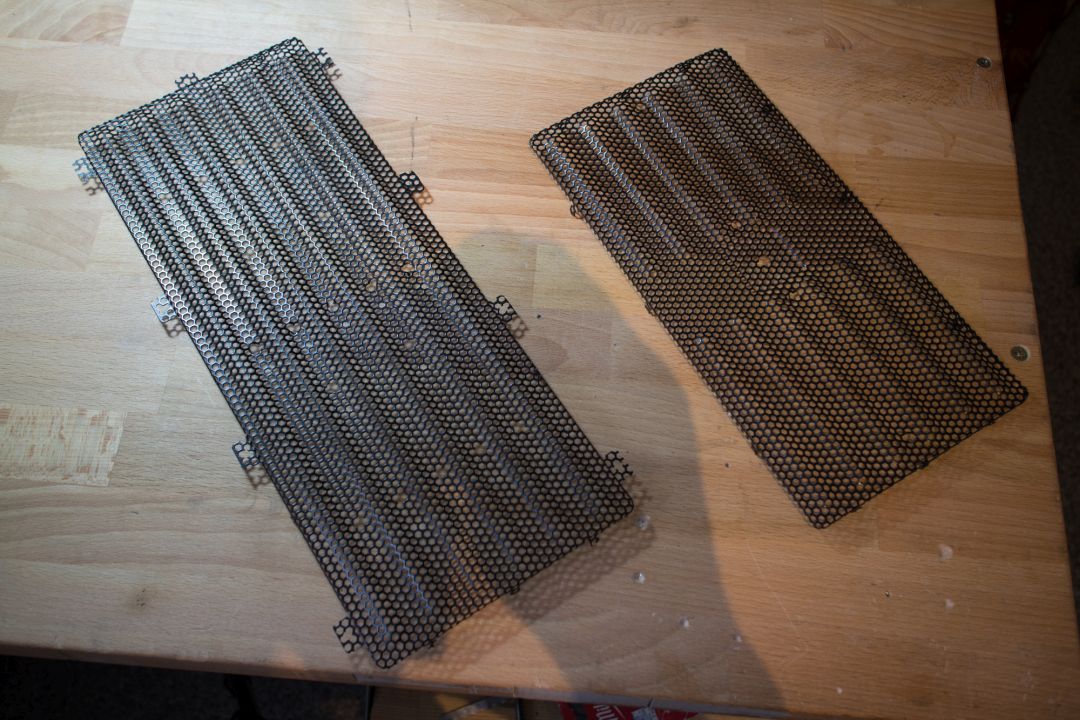
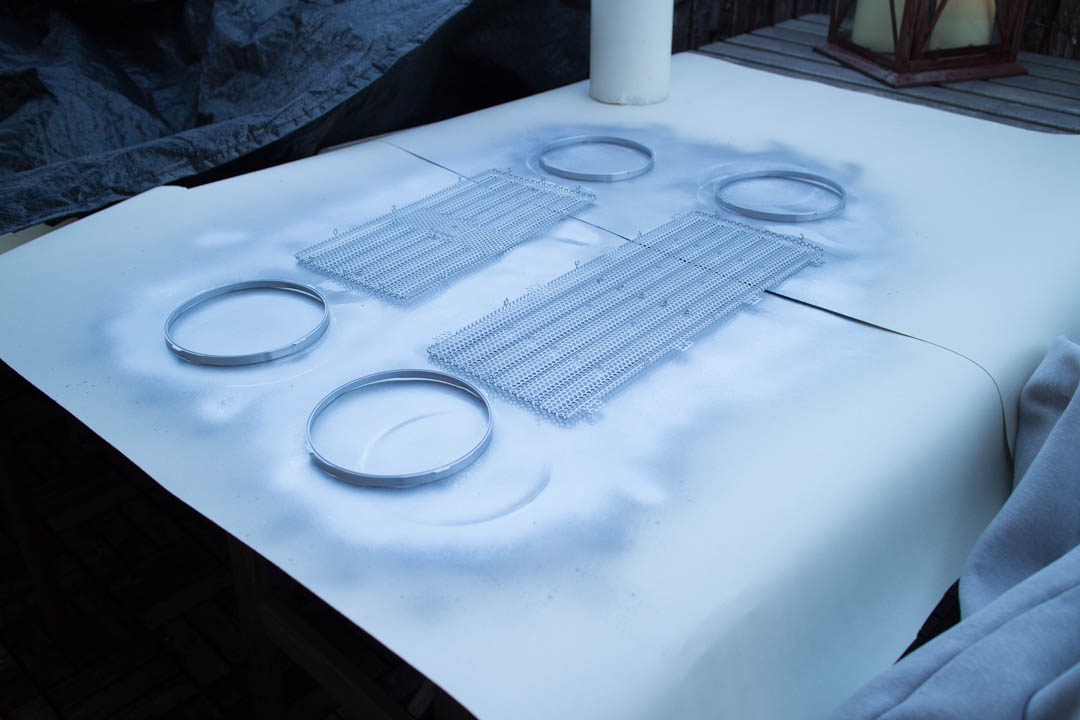
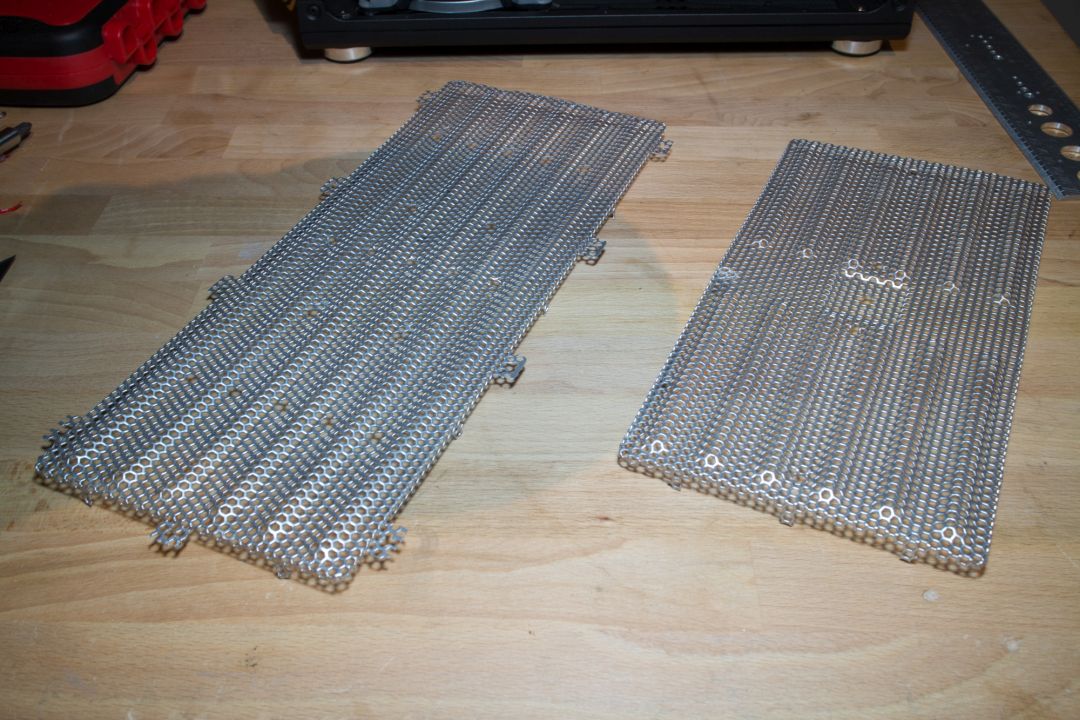
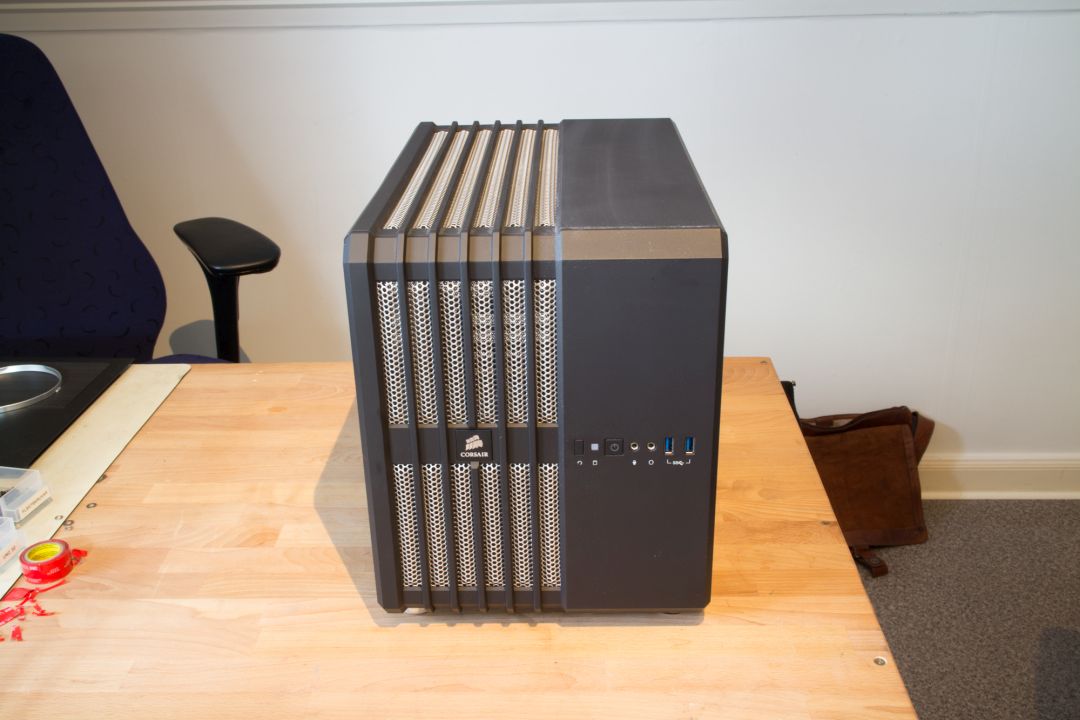
So first of all I wanted to give the outside of the case something that would stand out a little bit from all the black. One of the design elements of the Air 240 is the fan grills that go around the case, if you remove the top, front and bottom-panels you can remove the steel fangrill from the inside.
What I wanted to was to paint these fangrills silver. The fangrills are easily removed, start by removing all the screws, after that it is just plastic clips that holds it together. Inside the fangrills there are also dust-filters which are easily removed.
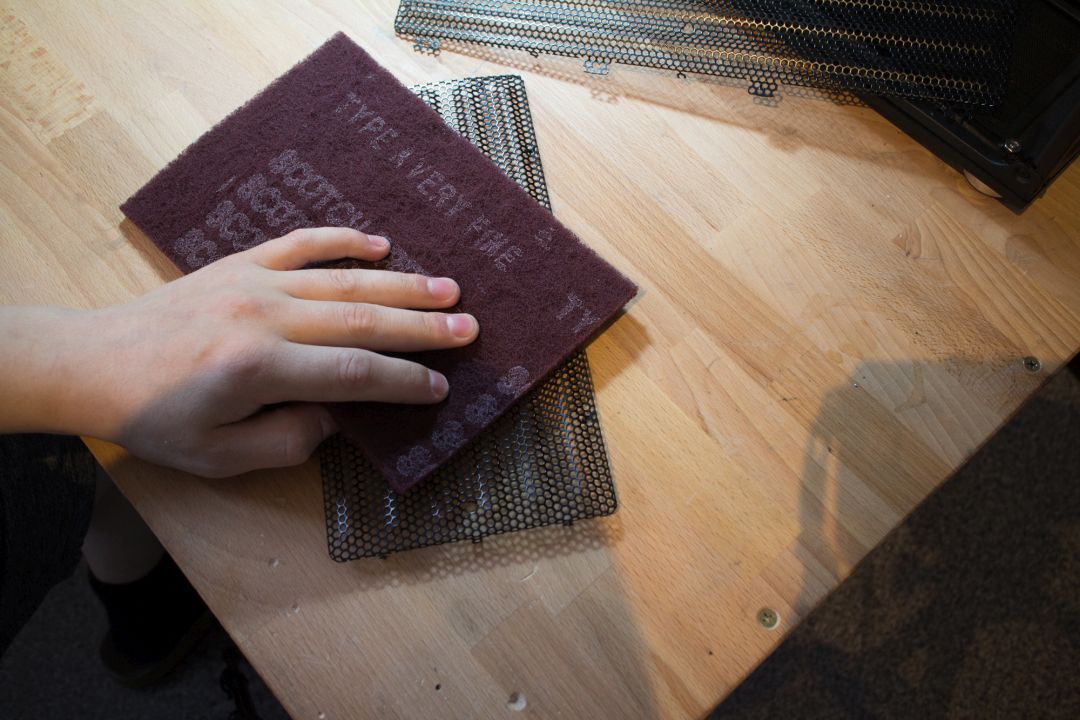
Next thing I did was to use something called scotchbrite pads to rough up the fangrills so the paint would stick better, you can also use regular sandpaper.
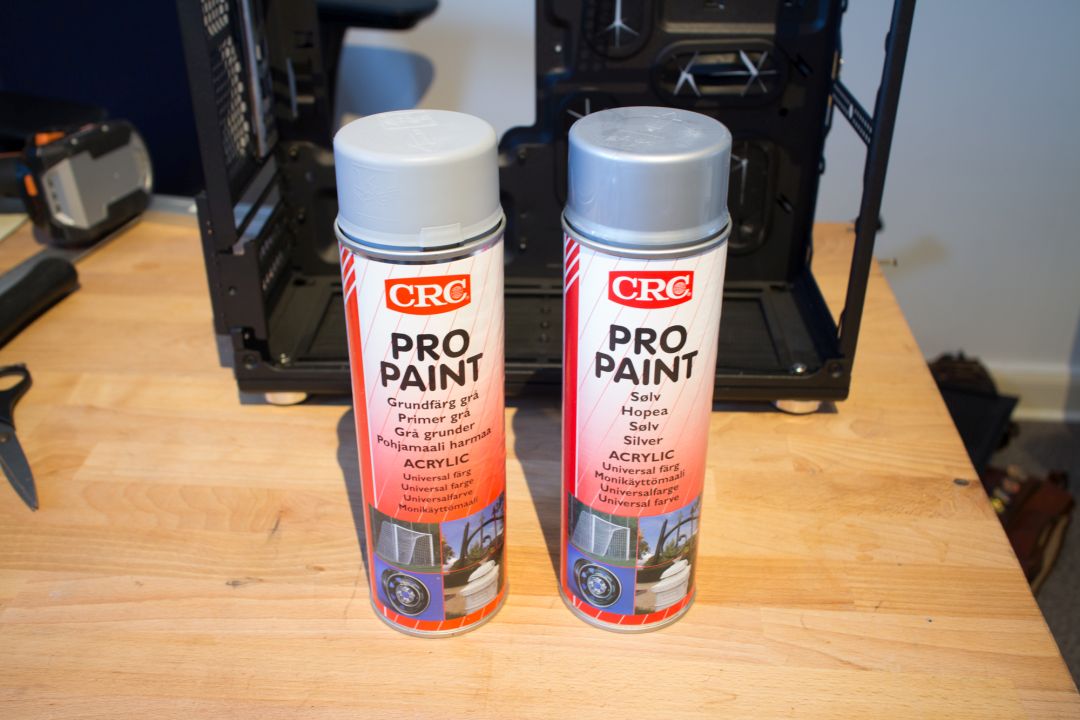
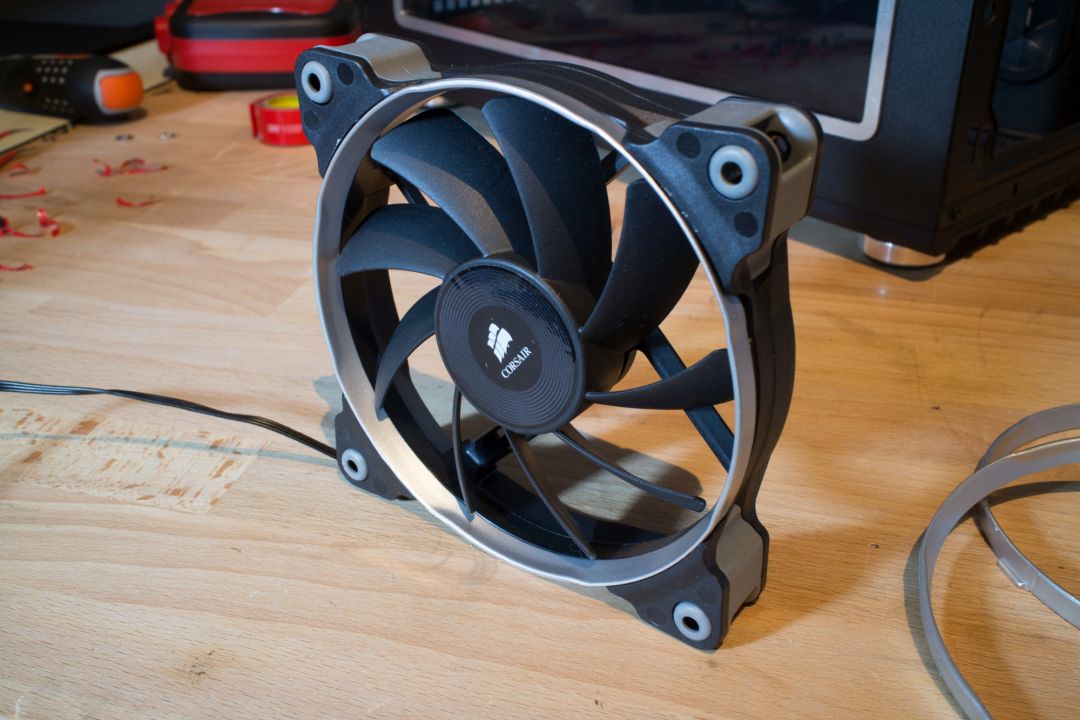
For steel I use first a primer, paint 3-4 layers so everything is covered, let it be for 24h and then paint the color layer, also 3-4 layers. After that I recommend to wetsand the surface and at last put on some layers of clearcoat. I did the same with the rings that go around the fans from Corsair.
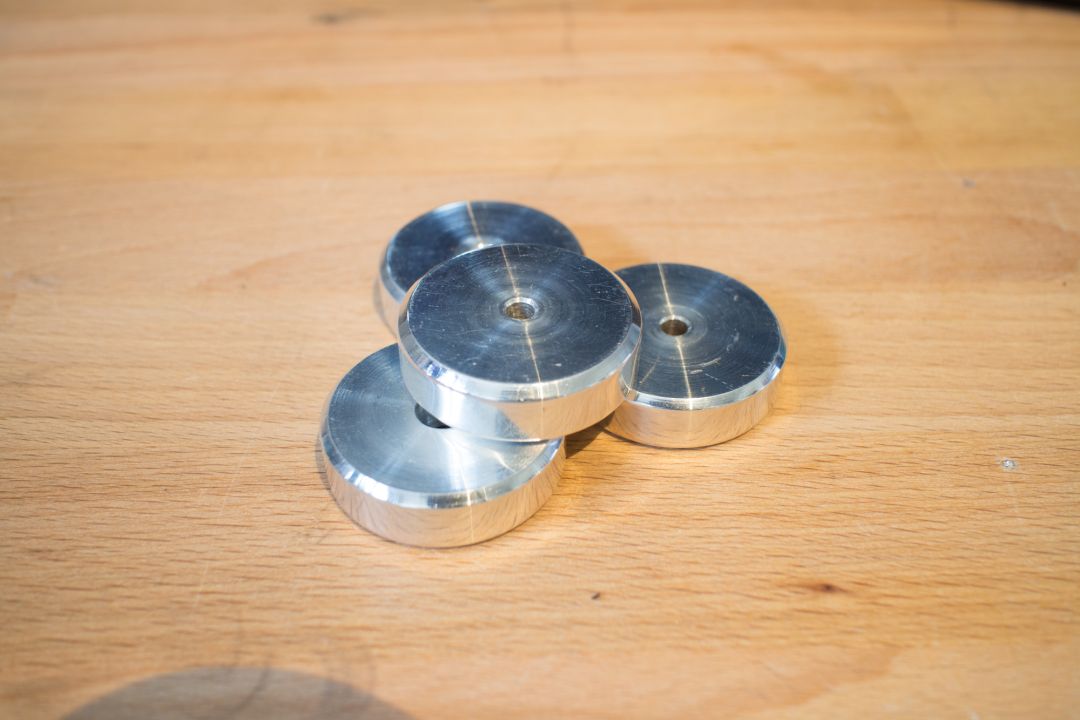
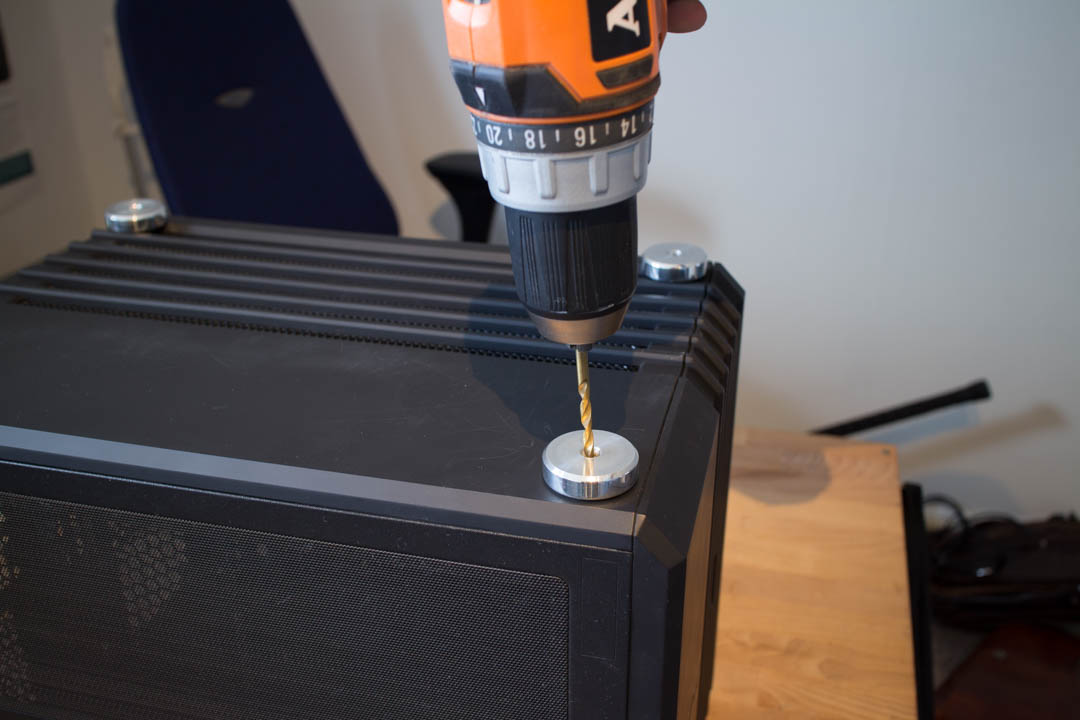

But I wanted more shiny things to make a contrast to all the black, and here comes the custom parts into the picture, first off, new casefeet. The Air 240 comes with black rubber feet, what I wanted to use was some milled aluminium feet mostly used for hifi-equipment. These kind of casefeet can be found on different modding-sites.
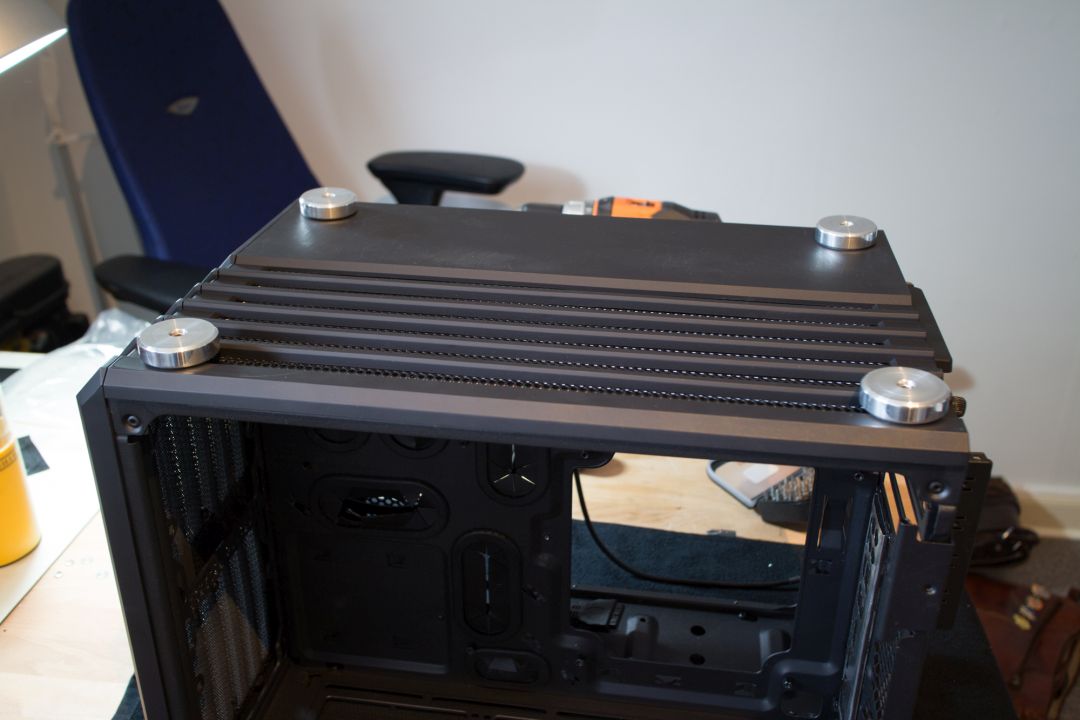
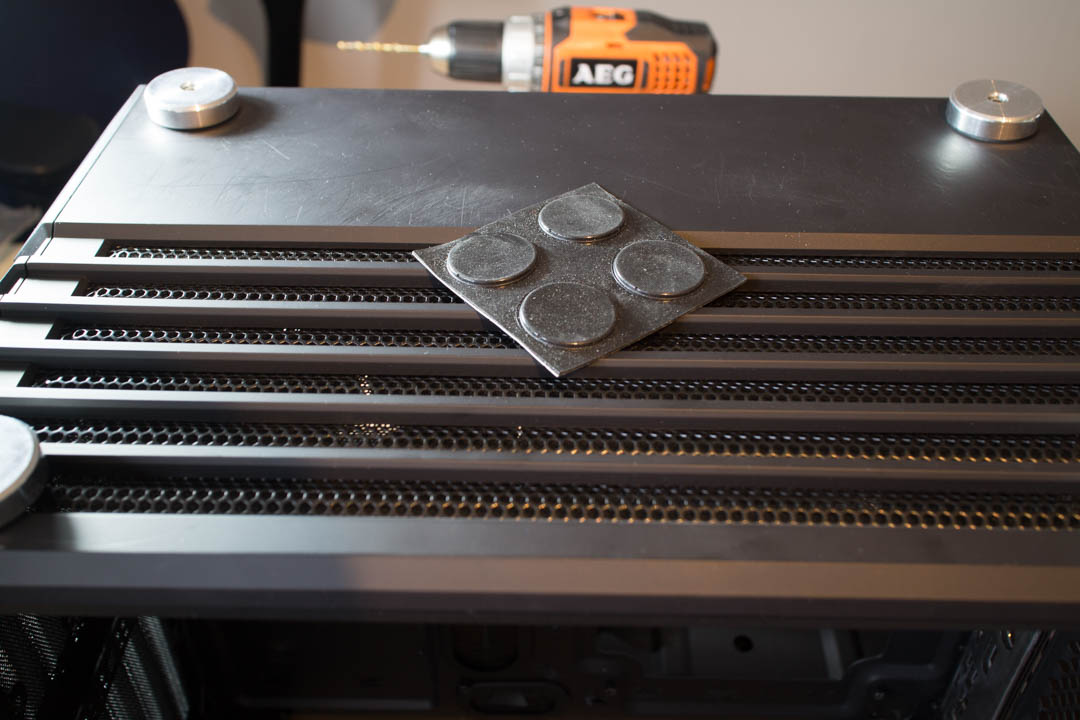
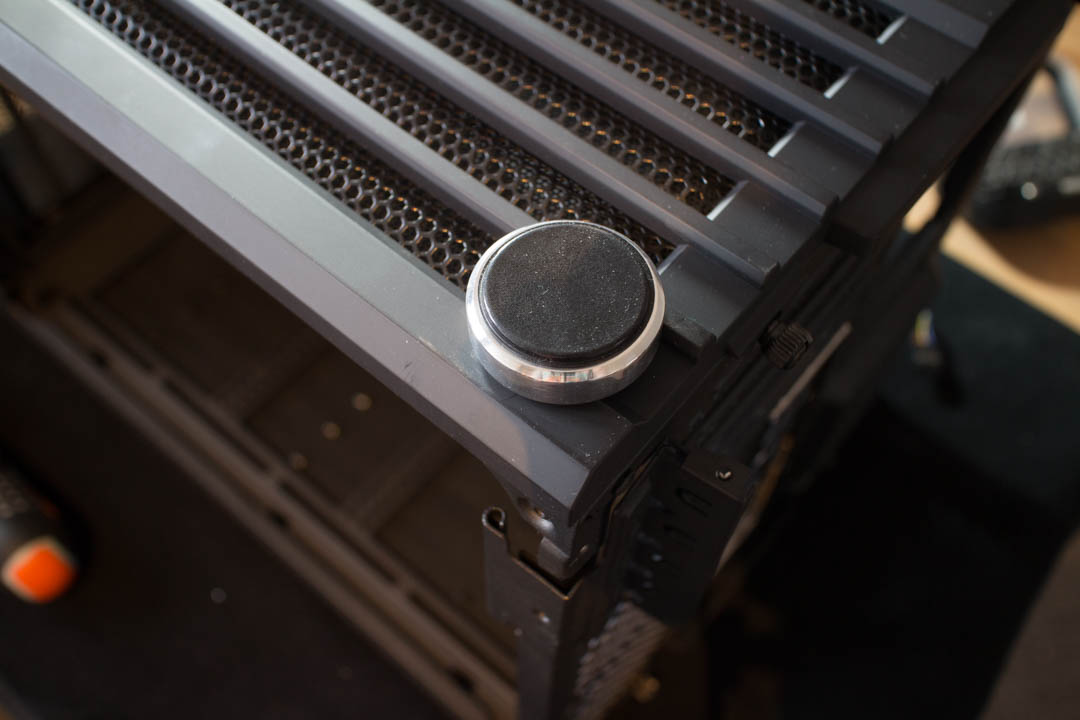
So I turned the case upside down and started figuring out where I wanted to place the casefeets. When that was done I started drilling holes to be able to mount them properly. Next thing, screw everything together and put some rubber pieces on the casefeet and its done, very simple mod that gives the case a nice look.
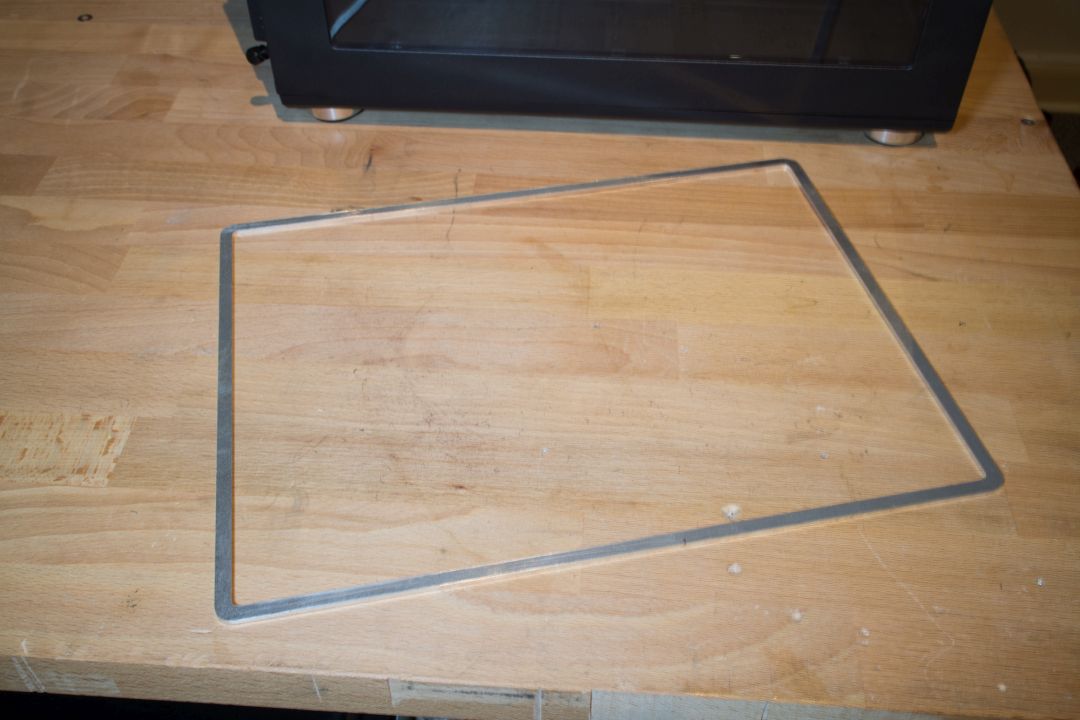
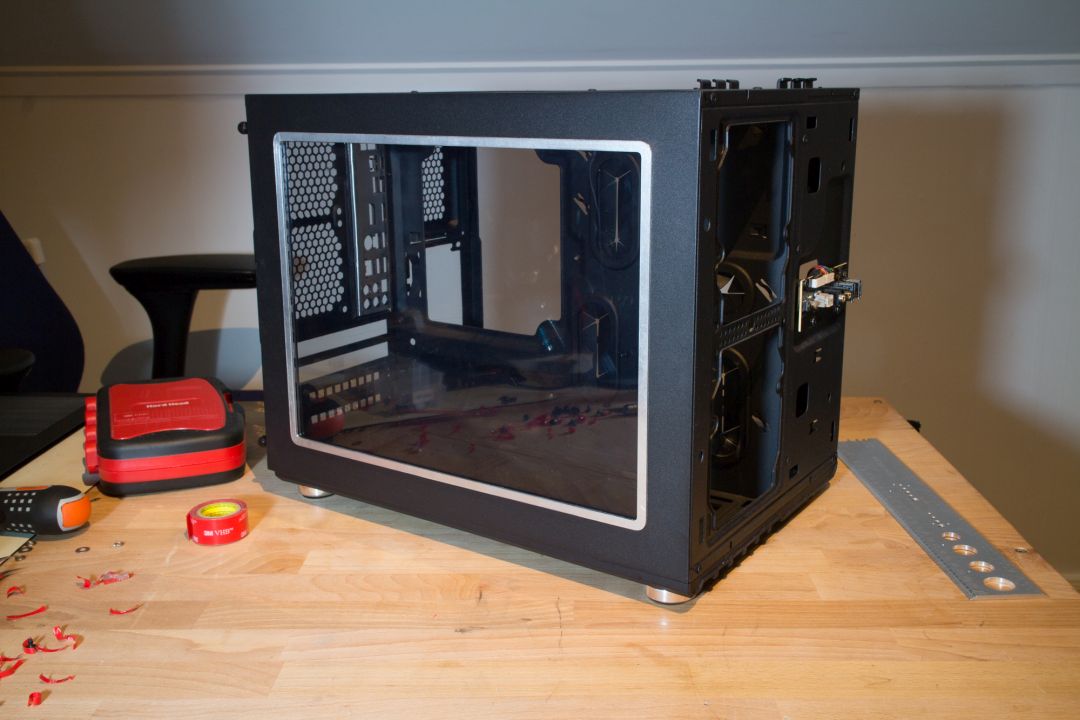
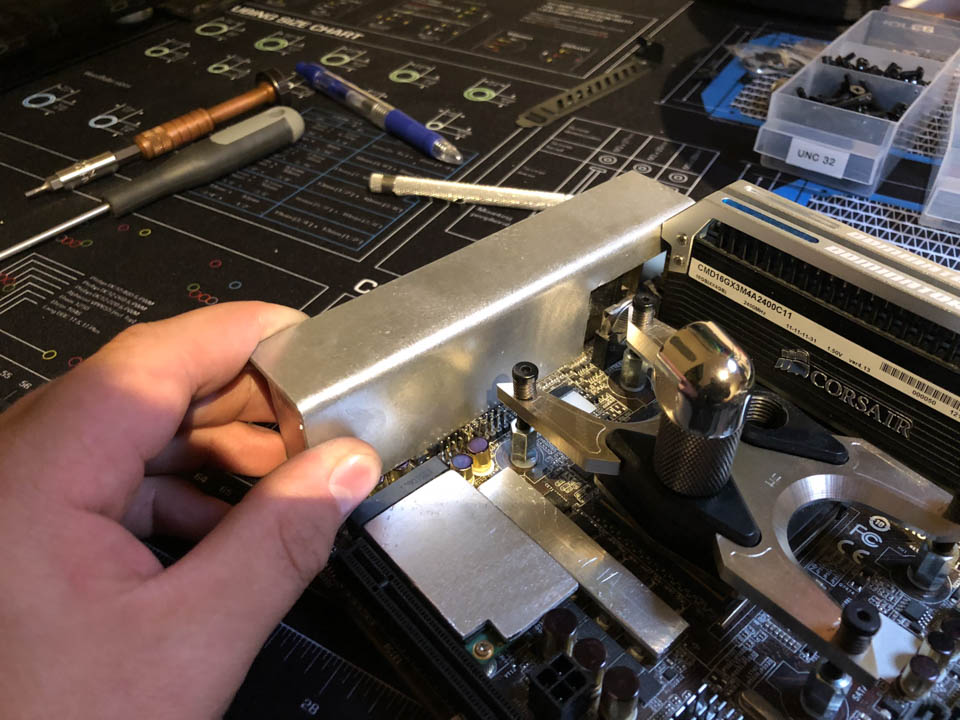
The next thing I wanted to do was to have a frame around the window to highlight the inside of the case. You could make a frame like this by hand, but it is also possible to have it milled, laser-cut etc, 3D-printed.
With CNC-mills and 3D-printers becoming more popular and cheaper more companies pop up that can do small parts for you. I have a friend with a CNC-mill who made this little window-frame for me.
Measuring out the frame is very straightforward and easy, start by measuring out the actual window, add a few millimeters to cover the edge, this is where it comes to personal view, but I did not want my windowframe to be too big so I went for 5mm.
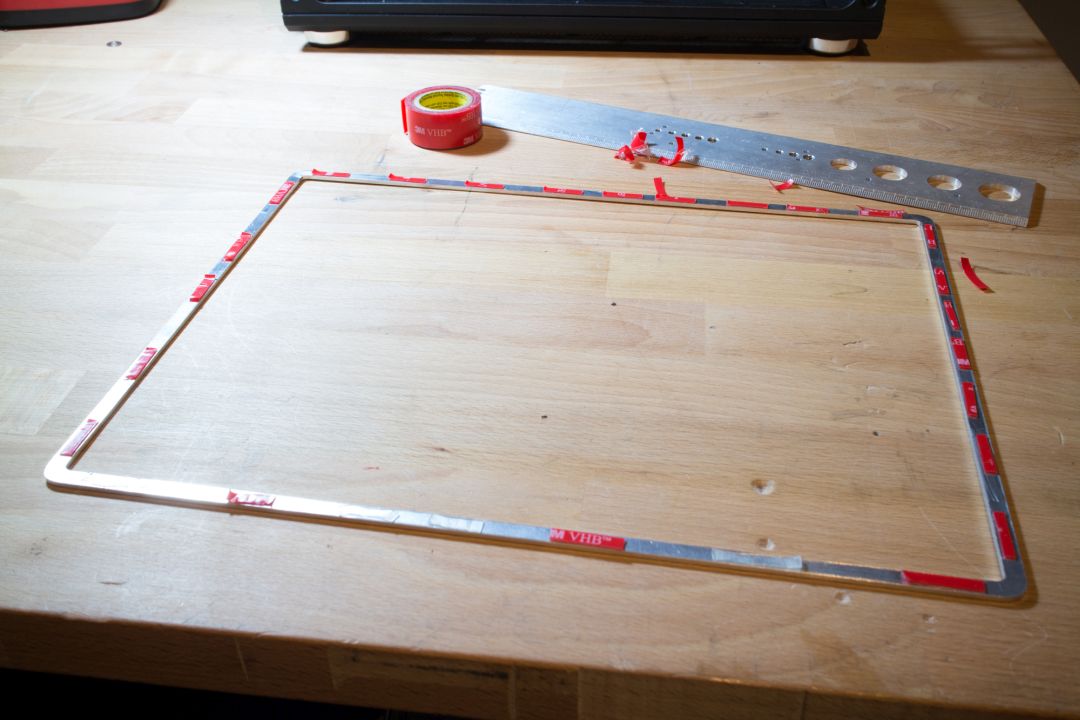
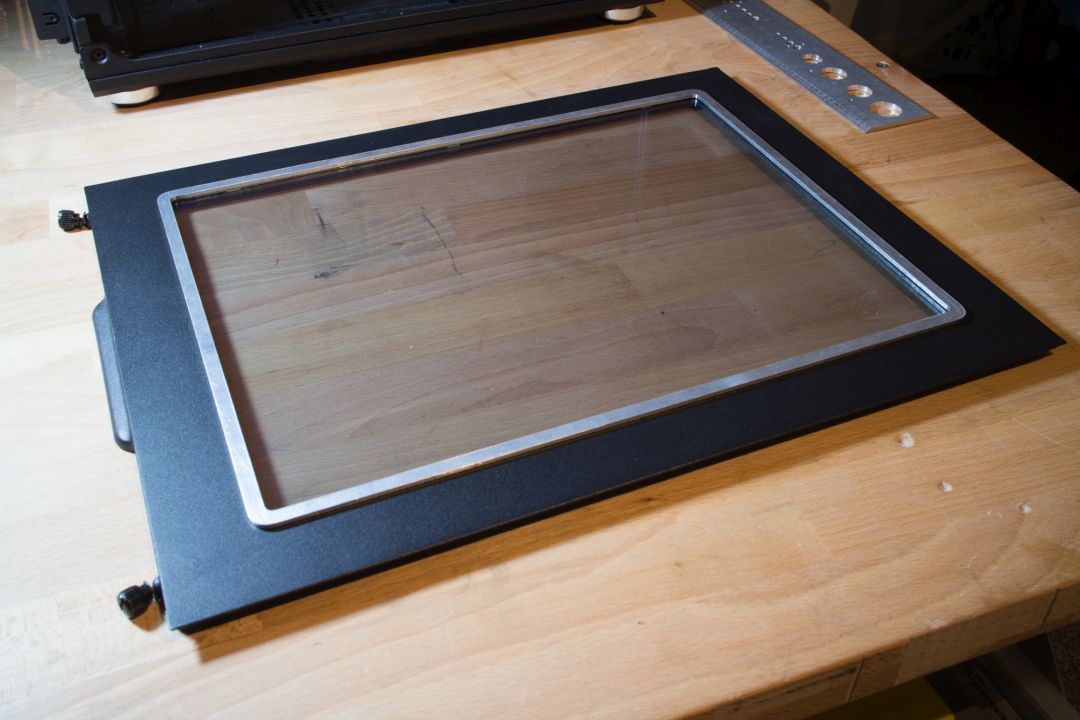
Next thing to do is to attach it to the sidepanel. Here you also have different alternatives, if you made a wider frame you could mount it with screws, but I went for a pretty thin frame so what I used is double-sided tape. Start by cutting out strips of the tape and add it to the backside of the frame, line it up where you want it and press it down, go around the entire frame and push down and make sure the tape has contact everywhere.
And done! Not too difficult right? This small mods we done so far is quite simple, but still gives the case a new and cool look.

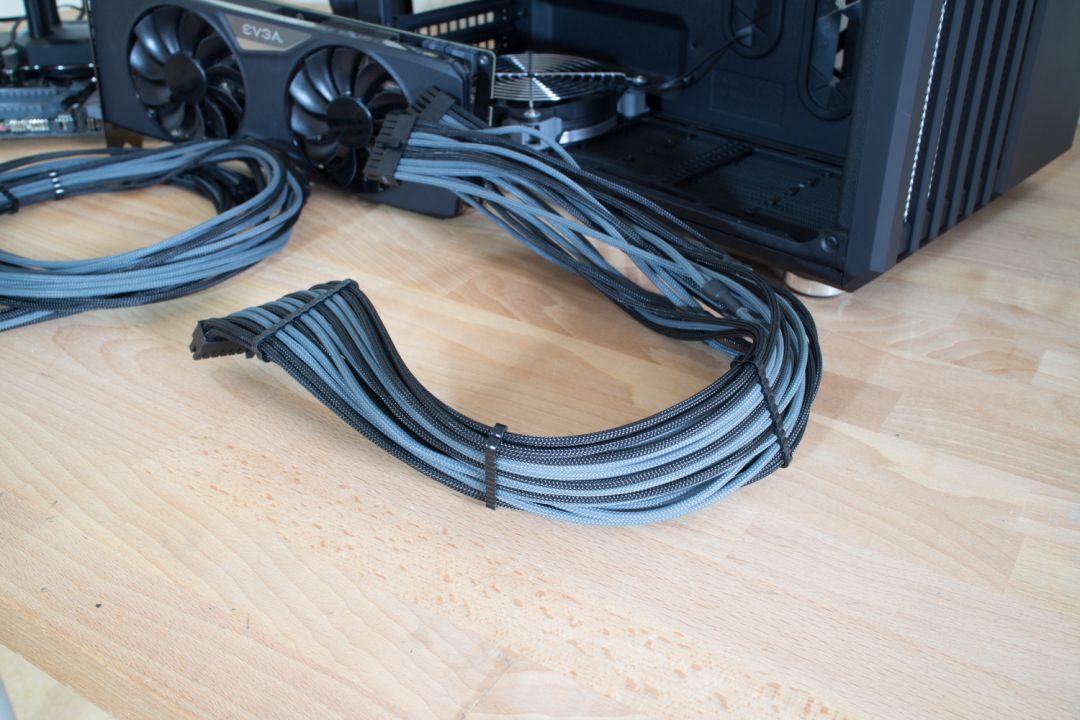
Last and next thing is a bit of a last touch, which are very common now, sleeving. For sleeving there are tons of alternatives, some PSU-companies have started to offer sleeved cables for their PSUs, there is stores that do custom-sleeved cables and you can also order sleeving and do it yourself. I will not go into how to sleeve yourself in this guide, but there are a lot of good guides for that on the interwebs.
I ordered some custom-sleeved cables from Modguru to fit the theme of this build, black and grey sleeving.
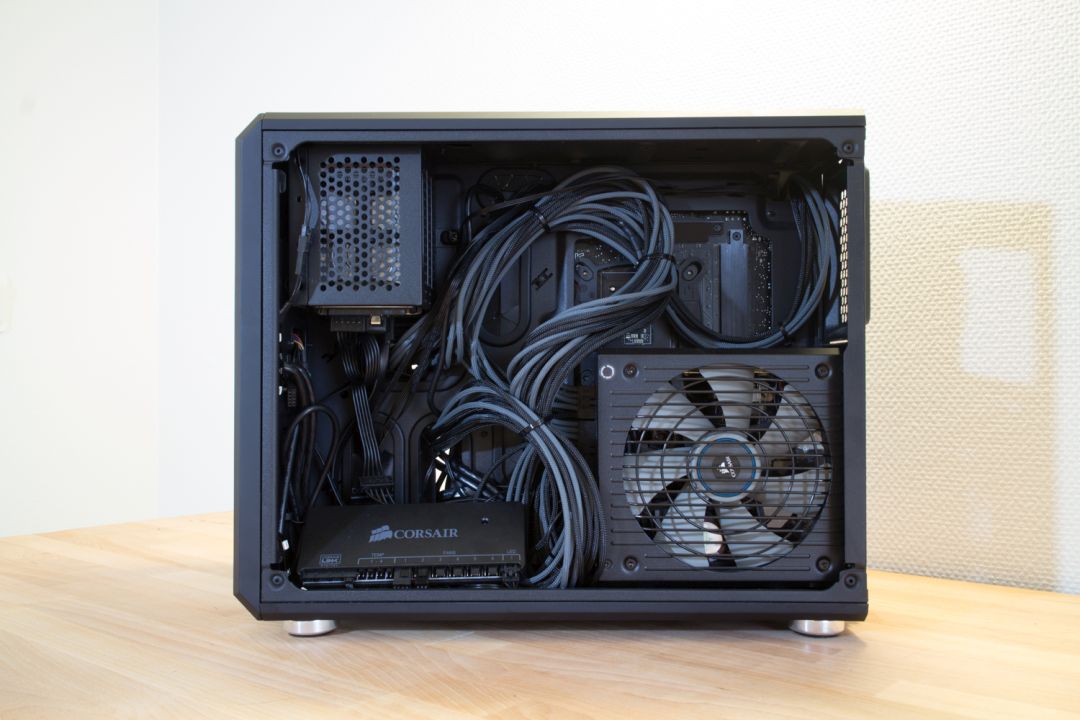
For lighting up the inside of the case I used Corsair’s Commander Mini, which is a fan-controller as well as RGB-controller, it is nice to be able to choose exactly the color of the LED-strips you want.
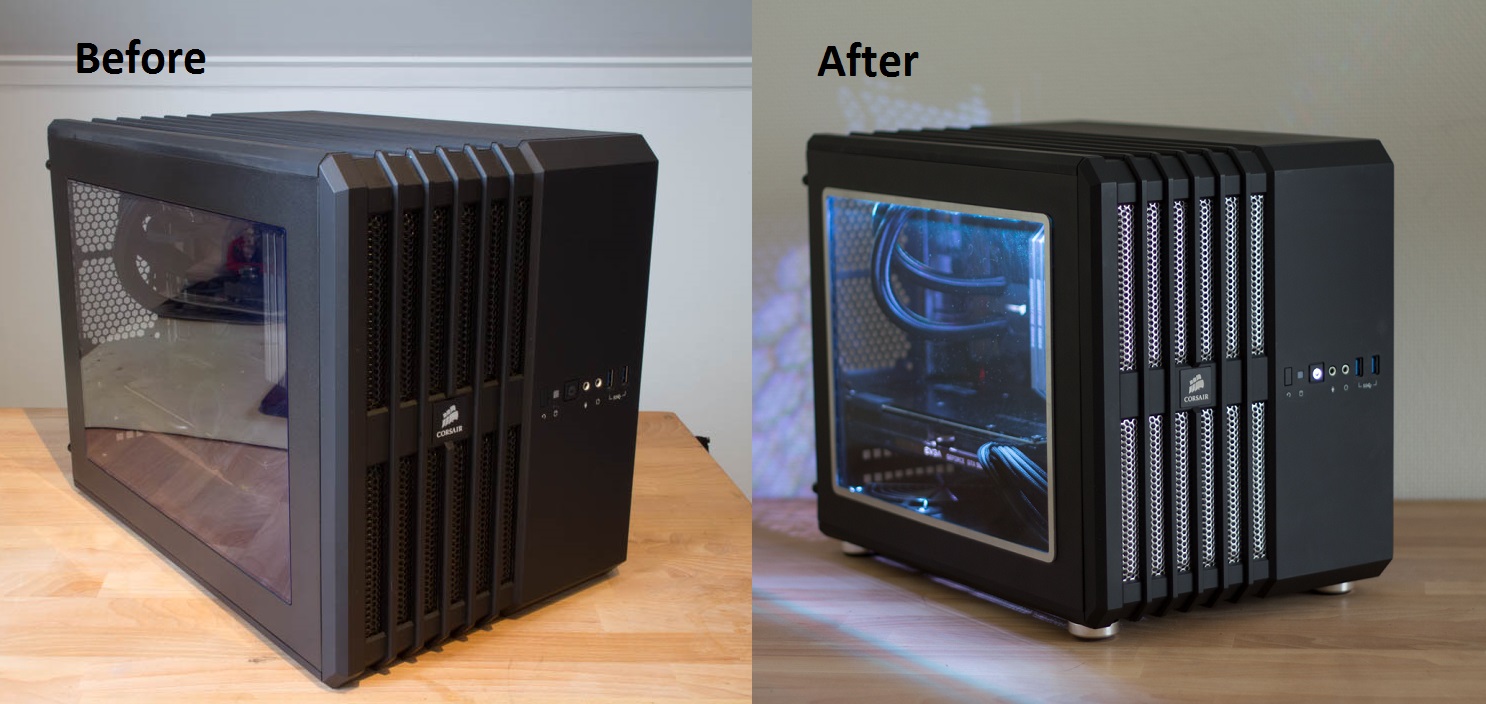
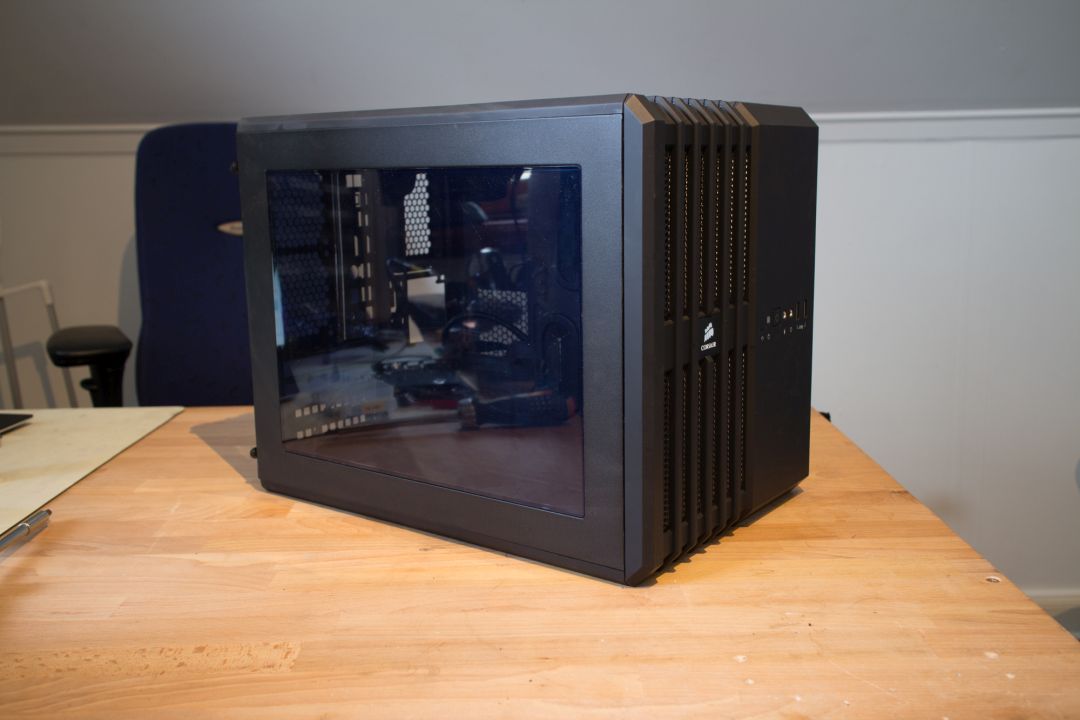
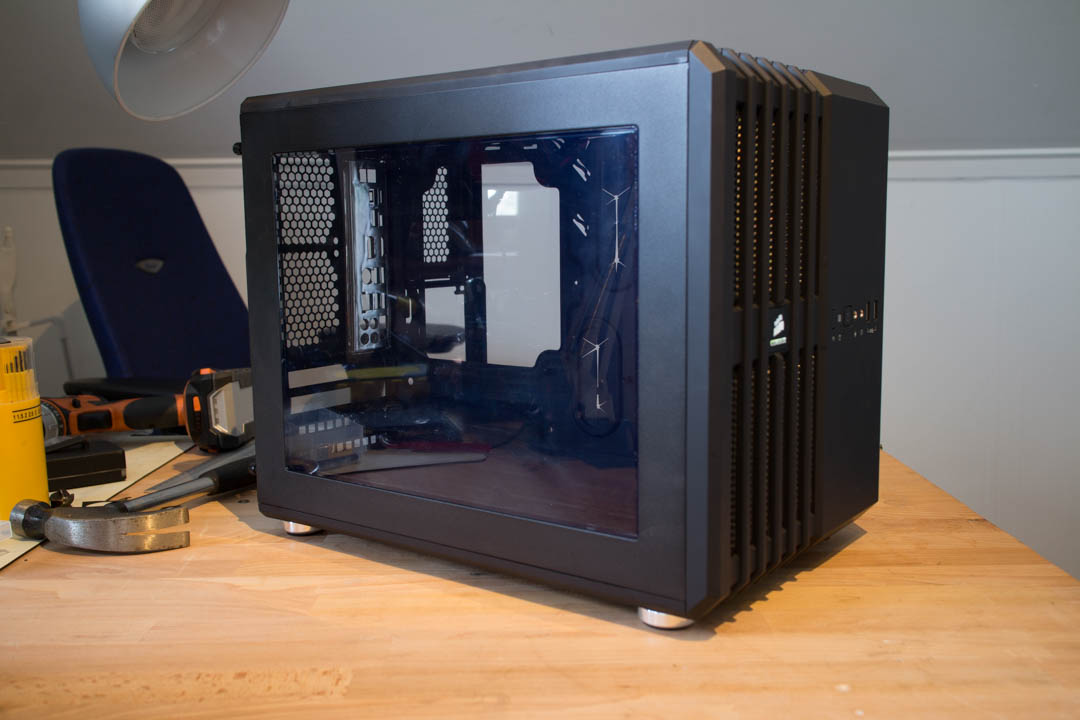
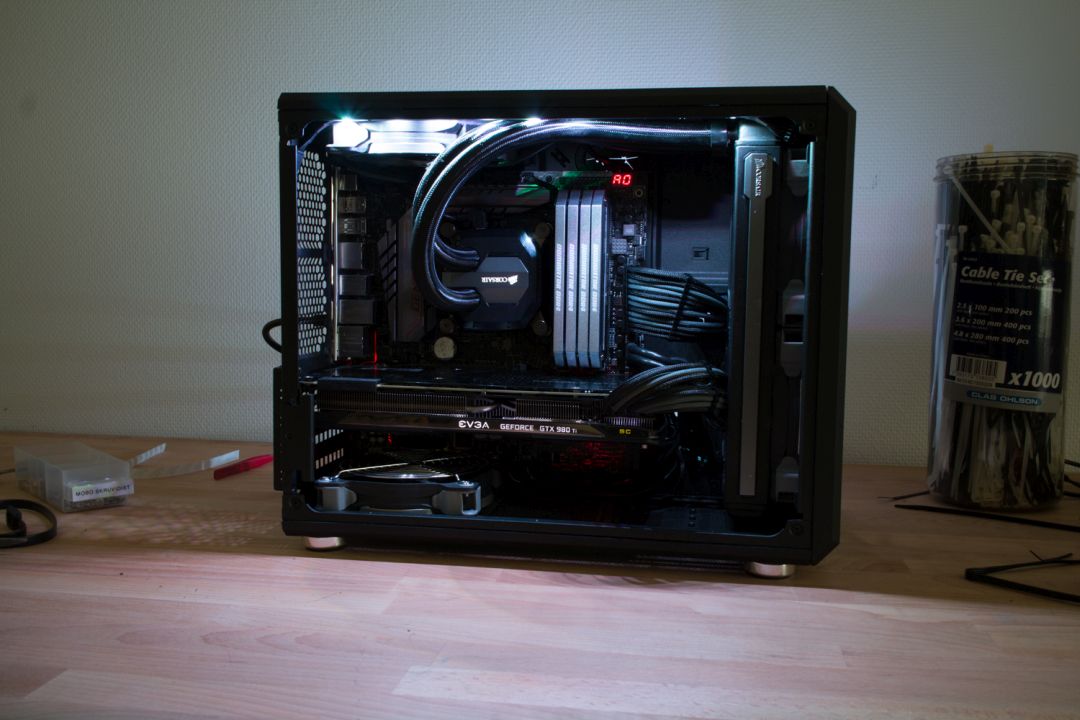
So in this last photo you can see the difference from the untouched case to the final result. This is not a extreme mod, it is not meant to be either, although I think it is a clean mod that looks more personal from the original look.
I hope that some of you will find these tips useful and I hope more of you can get the courage to start doing smaller mods to your PCs.
If you want more photos of the final result, head over to the Chrome 240 project page.