This is our first video at Minimalistic PC's. A big thank you goes out to…
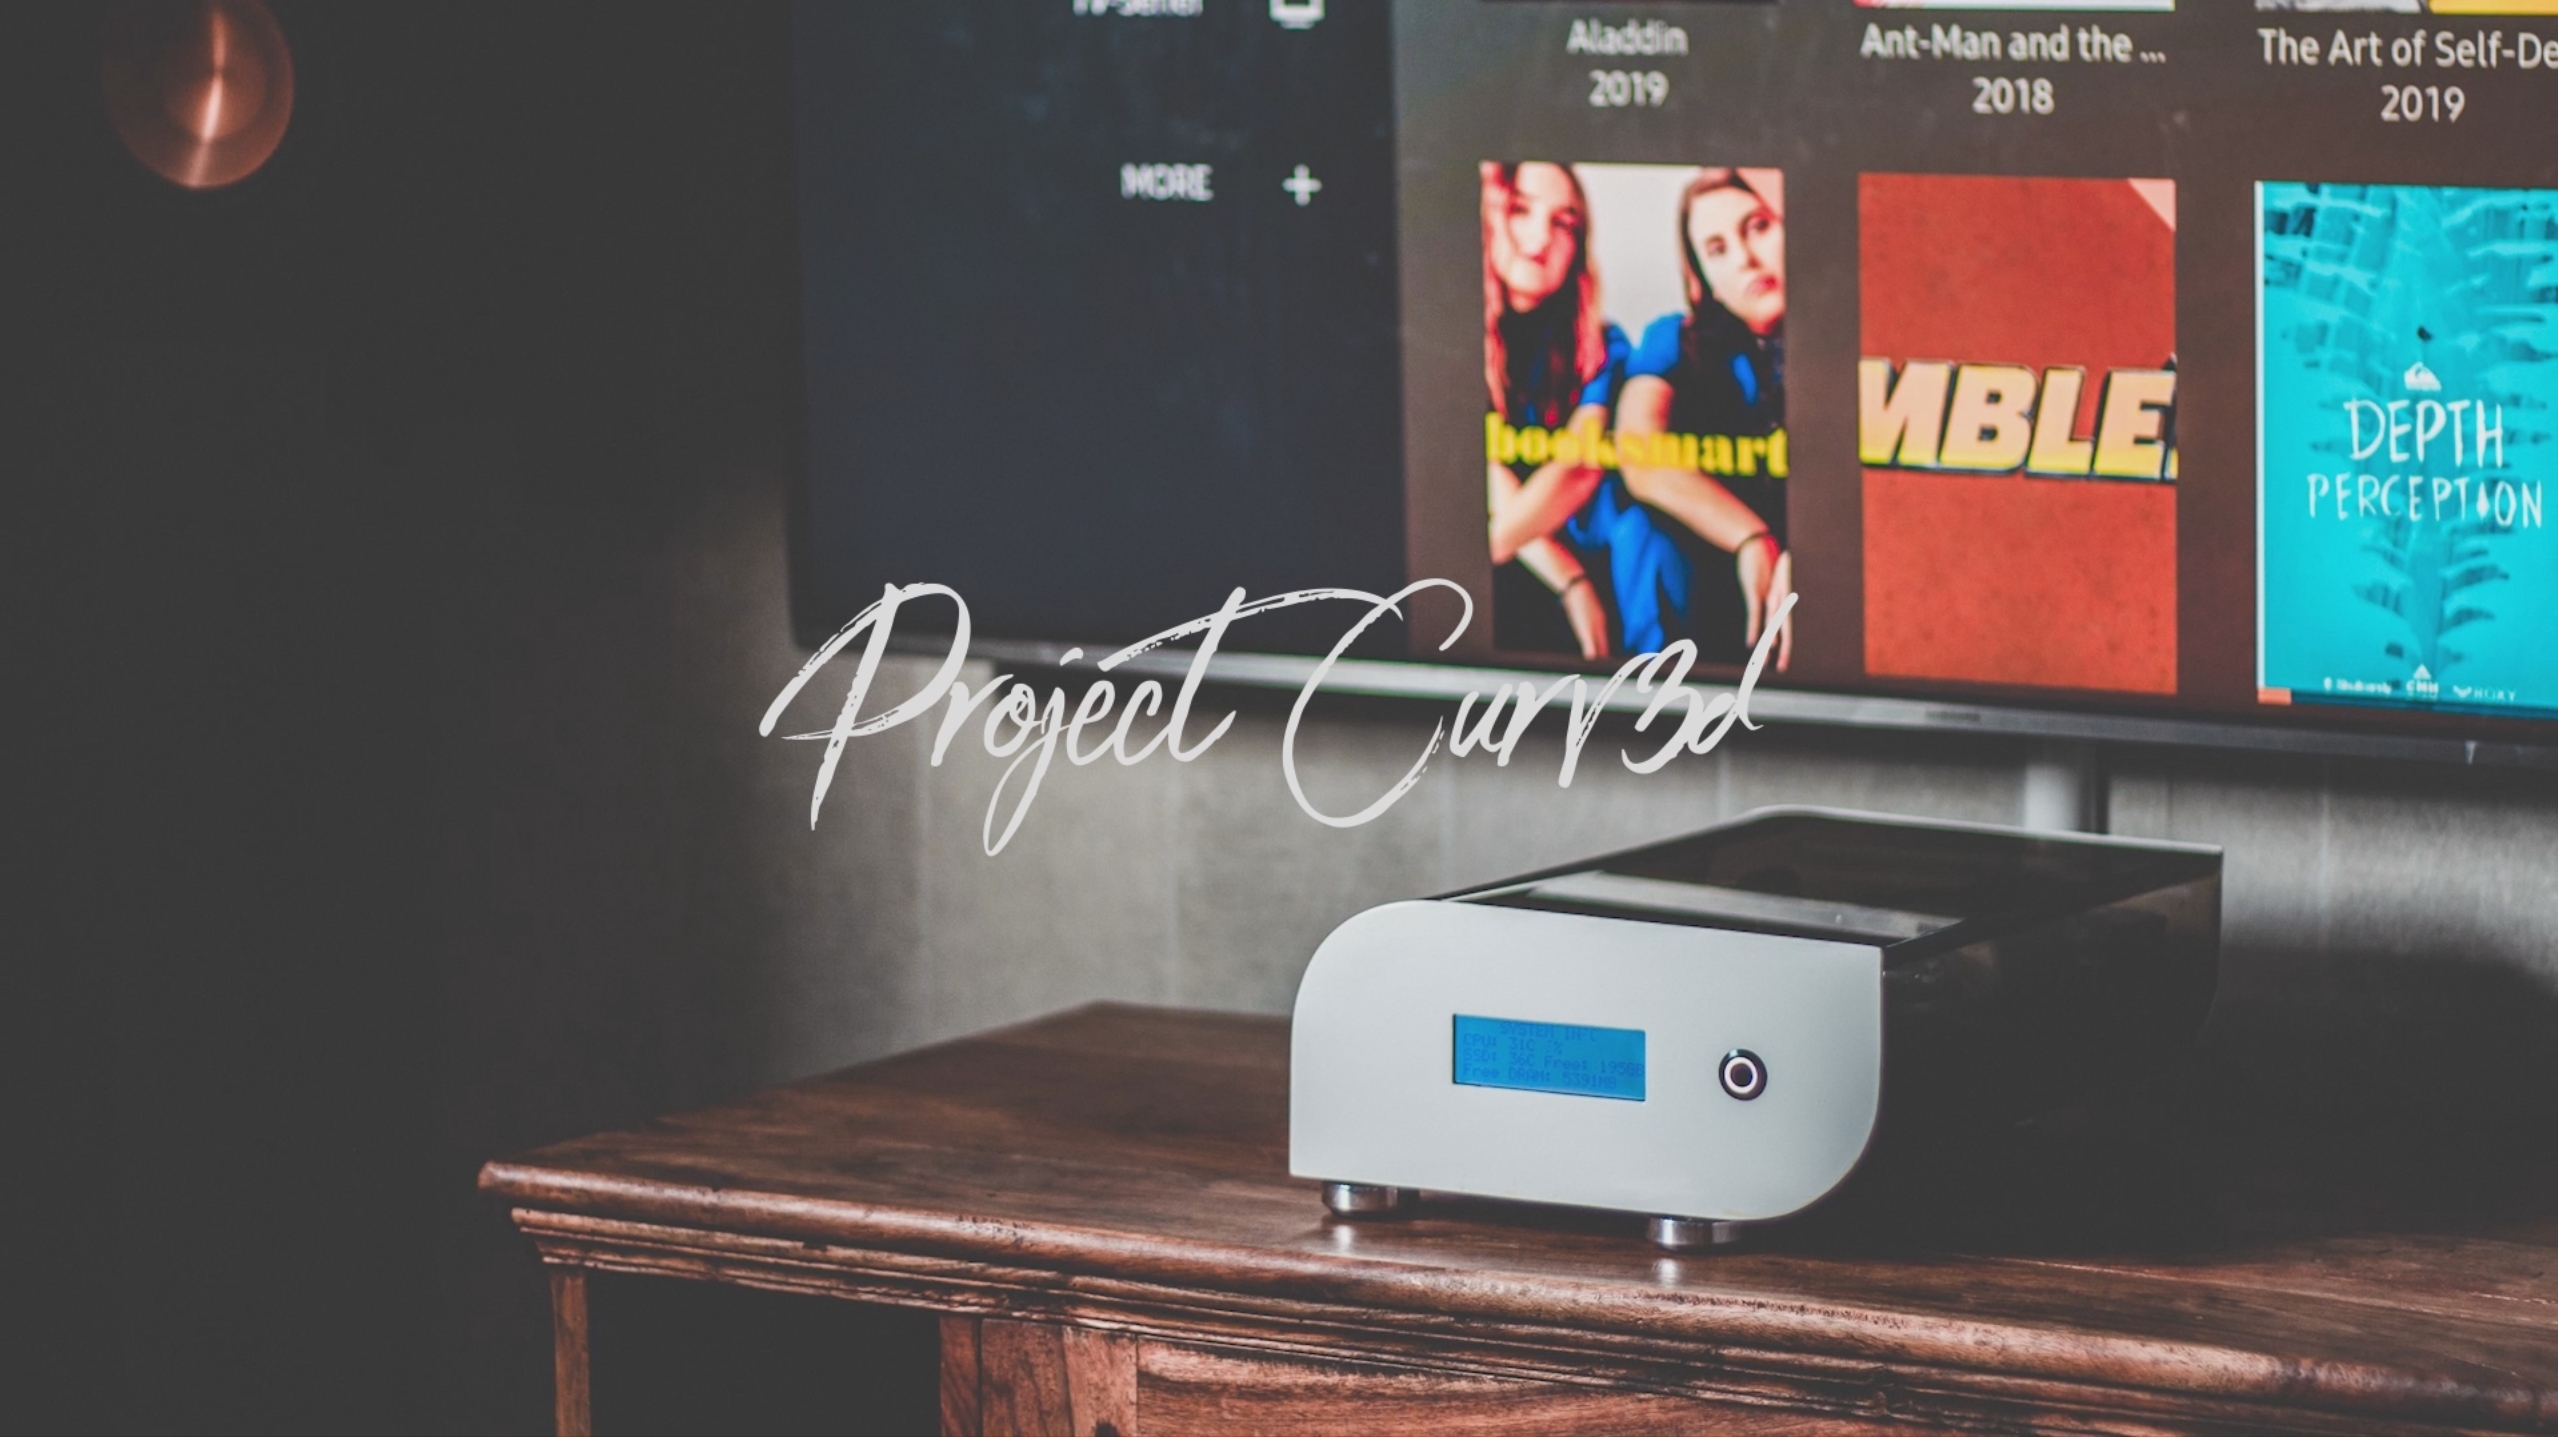
CURV3D: Update 6
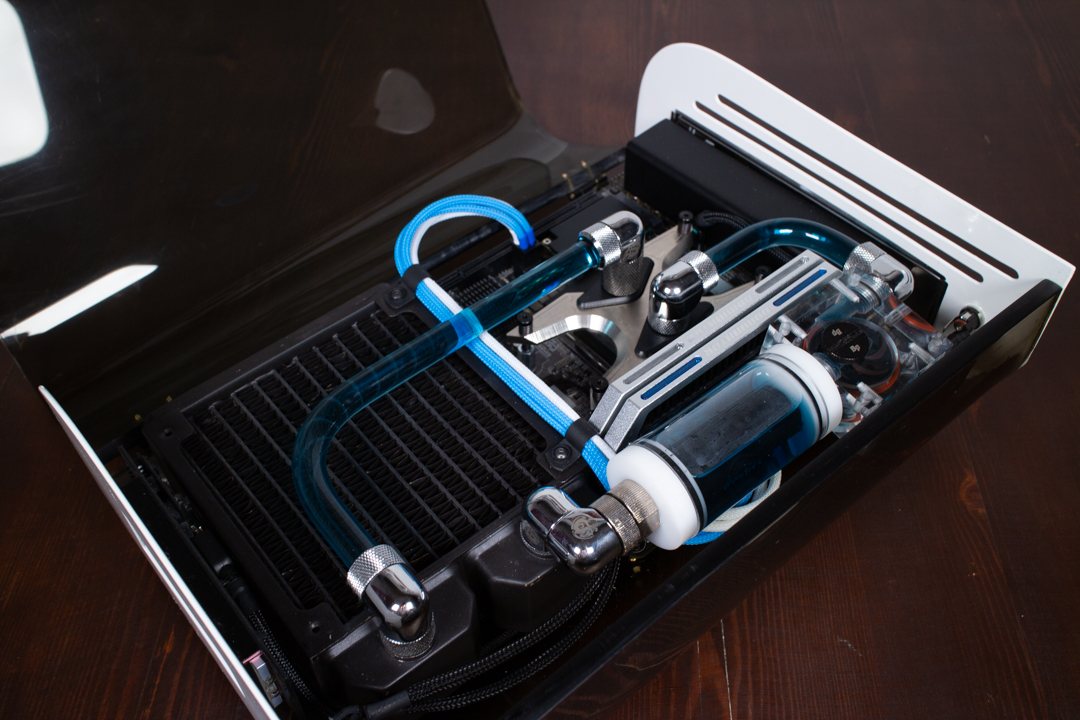
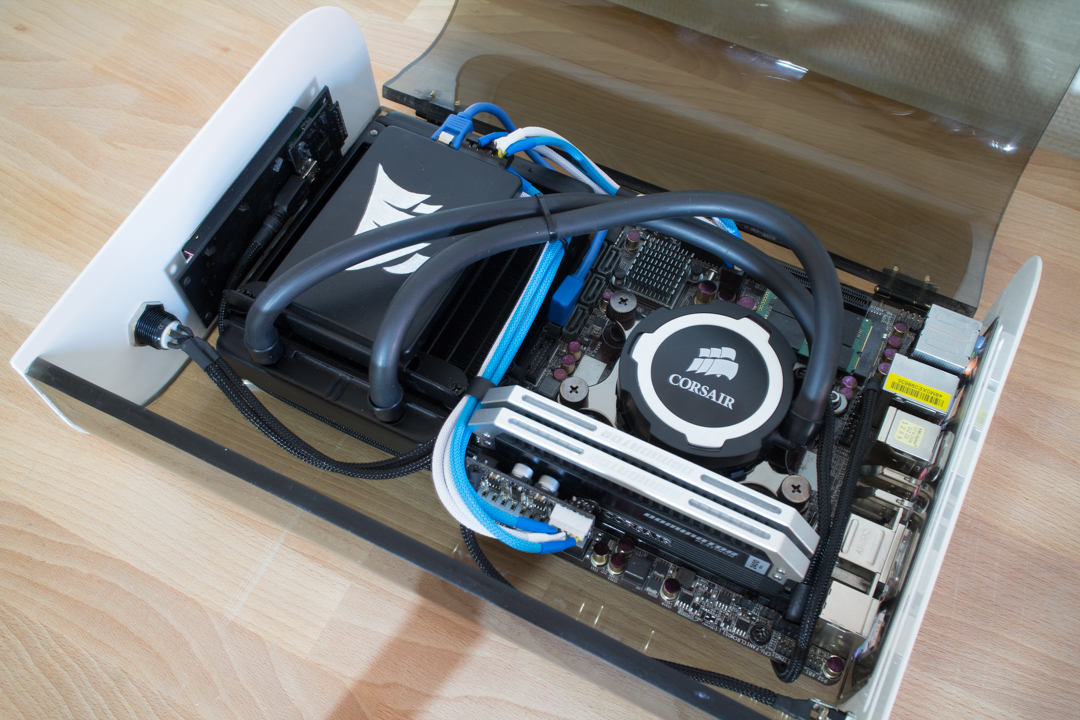
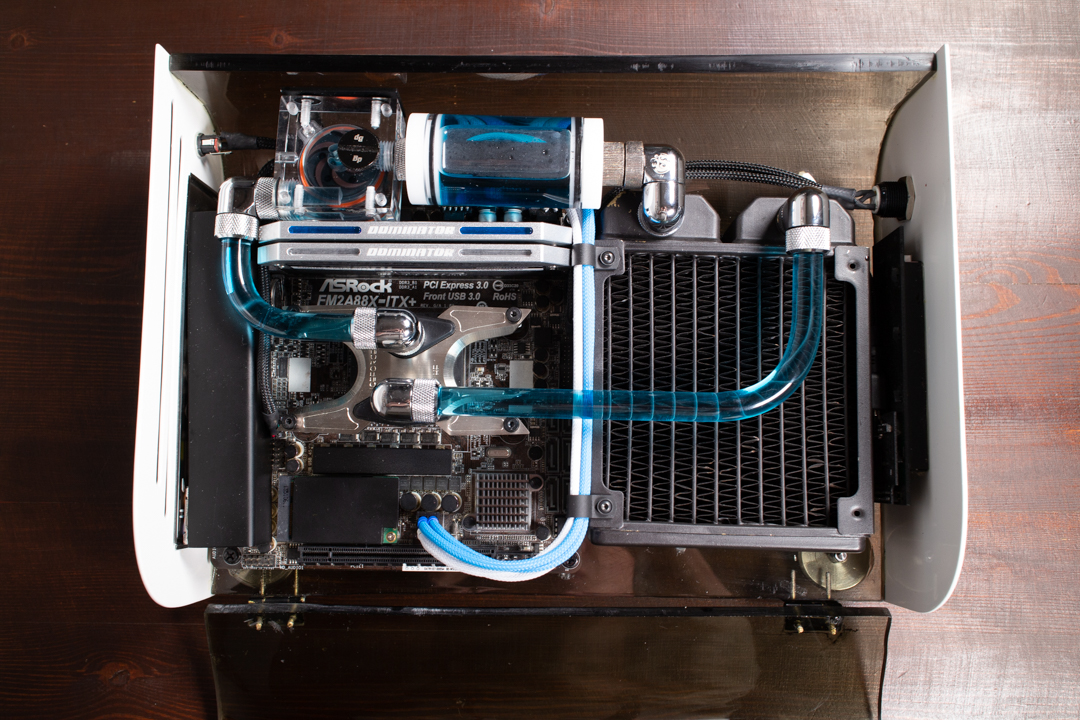
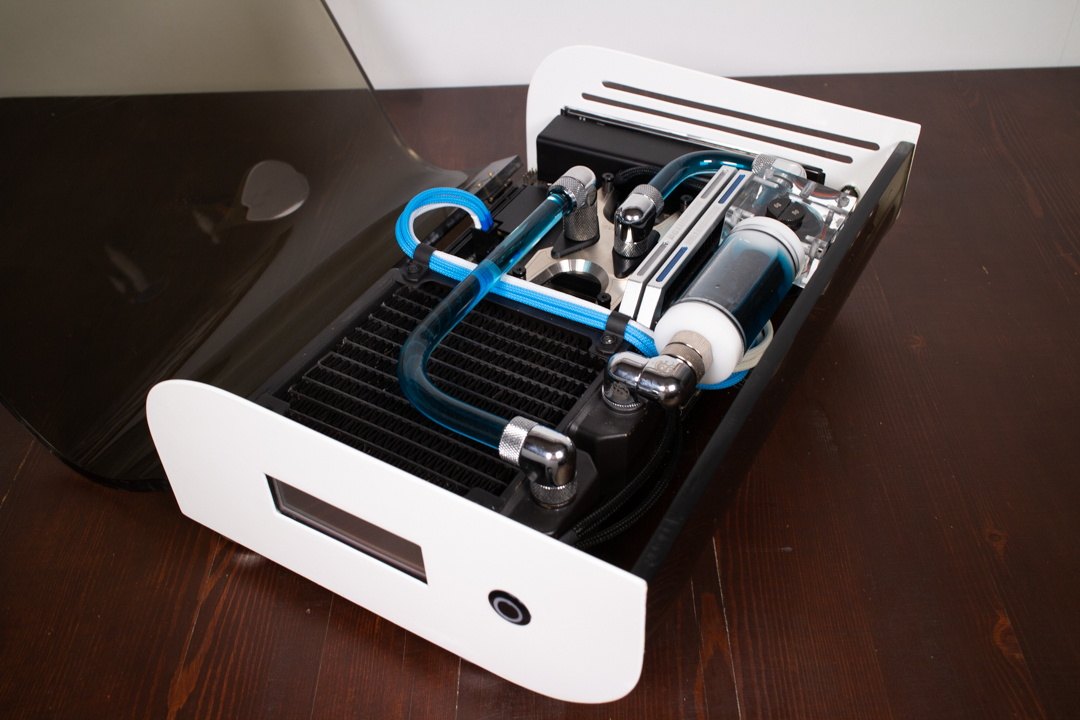
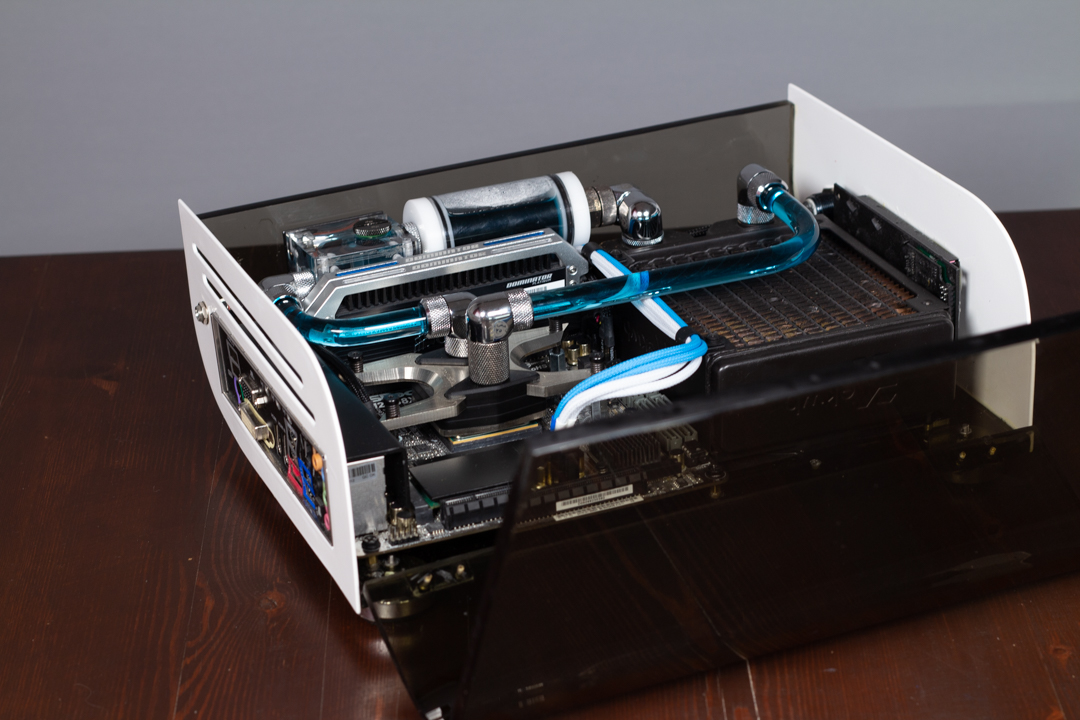
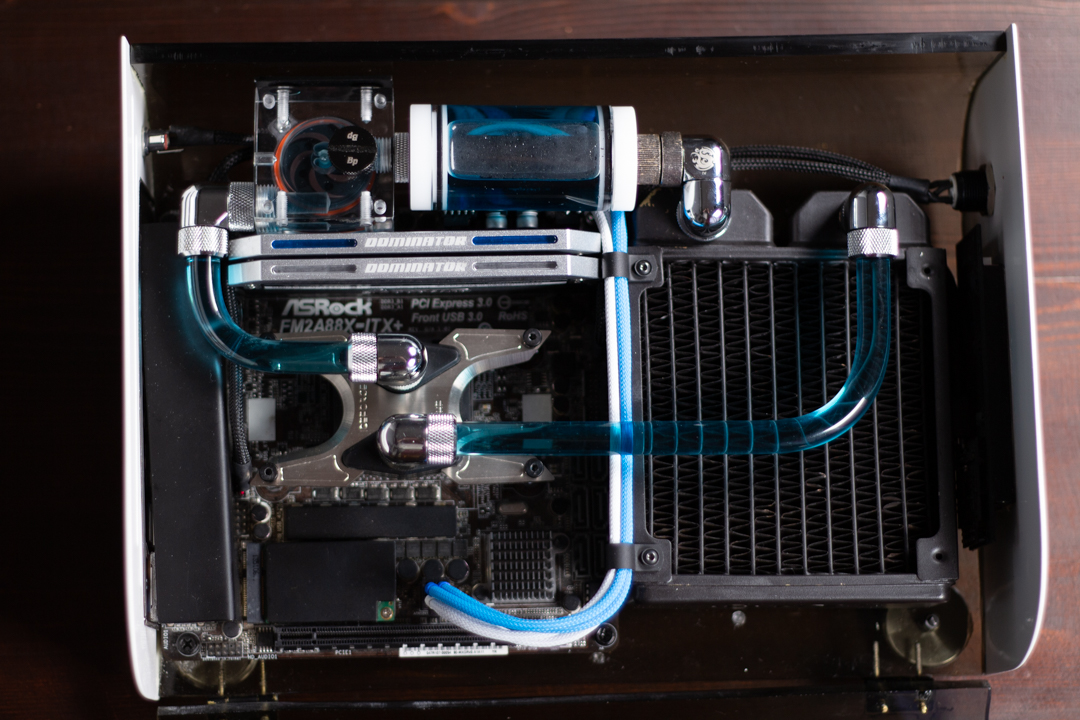
In part 5 I went through how this build changed from being cooled by a AIO to a fully custom loop featuring custom-made reservoir as well as a lot of other custom parts to make the entire build more uniform and complete.
In this last update I will go through how I started this build 9 years ago up until now, fully finished.
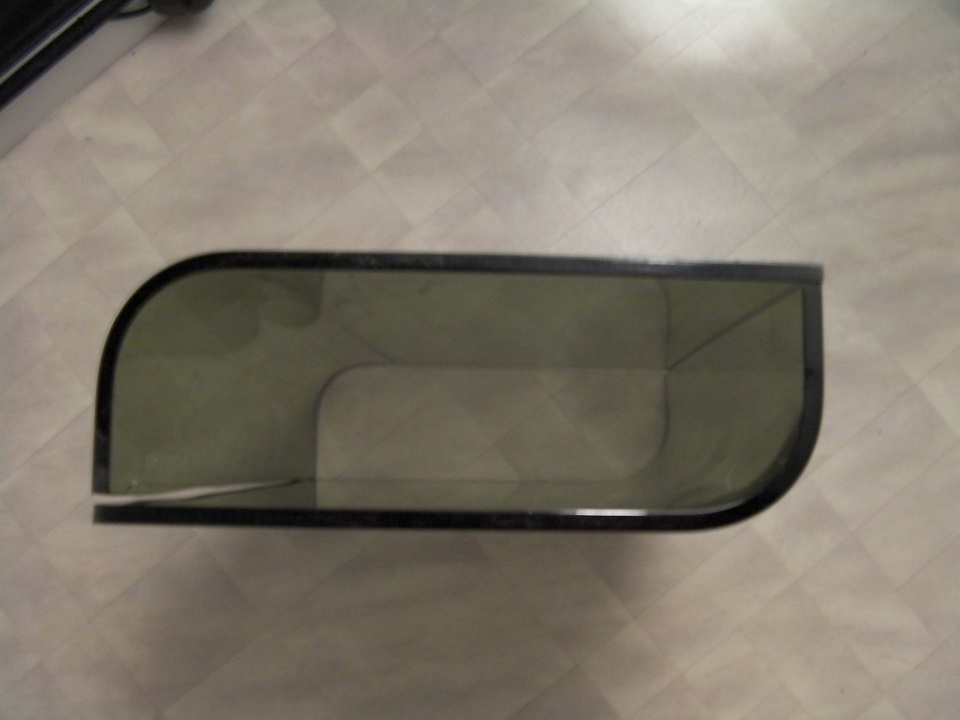
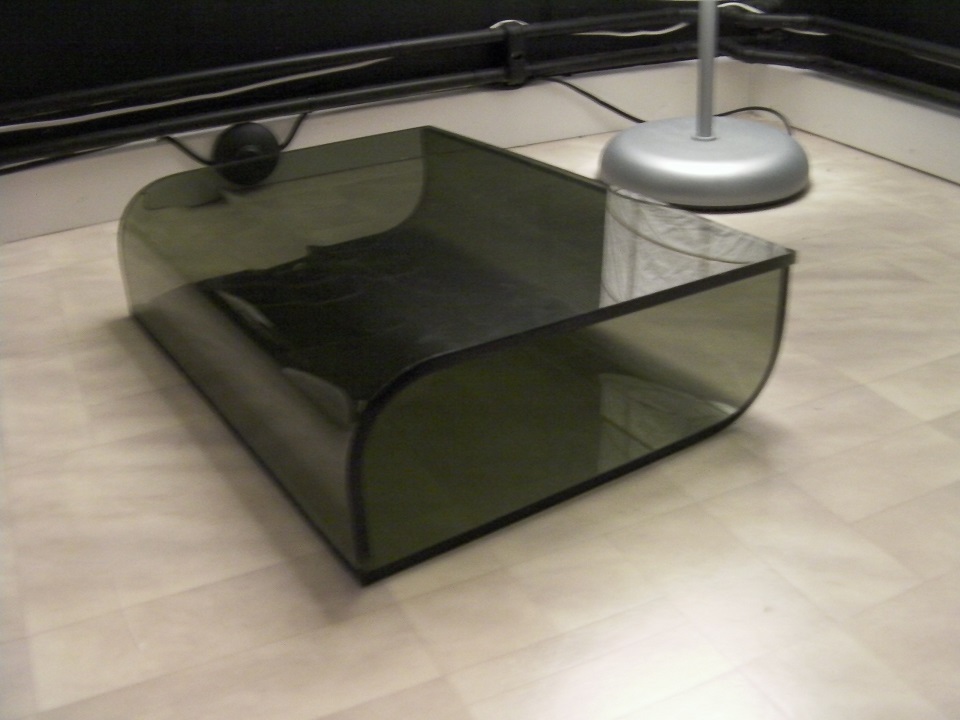
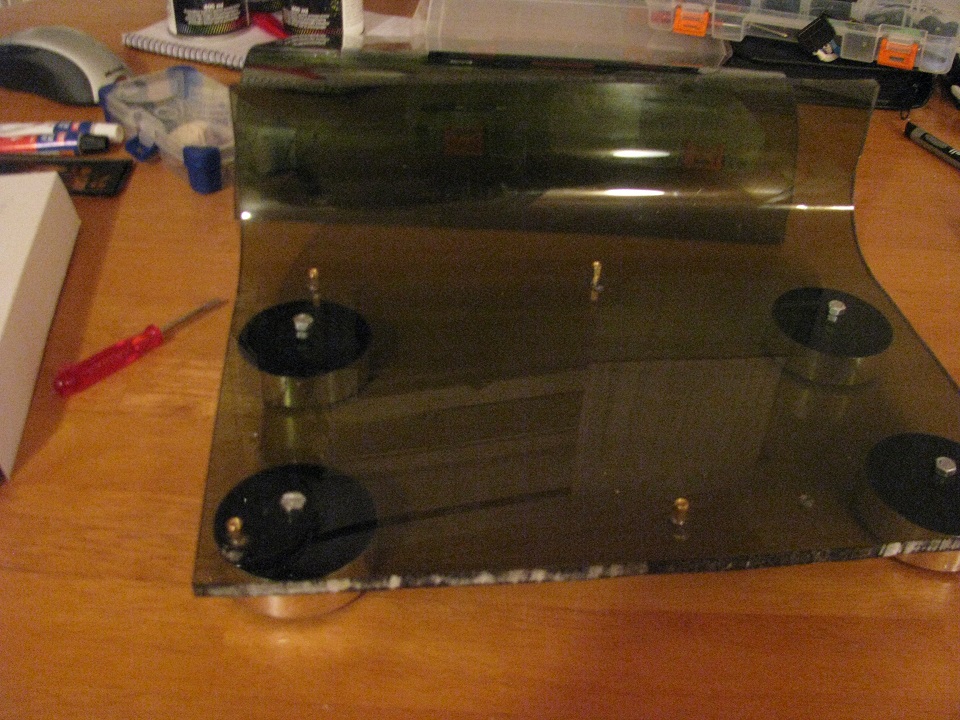
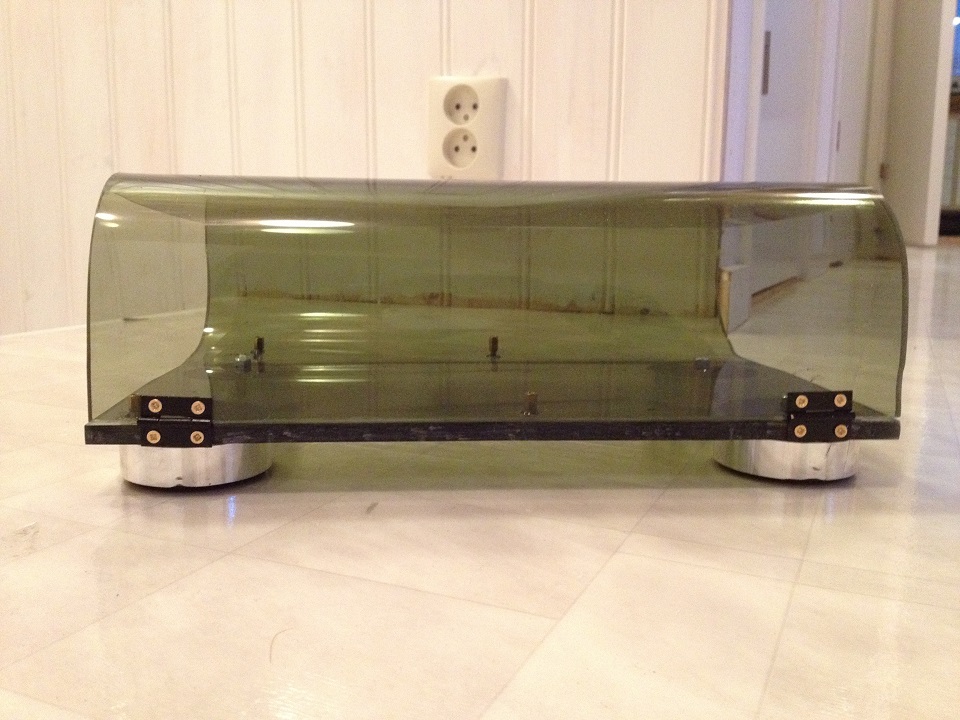
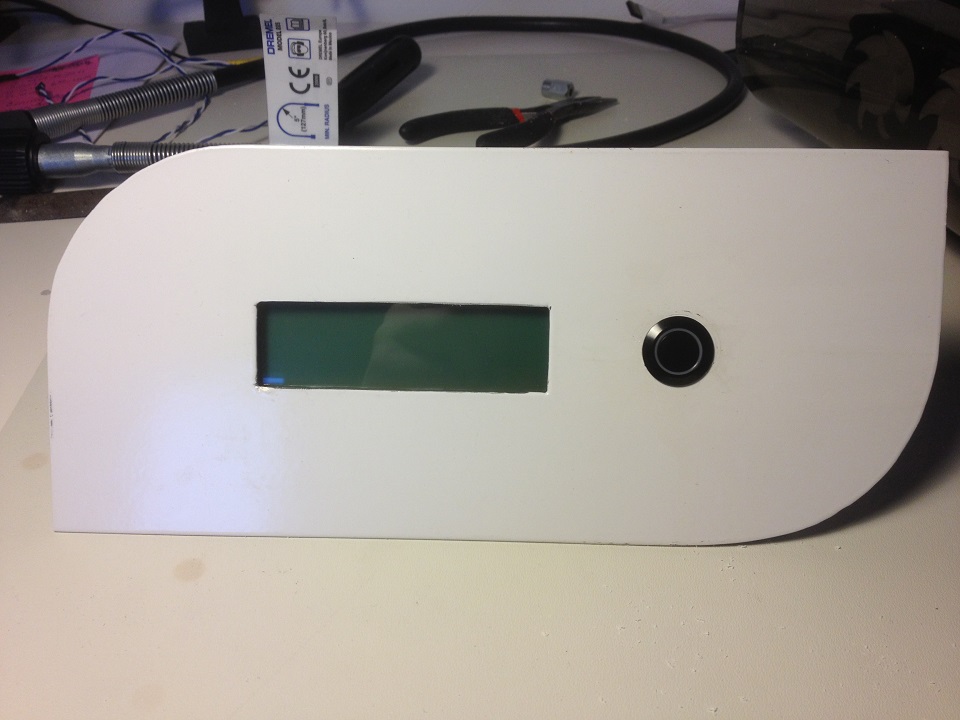
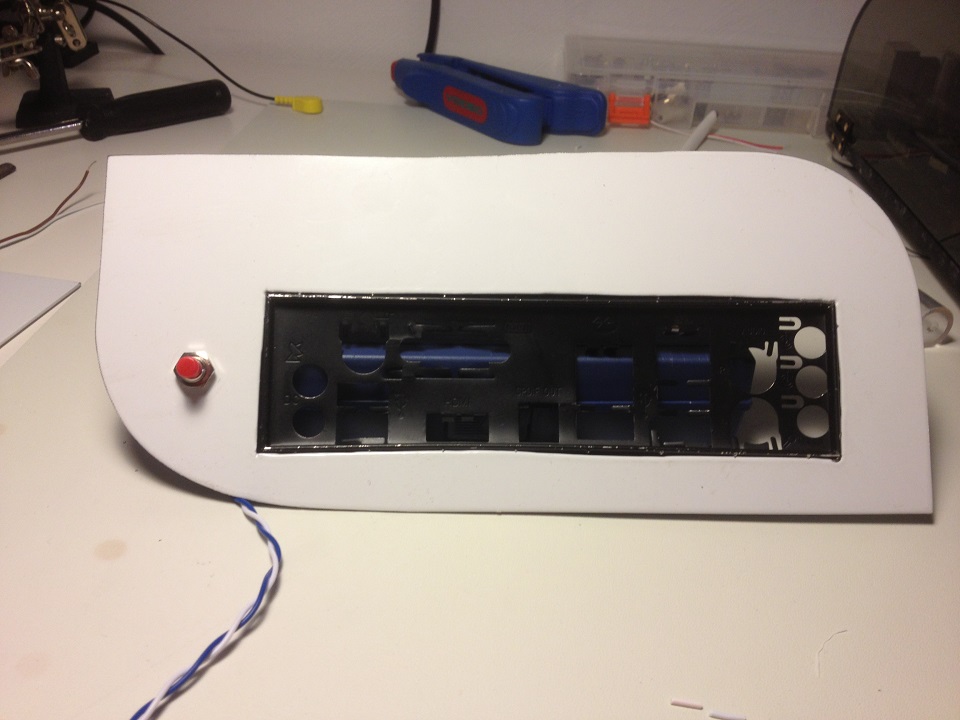
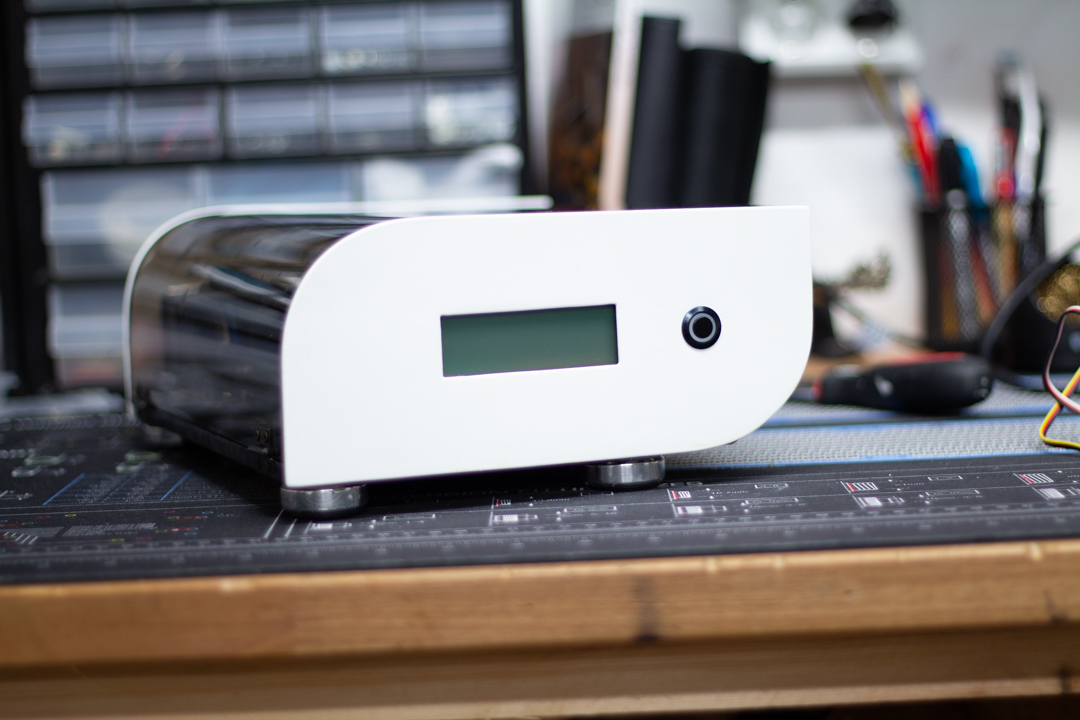
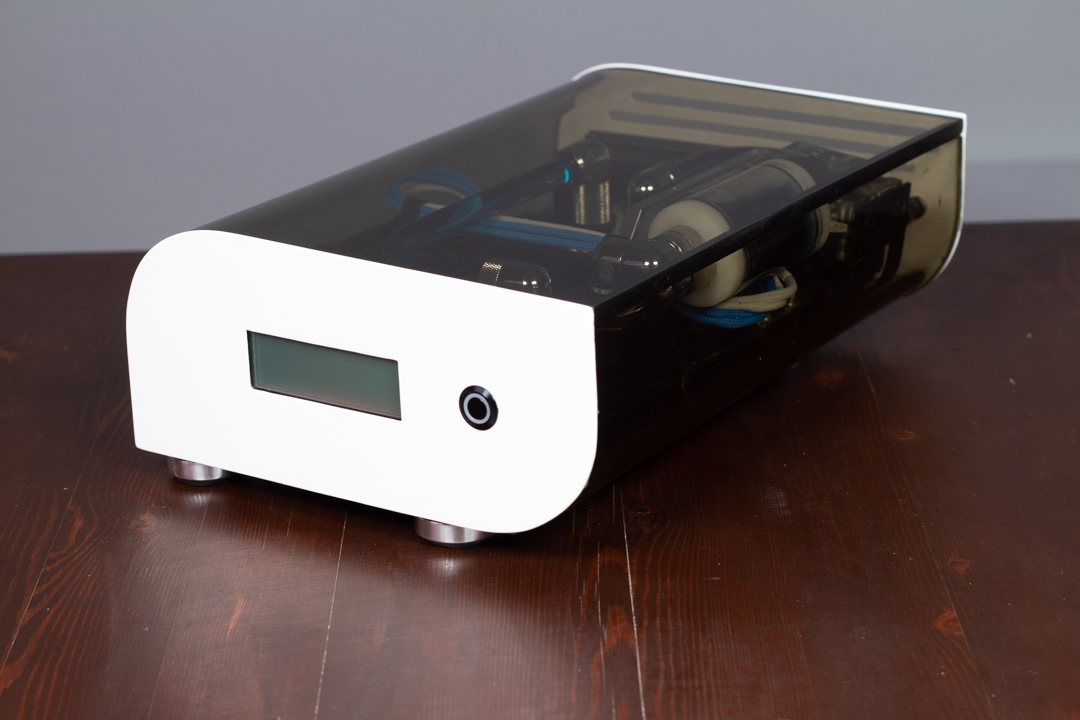
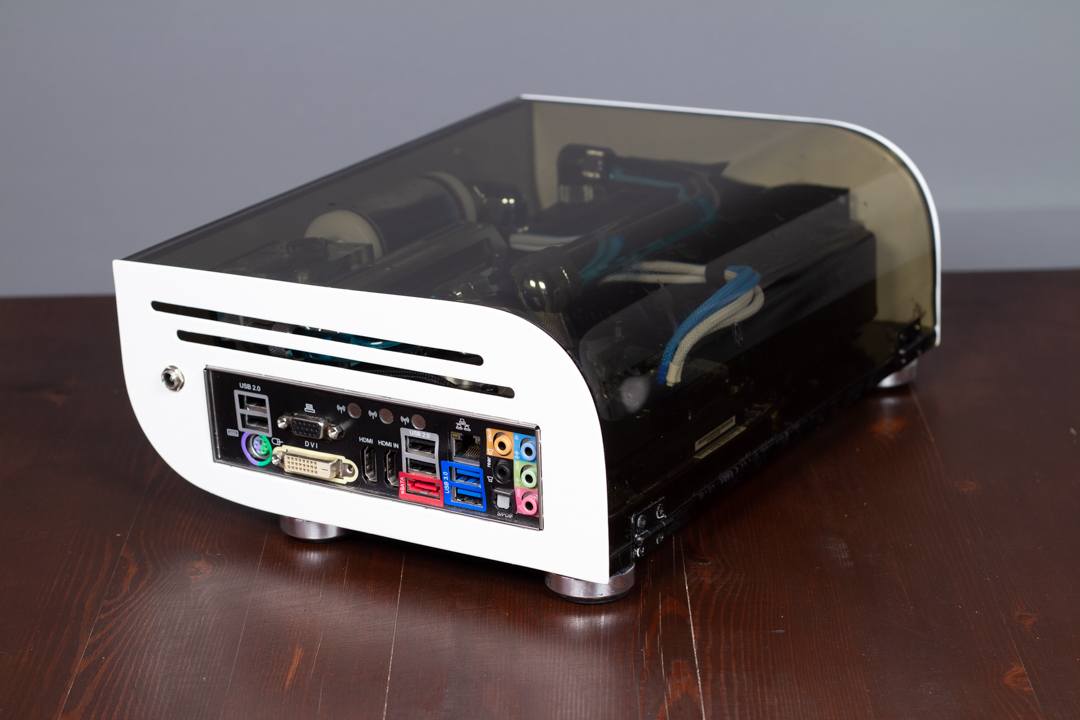
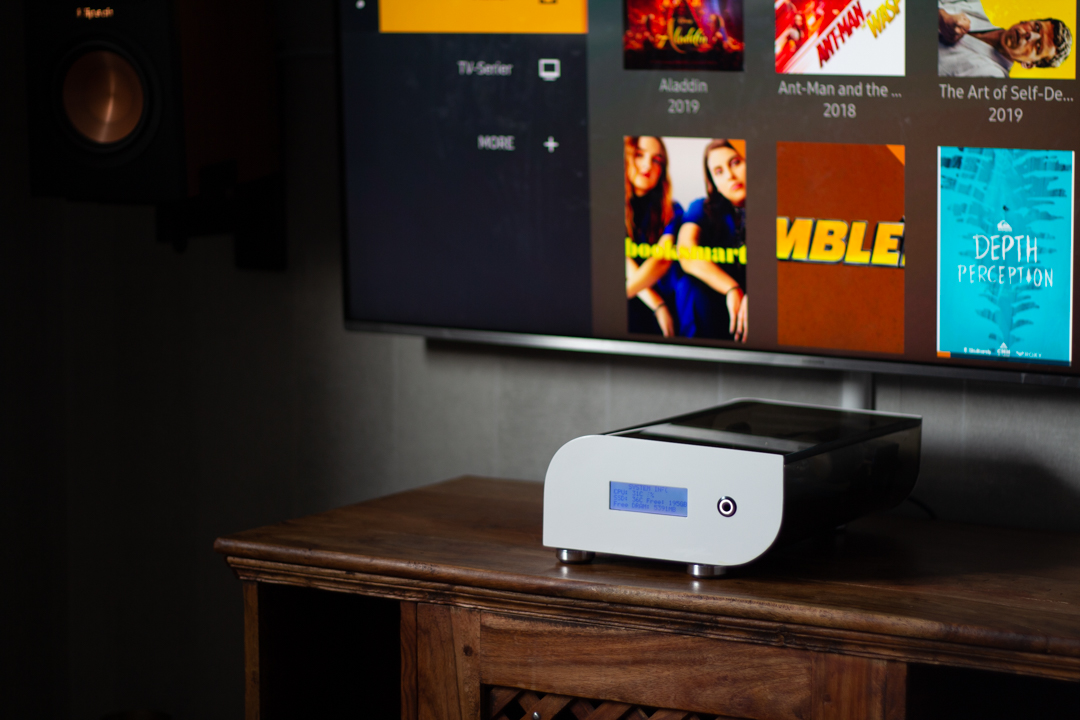
The entire start of this build was these two bent pieces of acrylic. I really liked this shape and what could be done with it. These two pieces was put together with two hinges. Front and backplate were done aswell to hold the IO-shield and LCD and powerbutton. That was the basic on how everything started.

Why did it take 9 years to finish it? Well lots of different things. Life came in between, I got a time-consuming job, I got married, we had kids and so on, however this project have always been there.
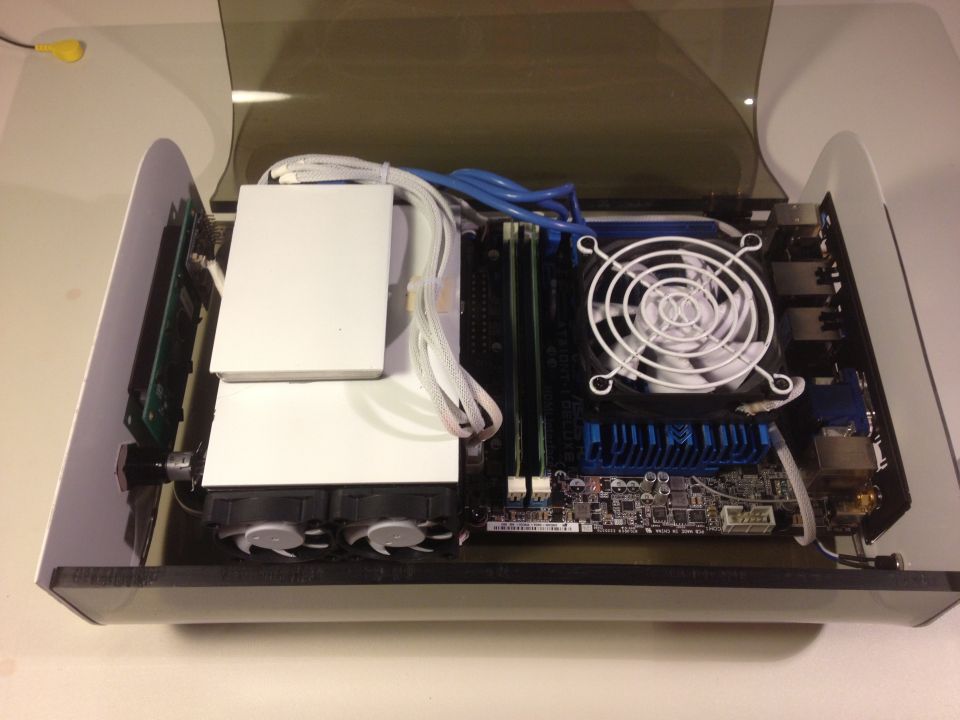
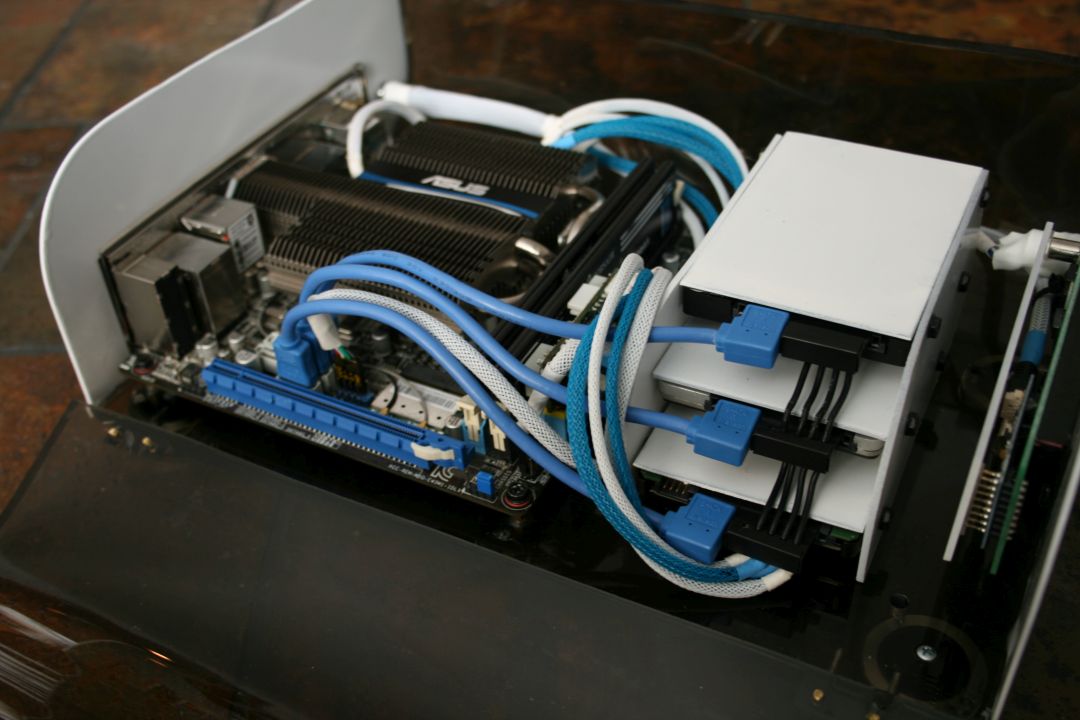
In the beginning it was aircooled system, but along the way and with more powerful hardware being released I needed better cooling, also along the way I got better at modding and the final idea was that I wanted to make a fully custom-loop inside it. Now that is done and I can say I am very happy with the end result.
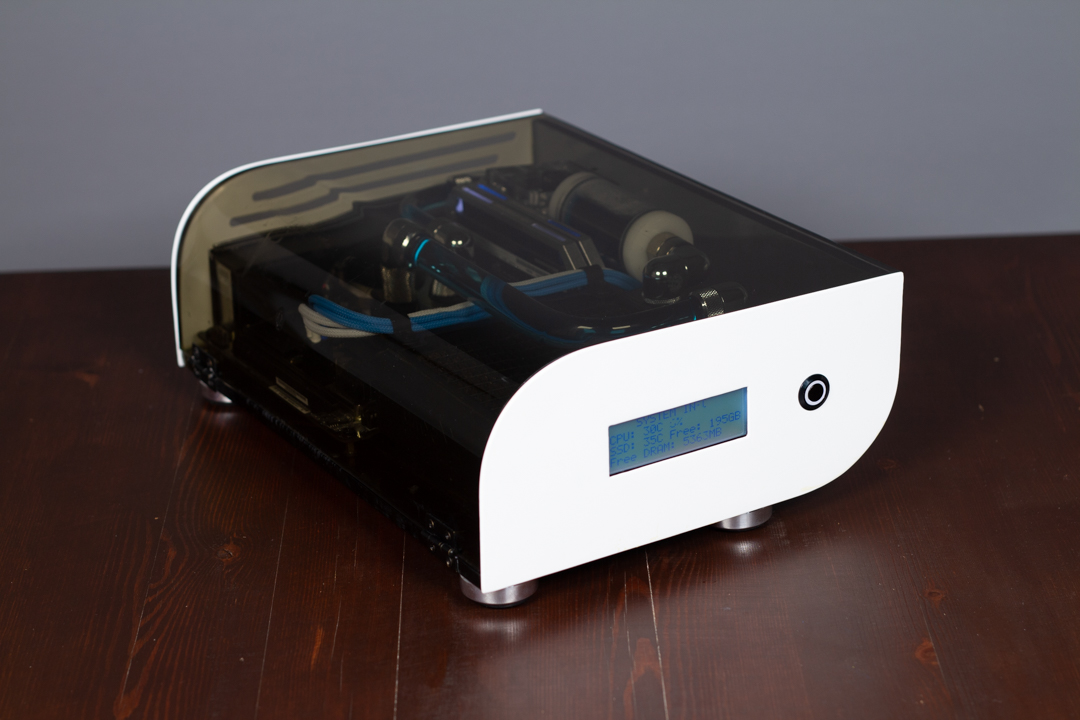
It almost feels weird being 100% finished with this project. This build was what got me sponsors for later modding projects and that gave me contacts in the industry which in the end gave me the job I have today and have had for over five years now. The silhouette of this build is also what the logo for Minimalistic PC is based on.
The end-result can be seen below here as well as more photos in the project-page.
This will NOT be updated with newer hardware and rebuilt again, this was the third and last time. I can say I am fully proud with the finished build.
I want to give a big thank you to everyone who followed this, either back 9 years ago or just recent. Also a big thank you to the different sponsors along the way and Im very grateful for all the help and brainstorming with Laine.