This is our first video at Minimalistic PC's. A big thank you goes out to…
F4DE: Part 2
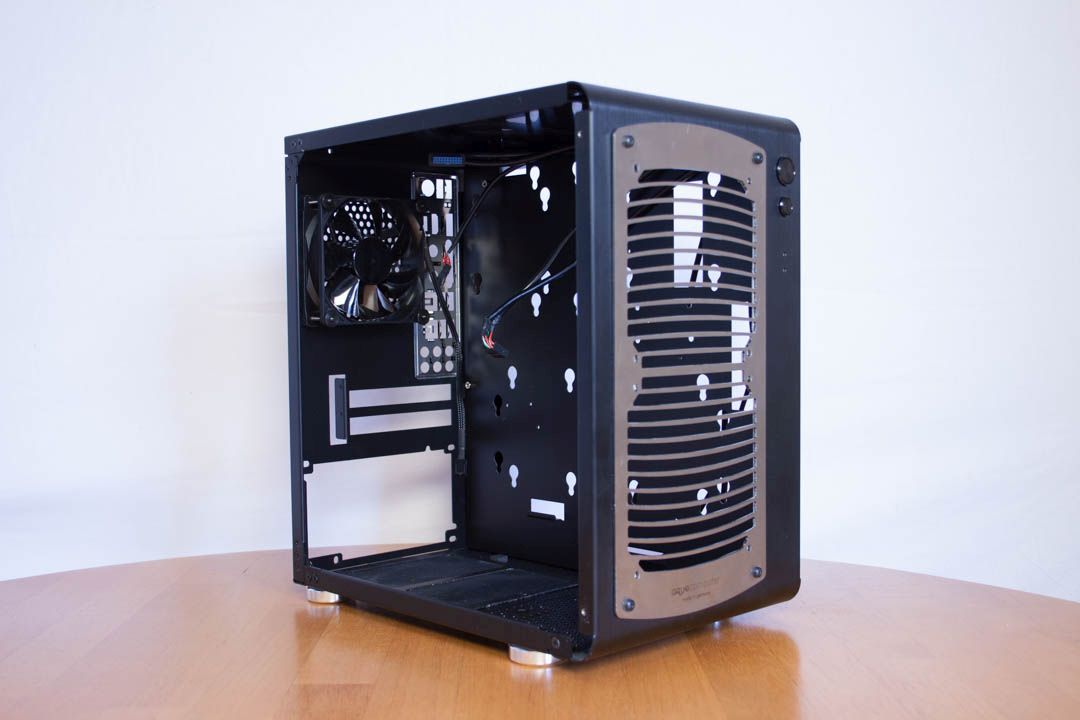
In the first part I showed you how I started by modding the case and the graphics card, now we will go through how I installed the watercooling and how the first revision of F4DE ended up looking.
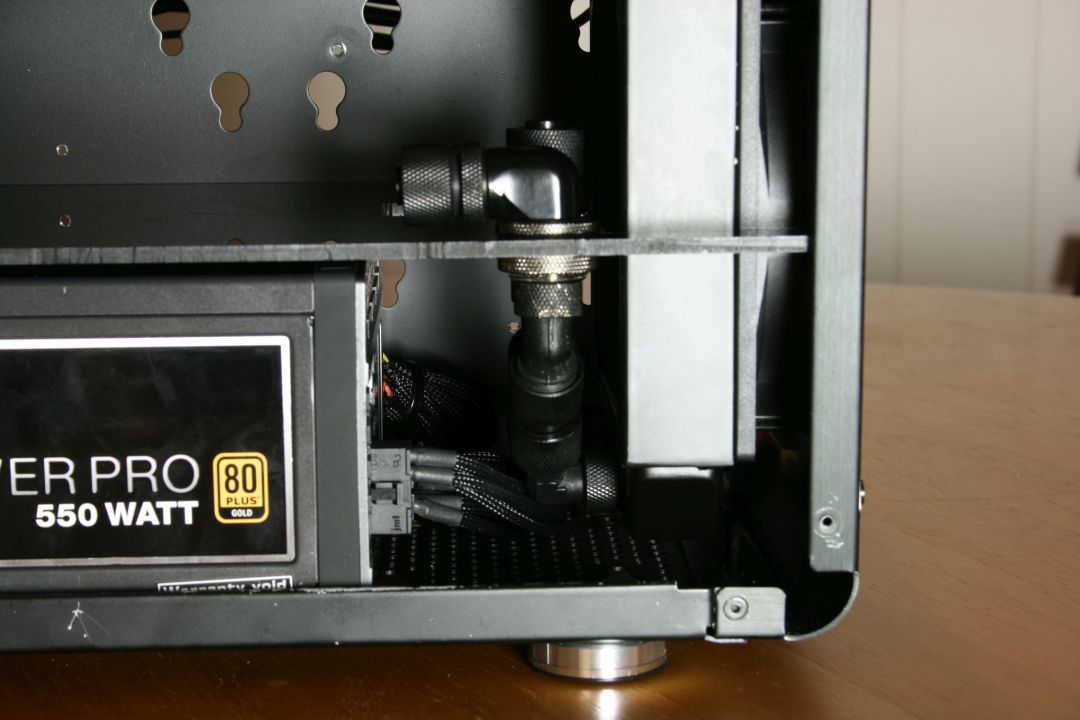
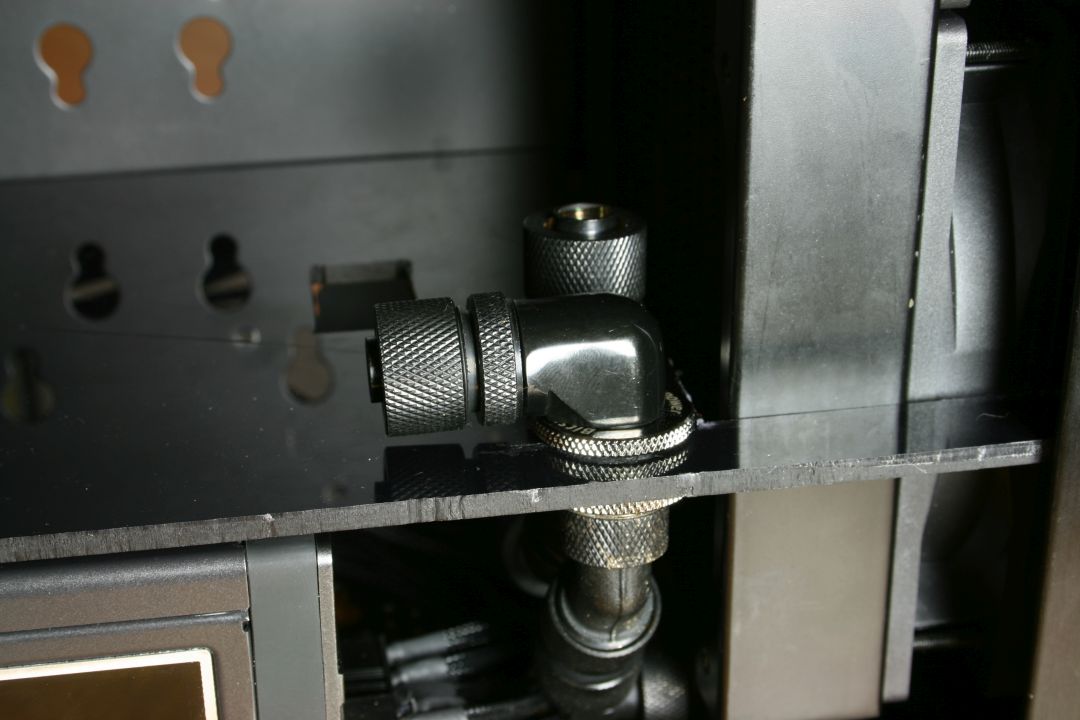
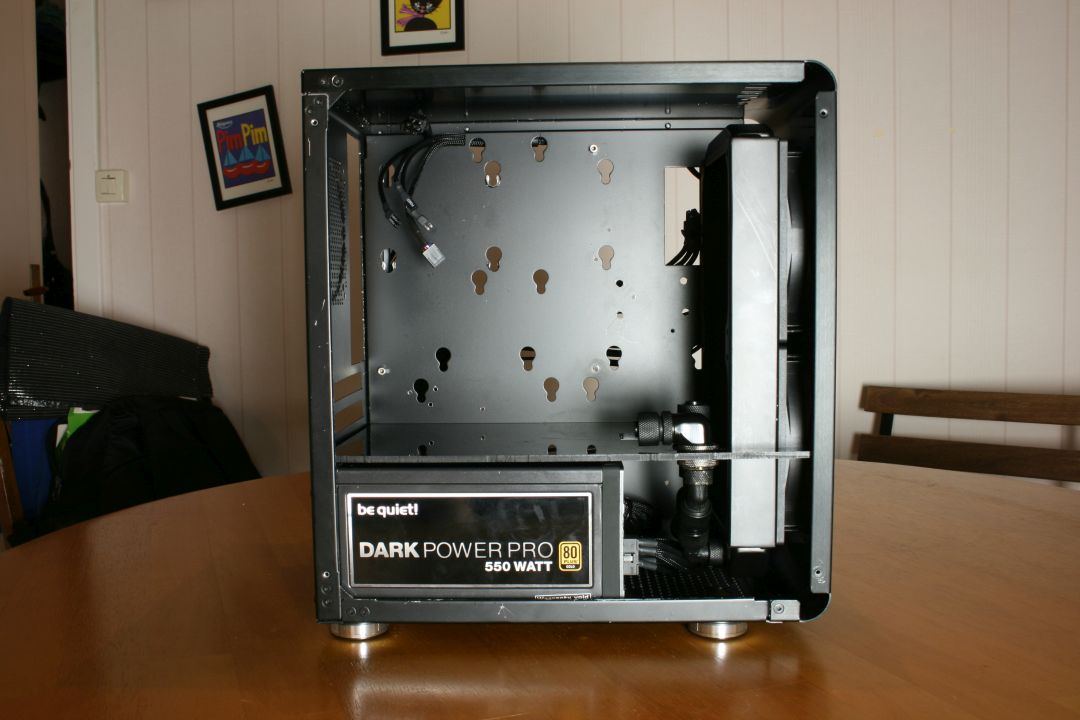
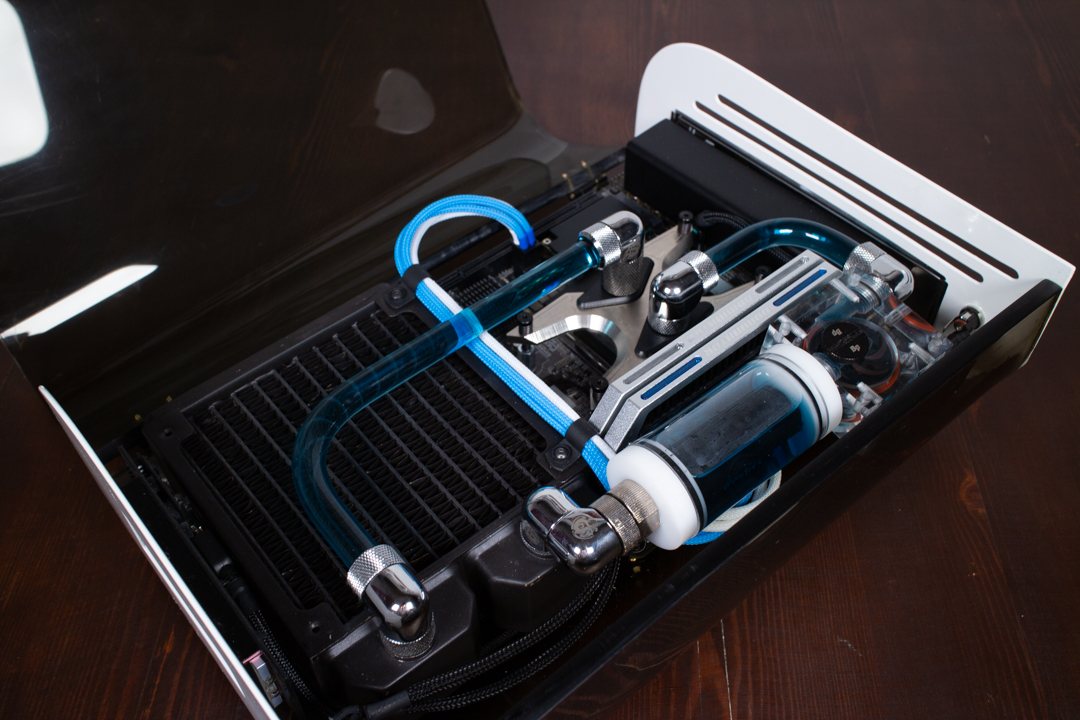
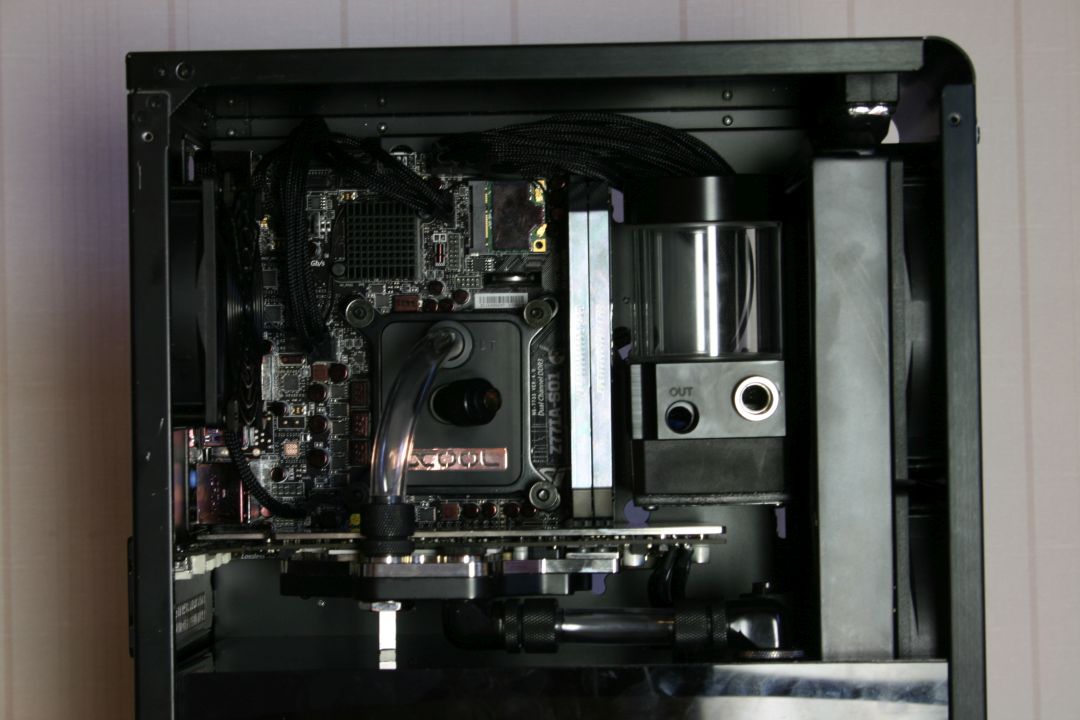
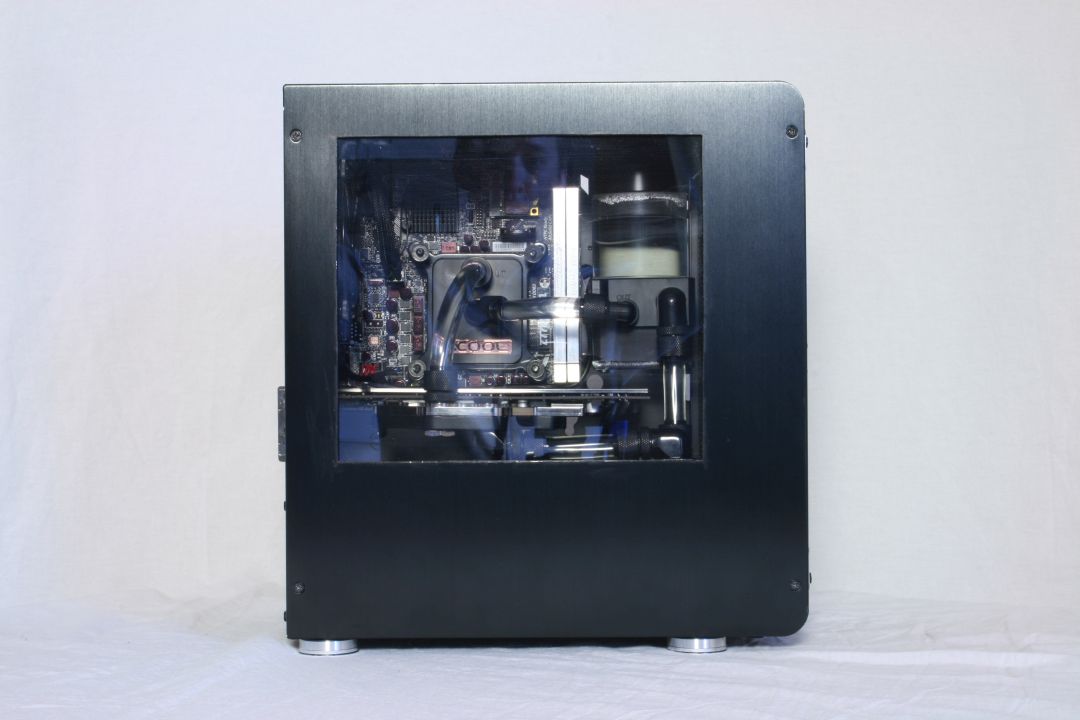
The radiator went through the PSU-shroud, so I had to somehow get the water up through that, I used some passthrough fittings and tubes to make that possible.
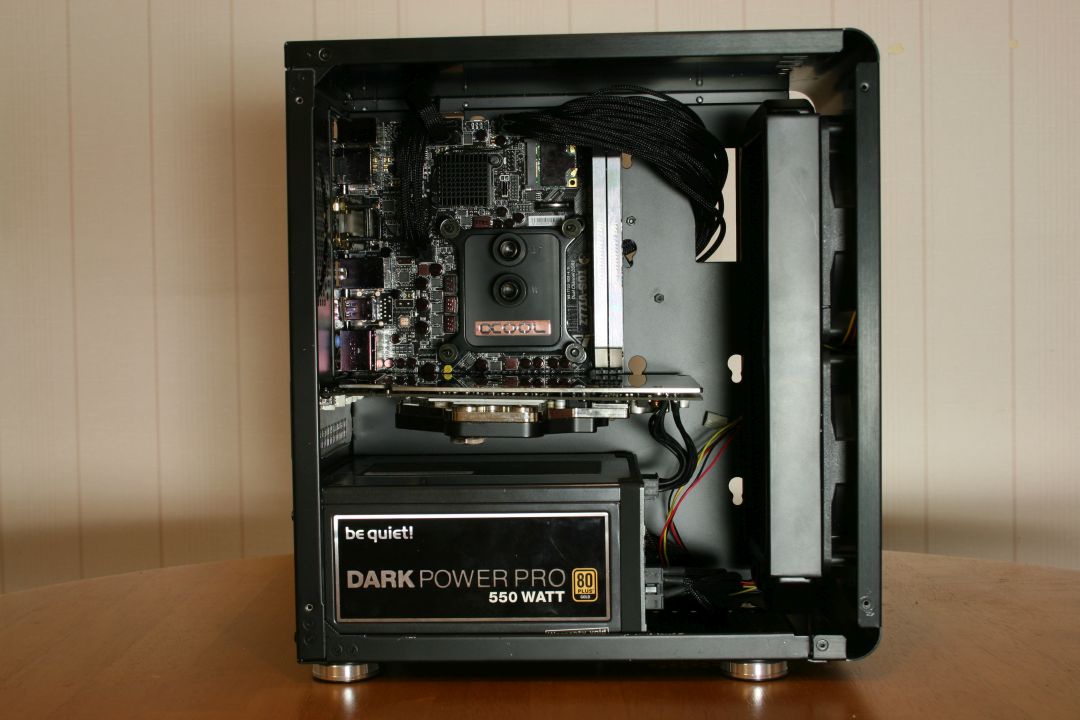
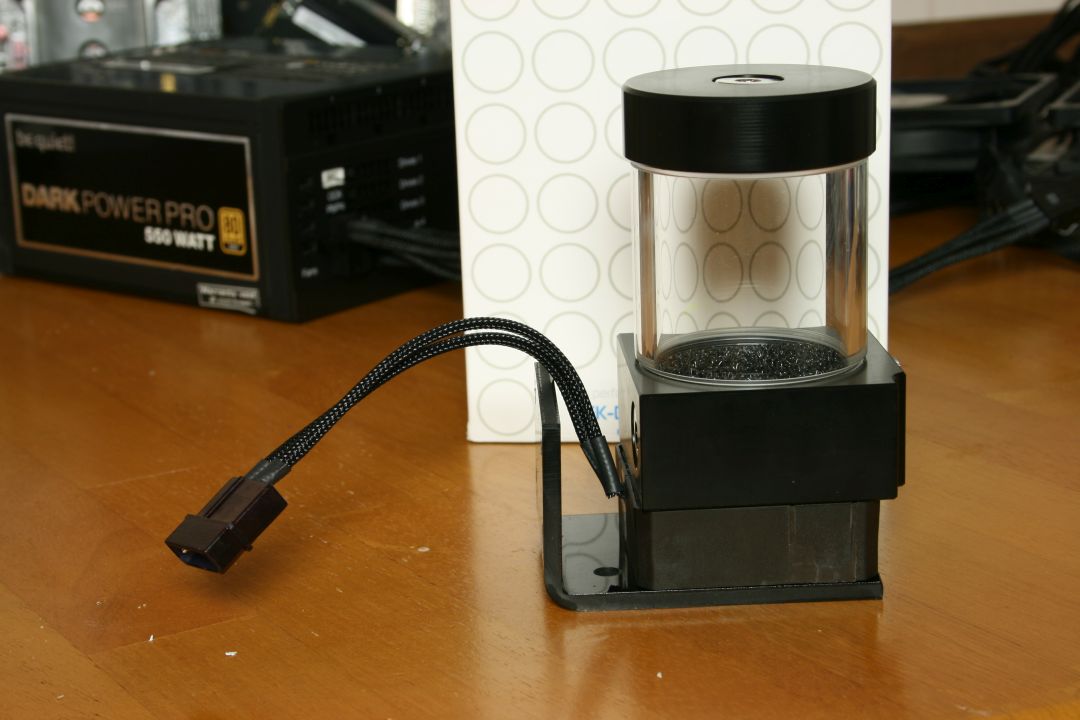
I used one of EKWBs DDC res-combos which worked good with this build, I made my own little pump-holder and sleeved the cables for the pump.
It was then installed between the motherboard and radiator and all the tubes were installed.


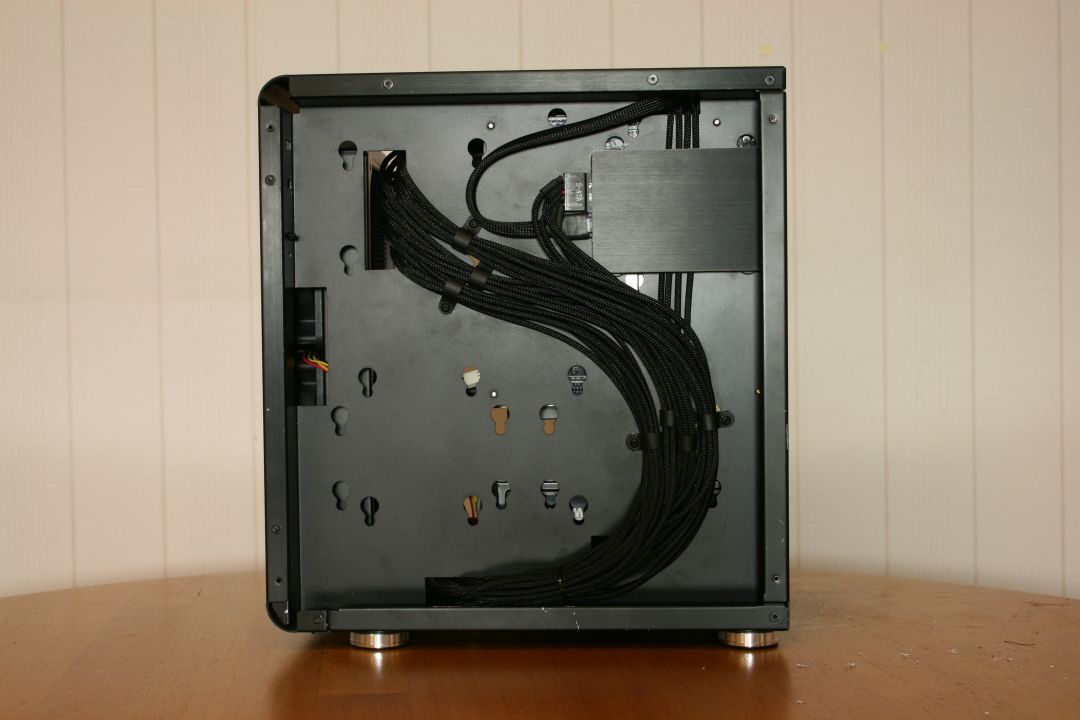
This is how the cable-management ended up looking like. I was proud of how it looked behind the motherboard, the SSD also got a small cover made from the aluminium that I cut out of the front.
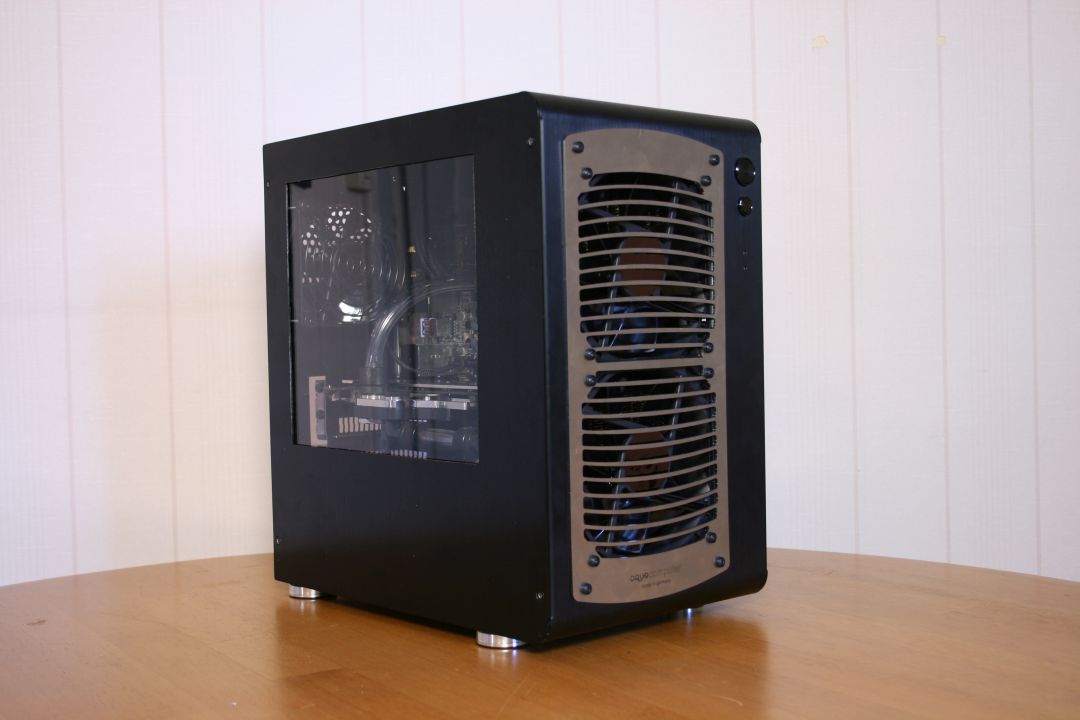
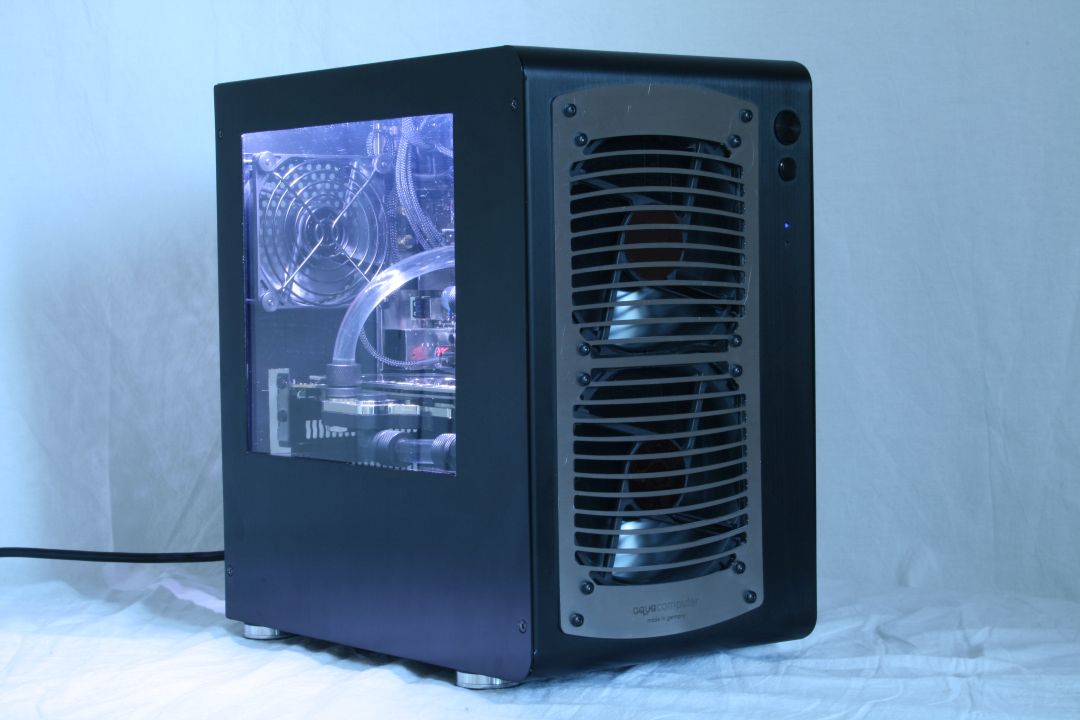
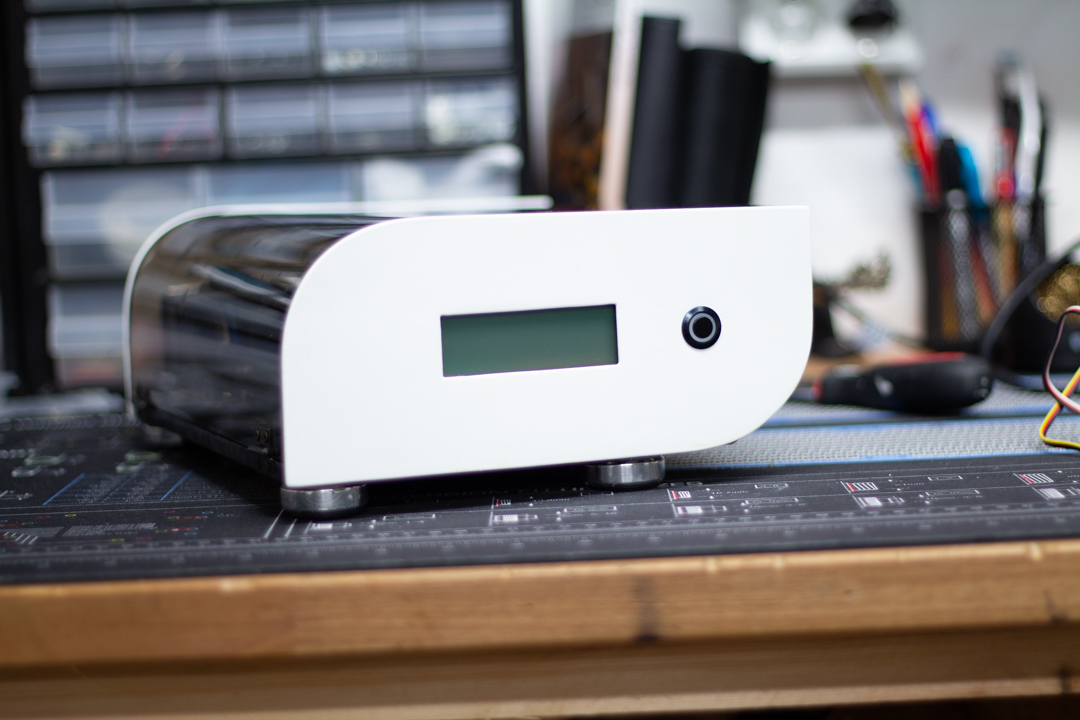
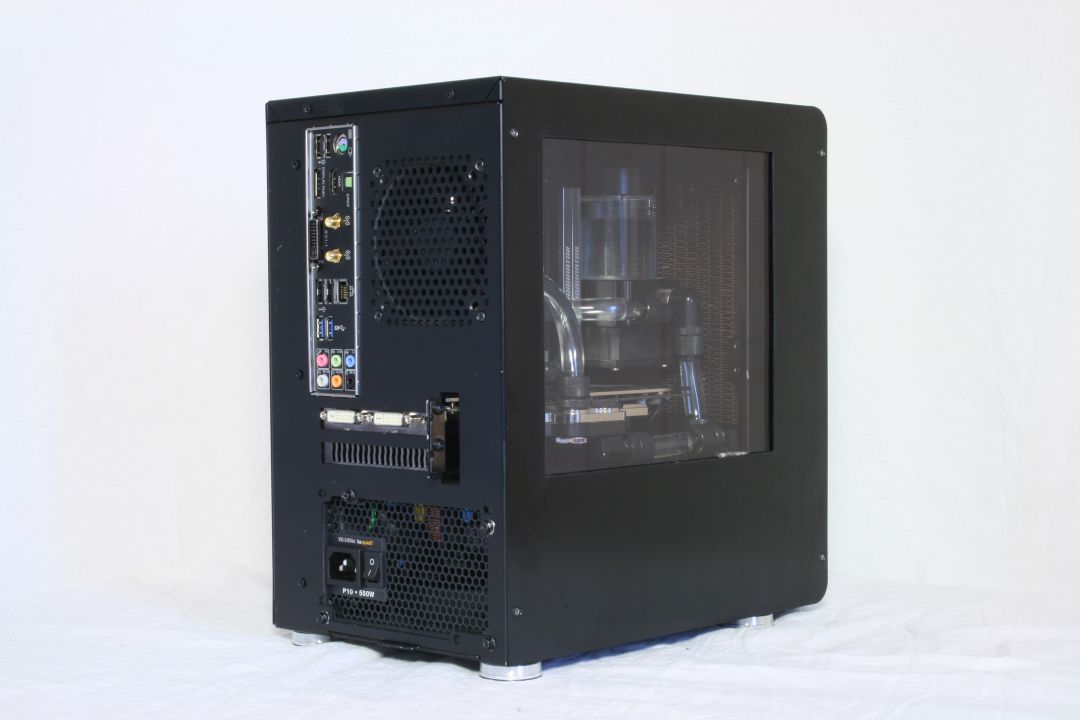
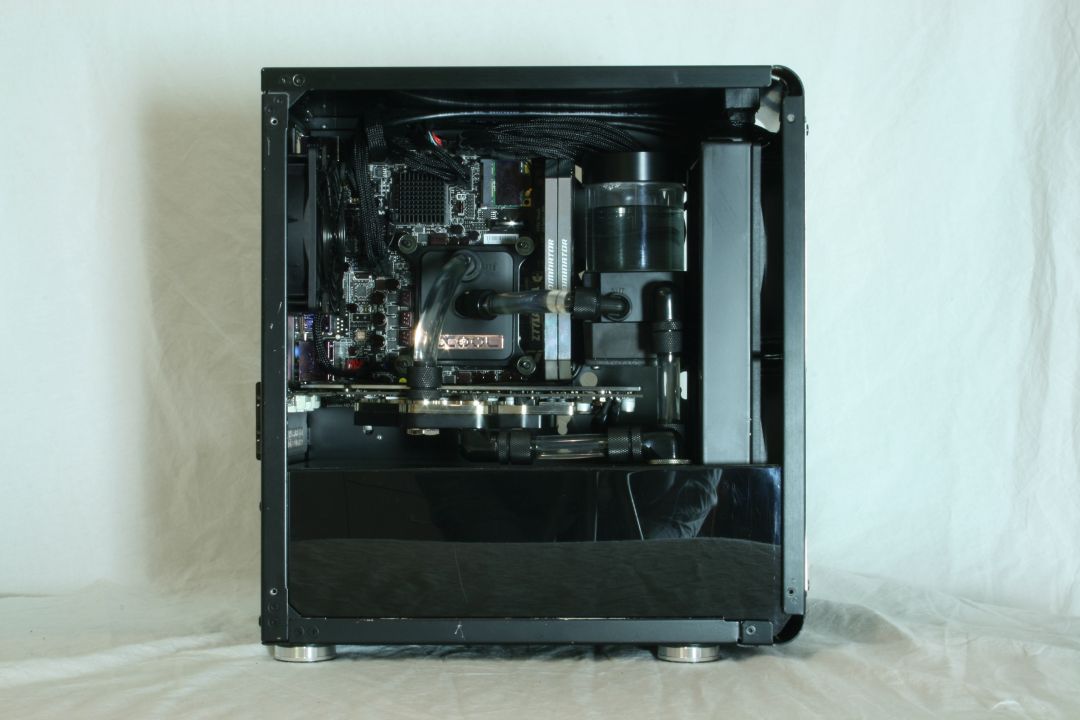
This was the end-result for the first version of F4DE. I was never really happy with this result, thats why there is a part 3 of this buildlog, that will include copper tubing, more mods and better hardware.