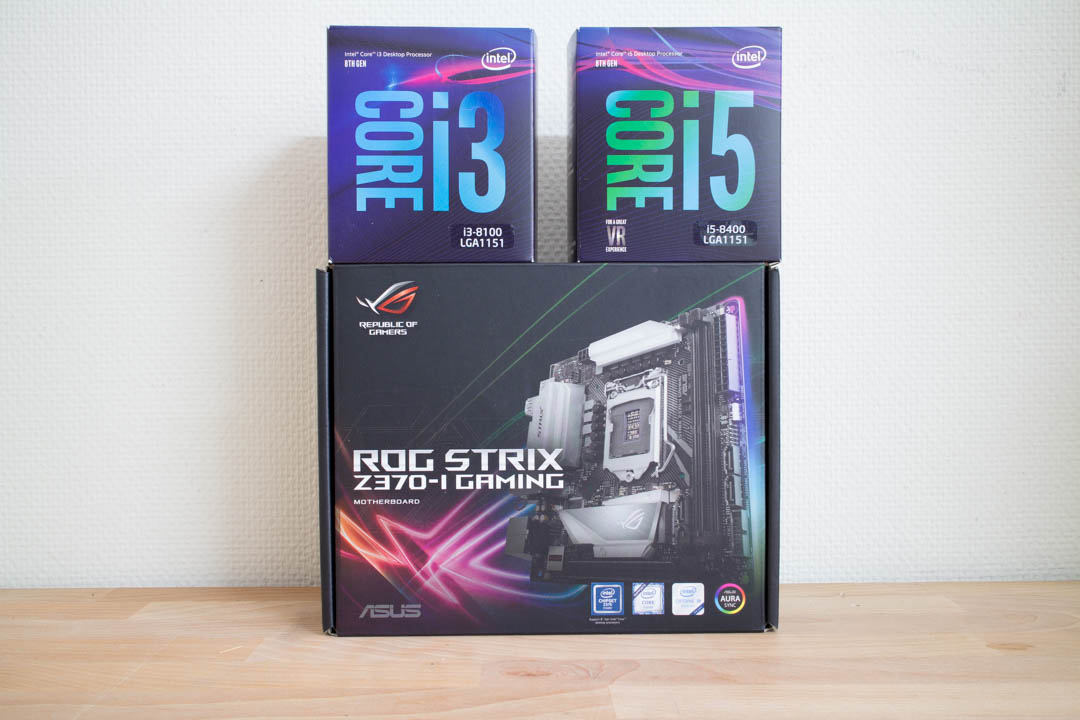
Intel recently released their 8th generation of their Core CPUs with the codename "Coffee Lake".…
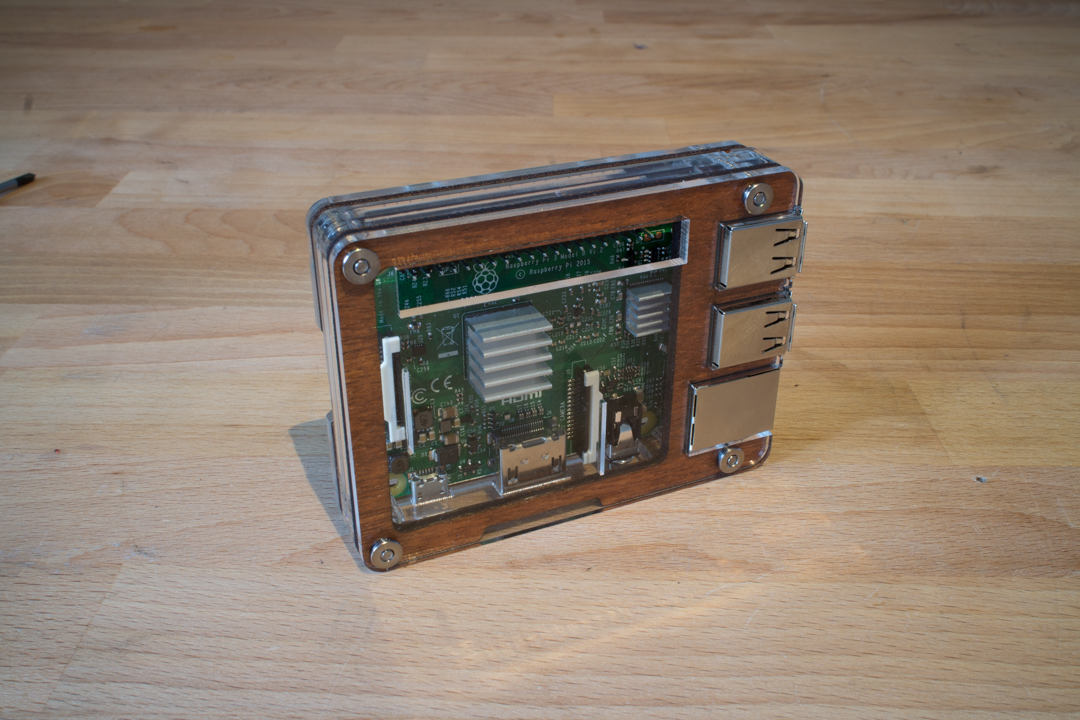
Test: C4Labs Zebra Wood
Ever since the Raspberry Pi Foundation announced the first versions of the Raspberry Pi back in 2012 I have been hooked. I owned different versions and tried some different setups, media PC and the retropi for example.
The Raspberry Pi 3 was released a few weeks ago and I ordered one, I also started looking around for a nice case for it and found a company called C4Labs which makes really awesome cases which also looks really nice.
I ordered the C4Labs Zebra Wood for 14.5$ and thought I would show of how to put it together and see how it is.
")
<– Here you see everything that was included with the case, three heatsinks for the CPU, DRAM and USB controller. The case itself consists of 7 layers, 5 acrylic and 2 mahogny. They also include 4 screws and 4 bolts as well as 4 rubber feet.
So here we see the Raspberry Pi 3 with the heatsinks C4Labs included, there are ventilation holes in the different layers too so it doesnt get to hot. –>
")
")
<– So lets start to put this case together, I started by installing the four small rubber feet on the bottom acrylic plate and then put the four screws through the holes.
Next thing is the first of the two mahogny layers. –>
")
")
<– Next step is to add a very thin acrylic layer as well as install a small acrylic piece to the Raspberry Pi where the Micro-USB, HDMI and 3.5mm jack is.
Now it is time to put the Raspberry Pi into the case, it only fits one way, but be sure to fit the small acrylic piece on the Raspberry Pi into the case. Then take the two small acrylic bits and install it to the right lower screw so it holds the acrylic piece on the Raspberry Pi together. –>
")
")
<– Then put the L-shaped acrylic pieces on to the case so it fits with the two small pieces.
Now it is time for the second mahogny layer and then the last acrylic layer. –>
")
")
<– Last thing is to screw the four nuts onto the screws so all the layers is clamped together and voila, done!
This is how it looks from the side with all the different layers. –>
")
")
<– I bought a 3.5″ LCD with touchscreen for my Raspberry Pi 2 last year. One of the good things with the case from C4Labs is that they made it so you can connect stuff to all the ports.
So I can just plug my LCD in the Raspberry Pi with this case, very nice C4Labs! –>
")
Conclusion:
I really enjoyed to put this case together, even got some flashbacks from building with LEGO as a child. This is the best looking Raspberry Pi case I have seen yet with the wooden touches to it and I really liked how C4Labs designed it so you still can access all the ports without having to take it apart. Plus for sending some heatsinks with the case too.
Overall a very nice job by C4Labs!