This is our first video at Minimalistic PC's. A big thank you goes out to…
Cold Winter: Part 2
In part 1 I showed you how I build this case from scratch and everything I did for the first version of Cold Winter, in this one though, part 2, I will go through version 2 of Cold Winter.
Sadly I dont have many photos from version 2 and the ones I have are of very poor quality, but I will show and explain as much as possible.
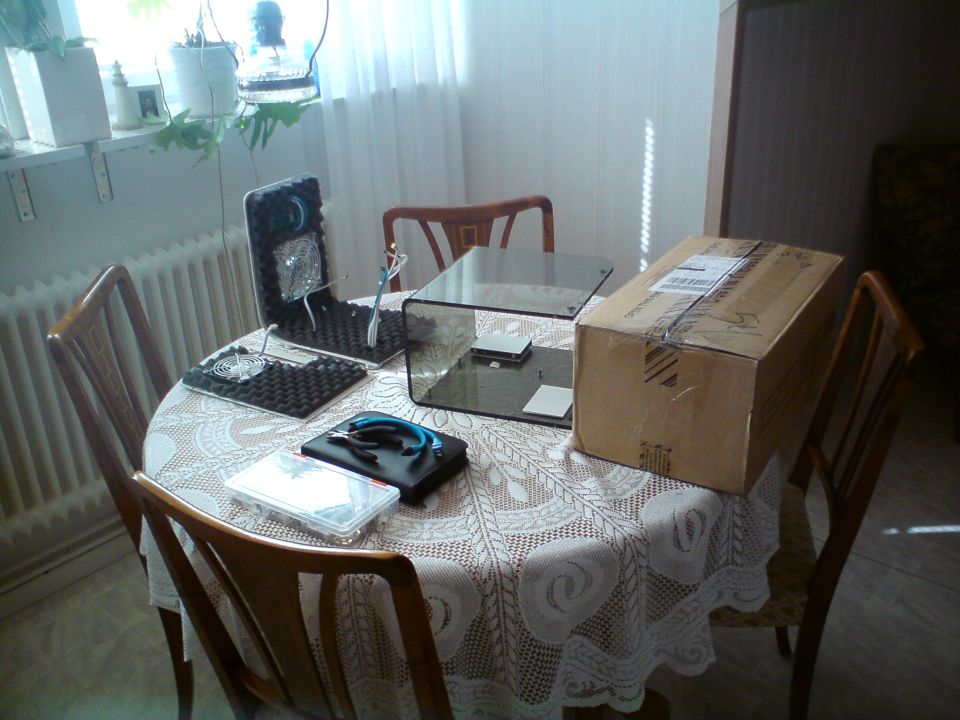
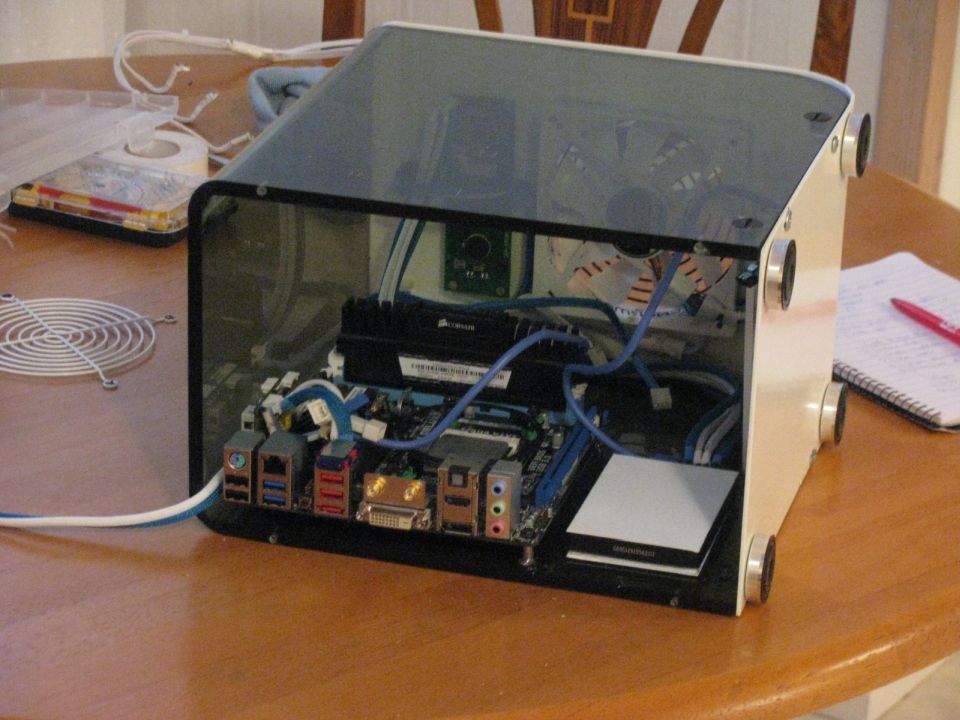
So in the first photo is where we left of last time, that was how version 1 looked like. But why a version two then? Well, I made Cold Winter as my second project, I was still learning new stuff, still am now as well, so there were a lot of mistakes I wanted to fix and as I learned new things about modding I wanted to implement that too. This is something that you can see in almost all my projects, I keep updating them.
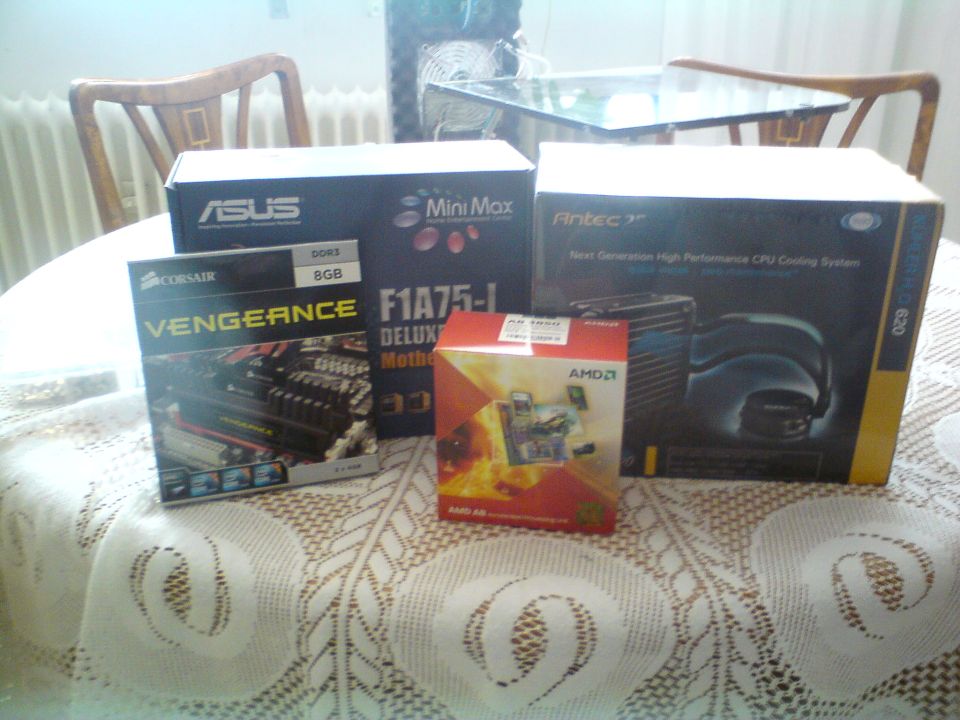
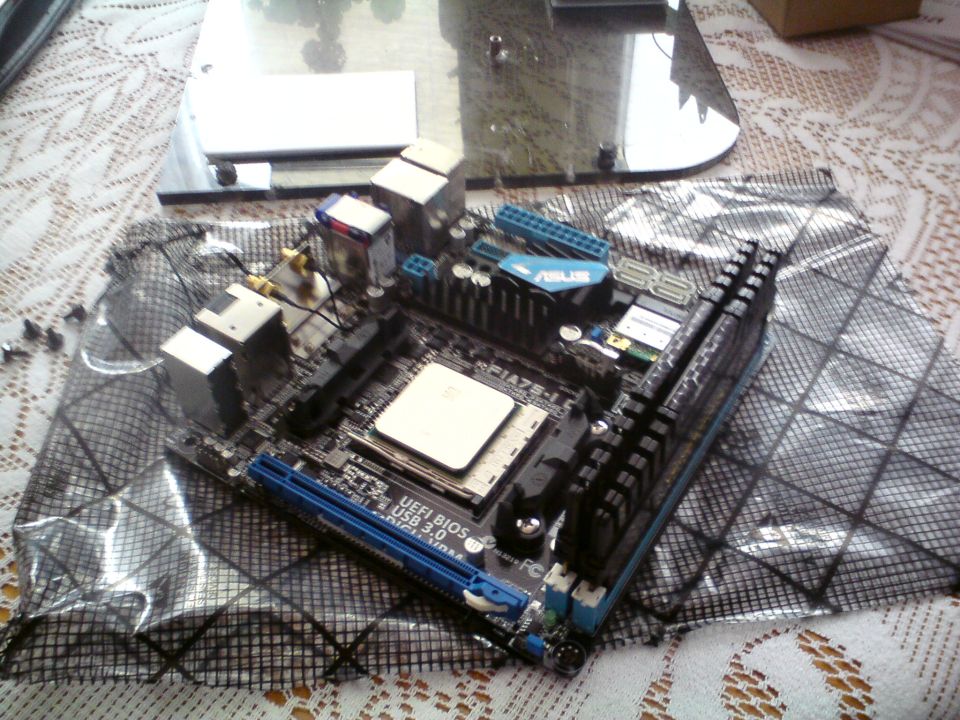
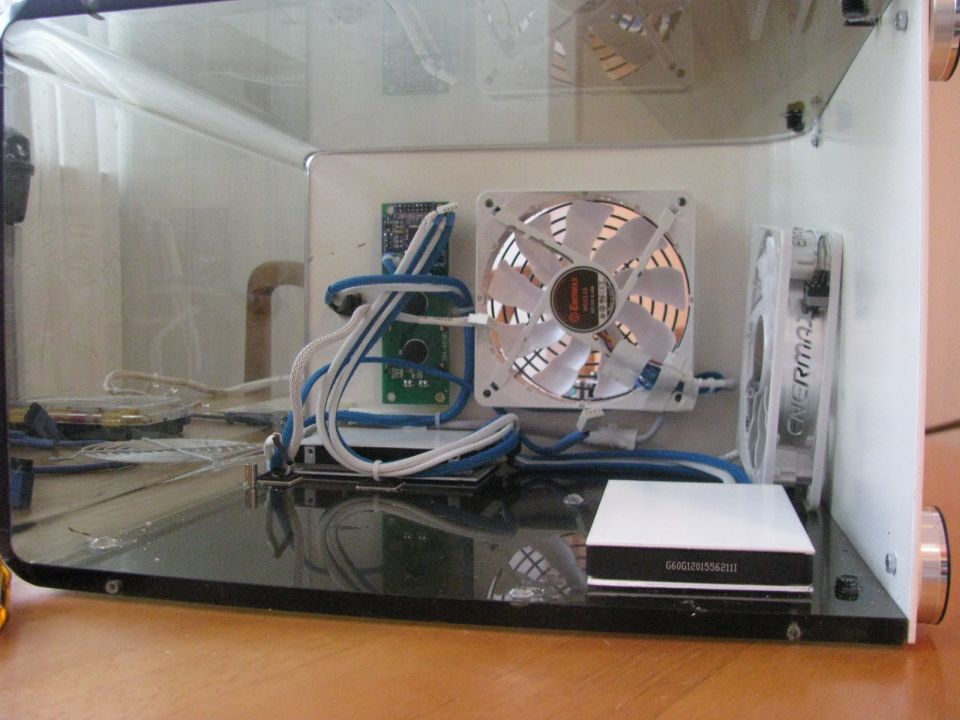
So what did I update in version 2? Well first of all I got a decent Mini-ITX motherboard and used AMD’s APU that could actually run some games. This was also the first time I used a Pico-PSU!
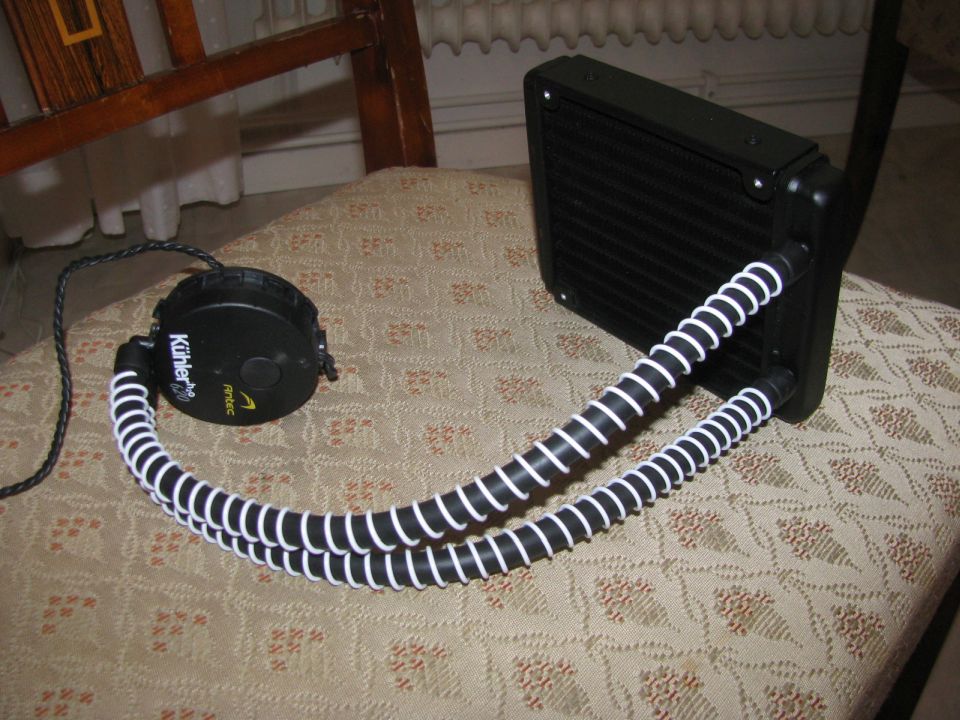
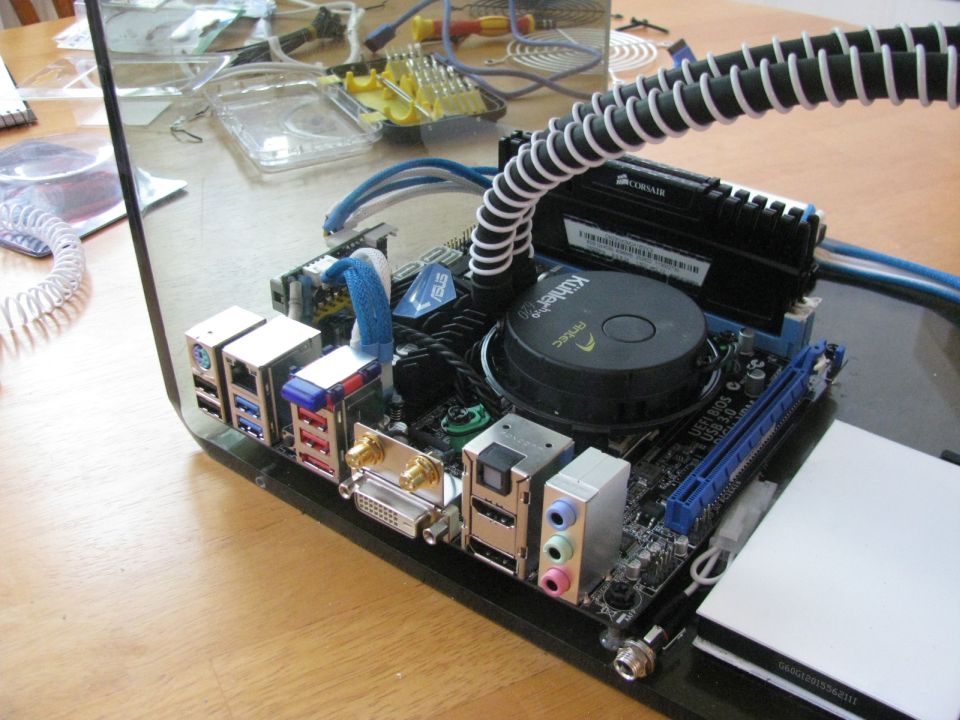
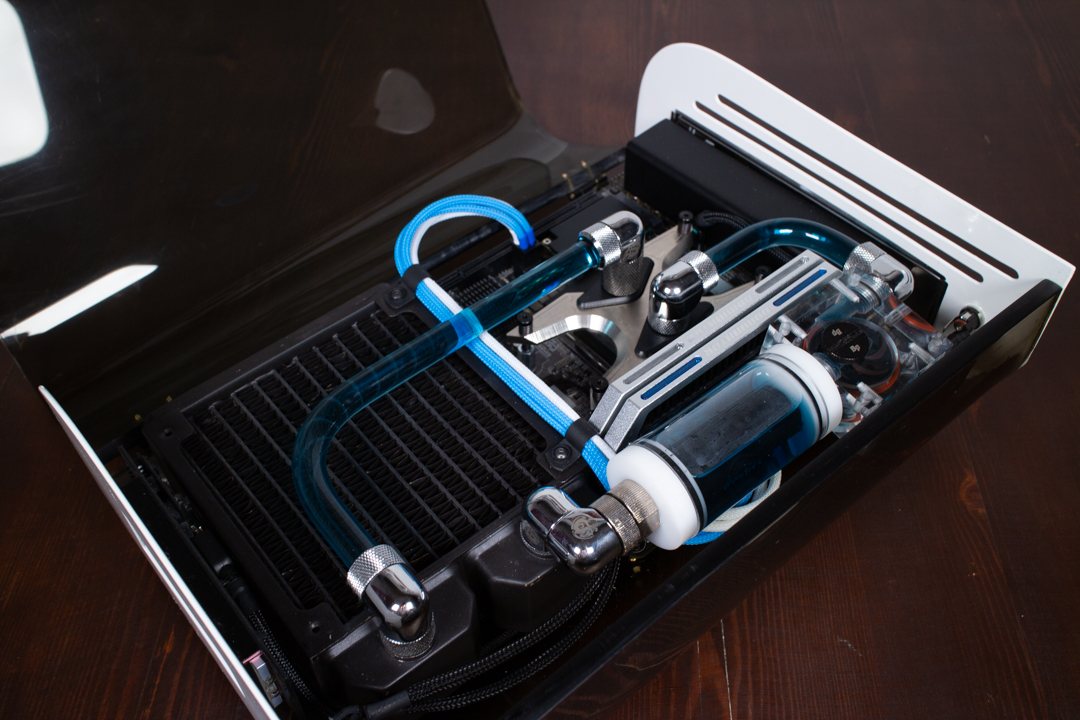
With a more powerful CPU I needed better cooling and that is where the Antec Kuhler 620 came in. My idea from the beginning of Cold Winter was to use watercooling, but that did not happen and then I found this and thought it was a cool solution. I also bought some white coil to make it look a bit cooler back then.
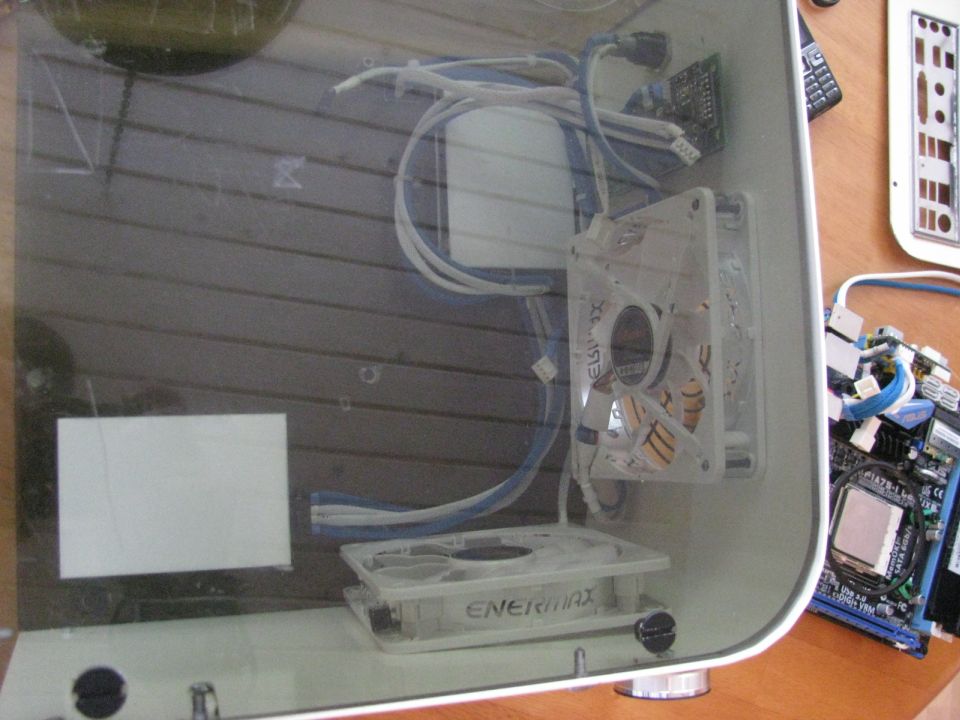
The fans I used was Enermax Cluster which still today are some of the most beatiful fans I used.
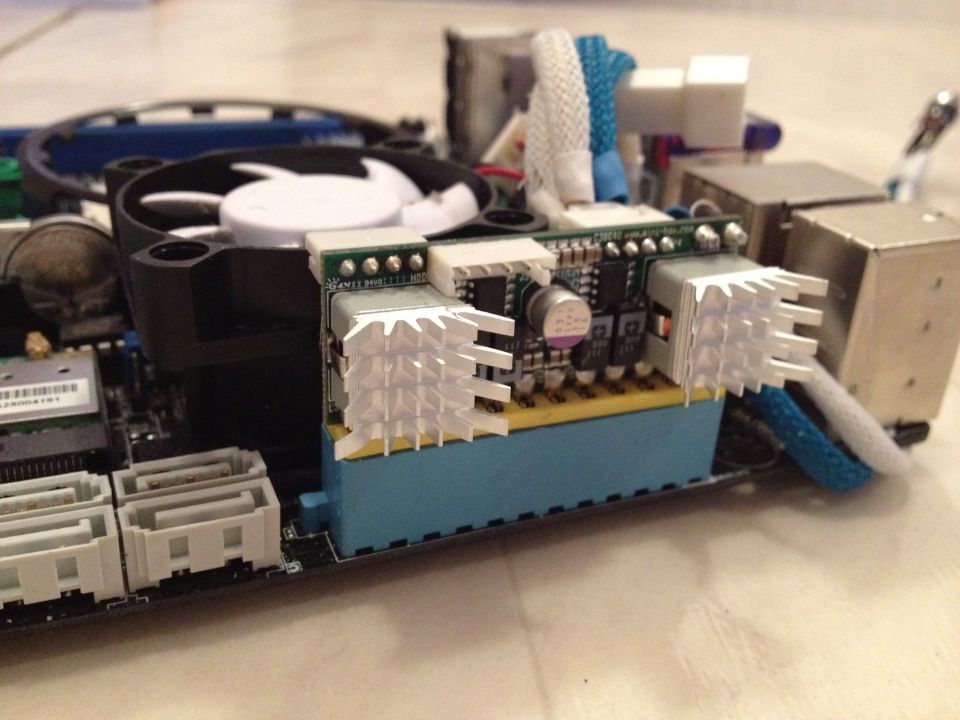
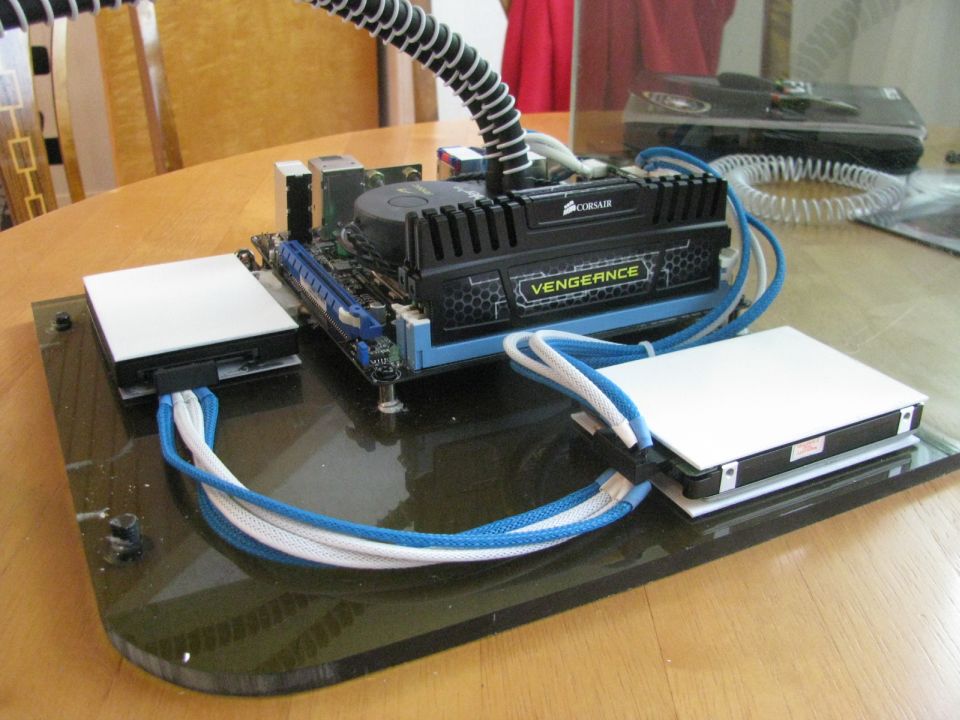
I used the same SSD and HDD as before but redid the sleeving a bit better.
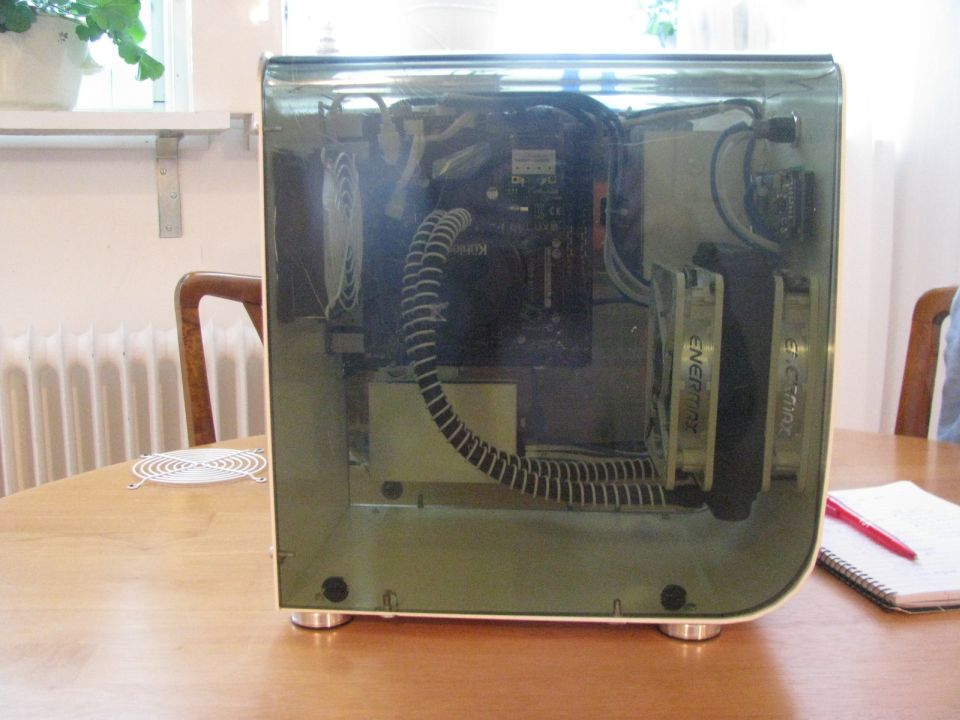
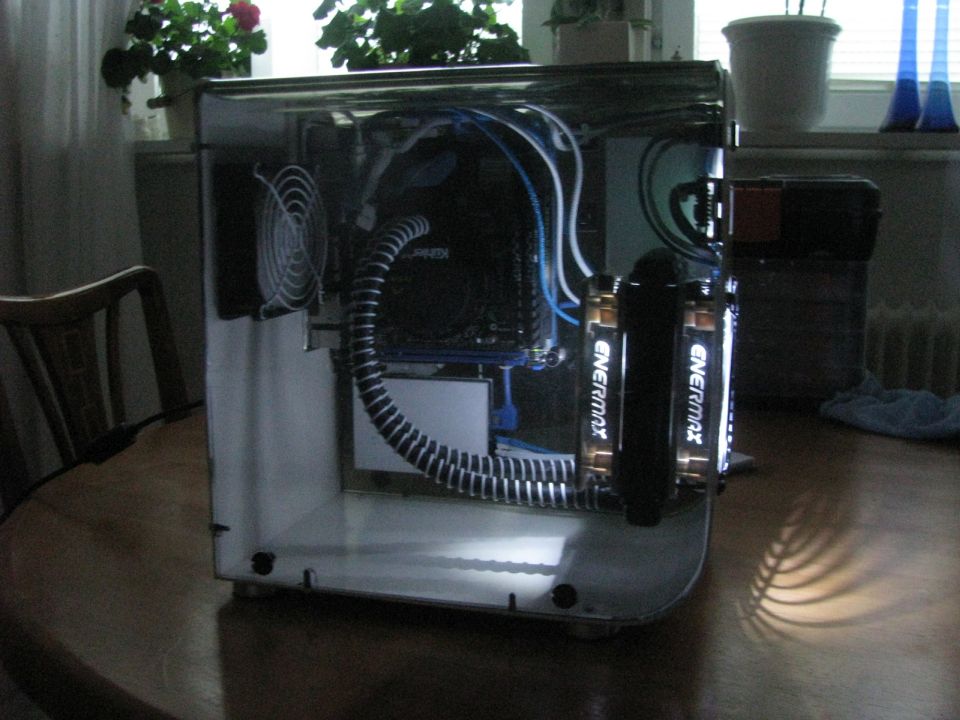
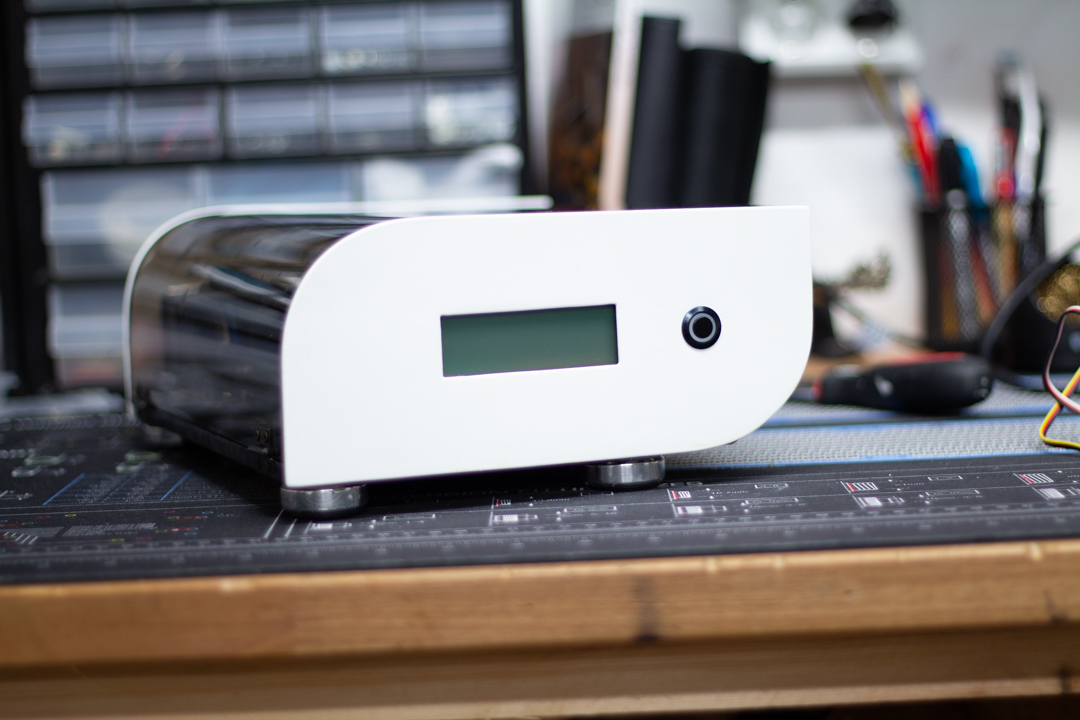
This was how it all ended up, as I said before, I does not have much photos of this “version” and most of them are with very bad quality.
The third and last version of Cold Winter, the one that looks as close as possible to what I had in my mind from the beginning and the one I am most proud over will be shown in part 3 of this buildlog!