This is our first video at Minimalistic PC's. A big thank you goes out to…
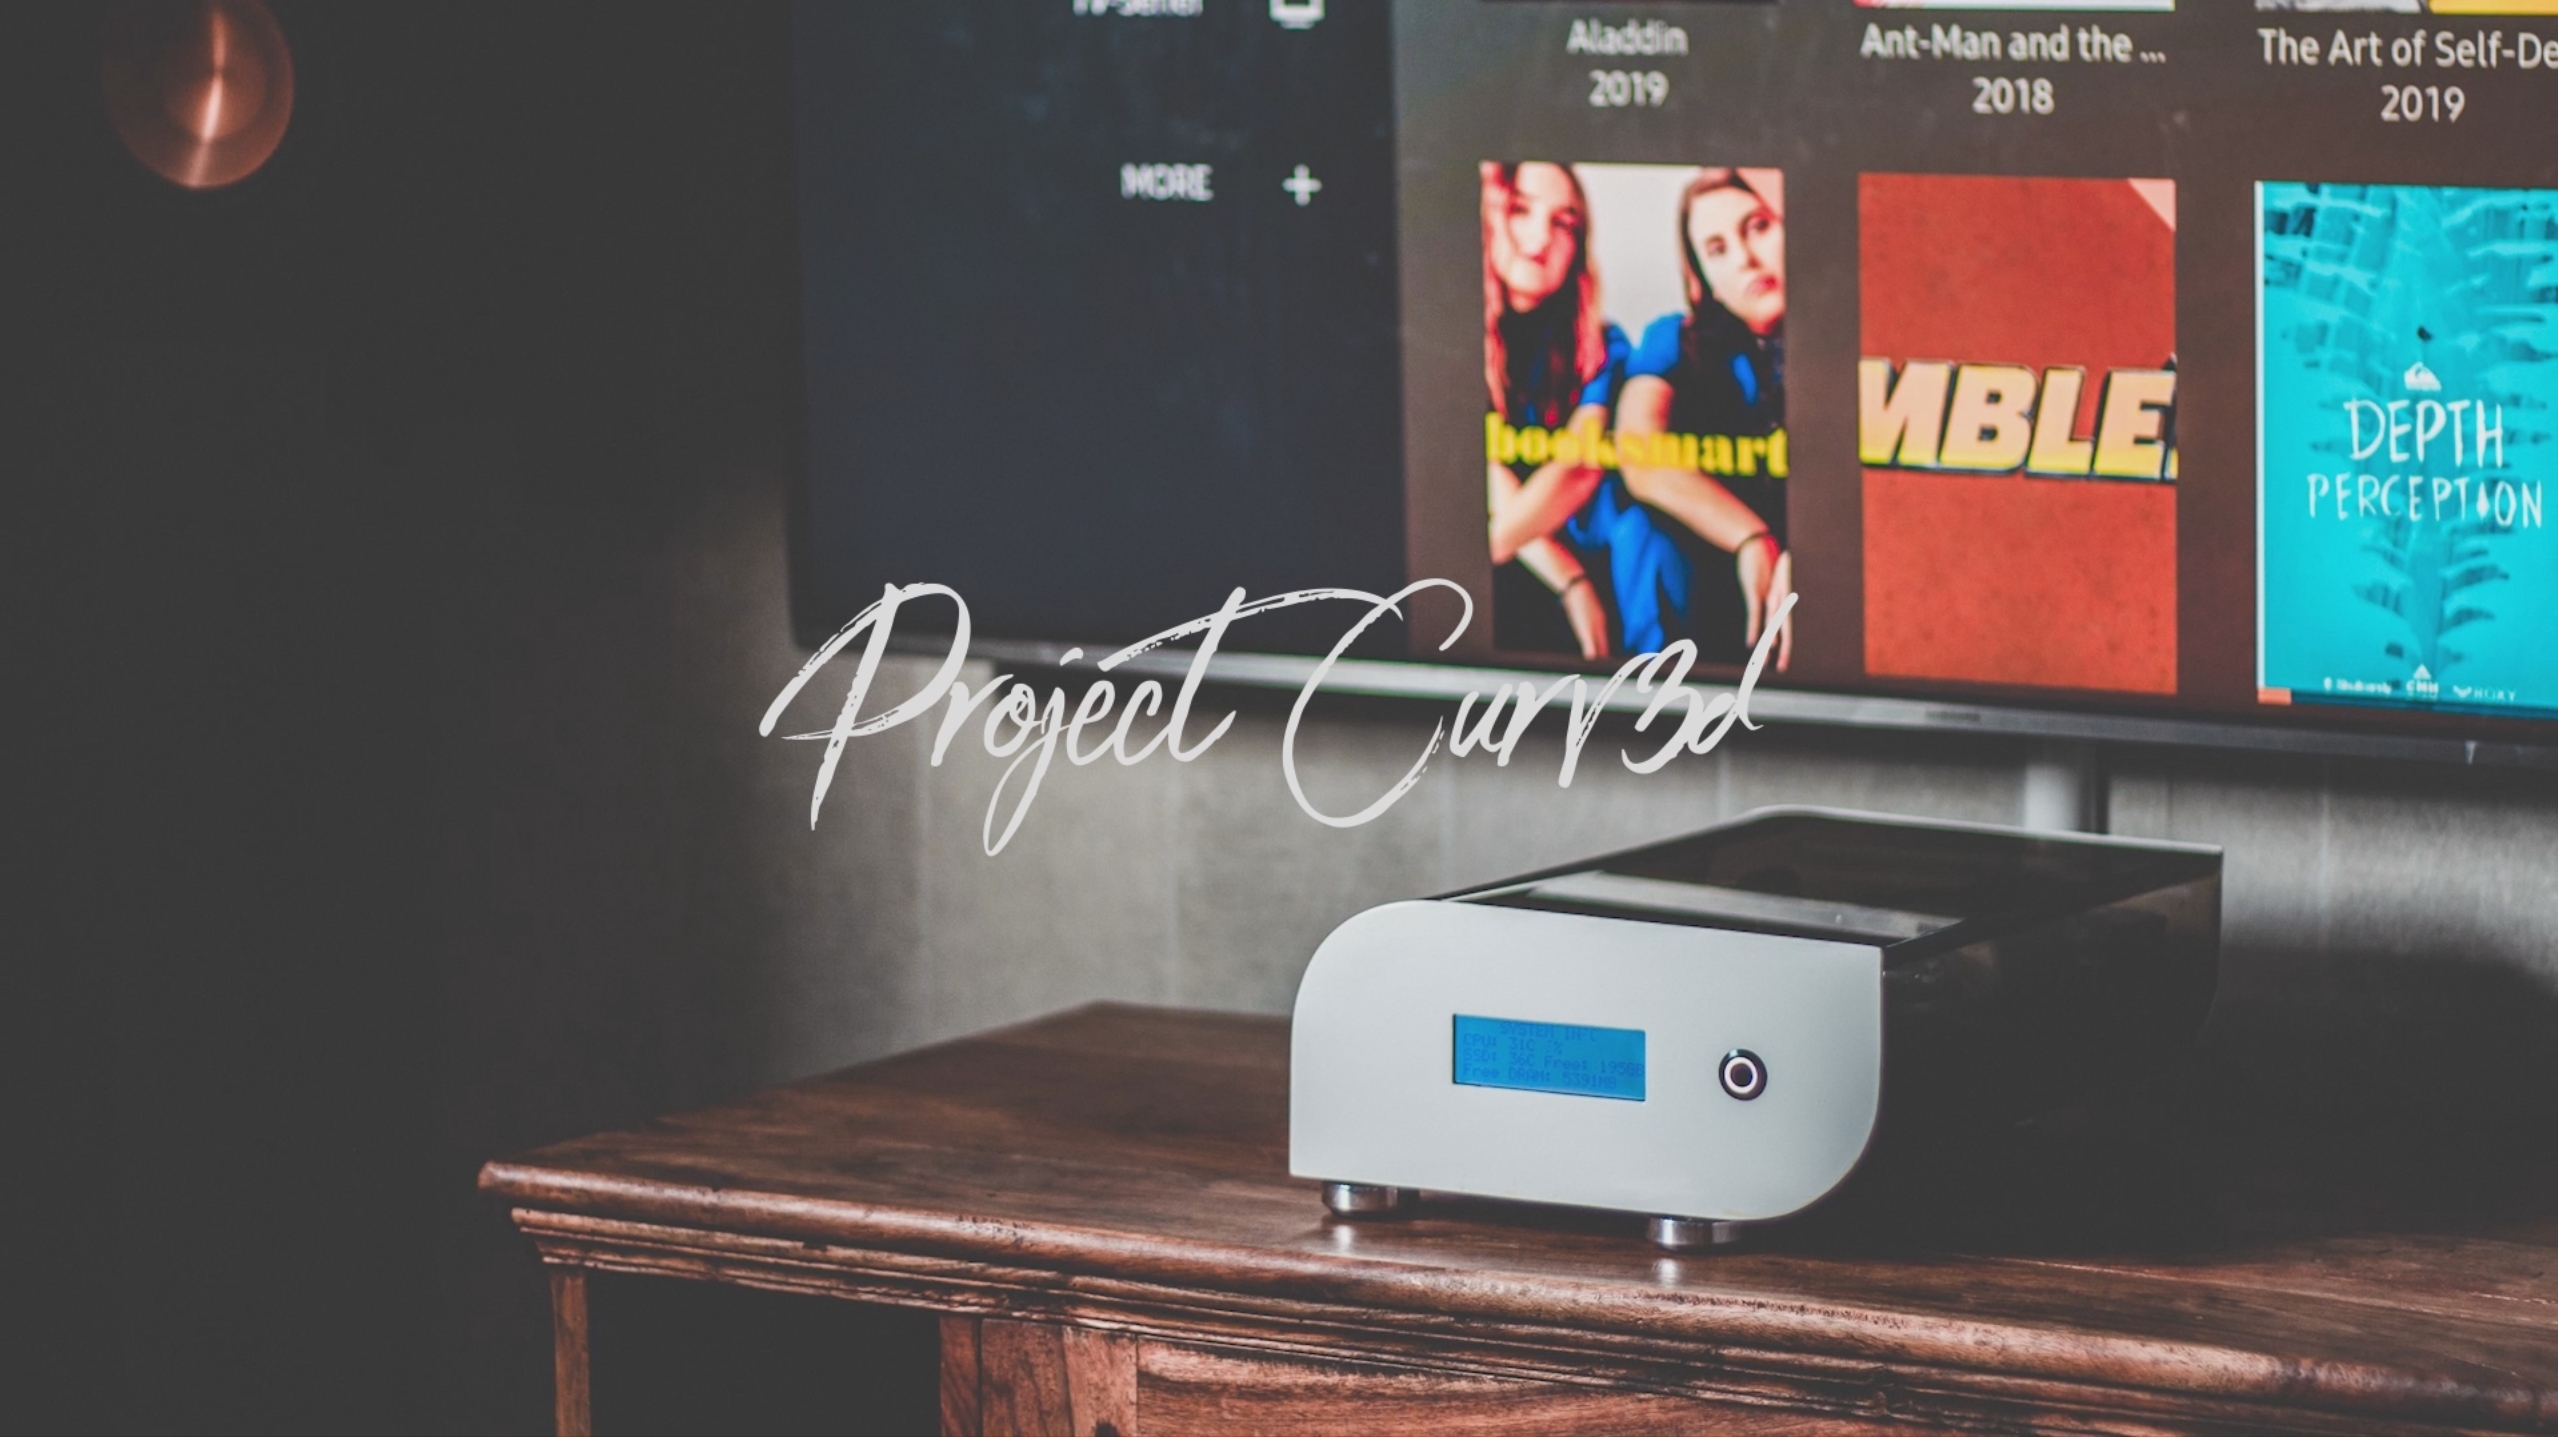
CURV3D: Update 2
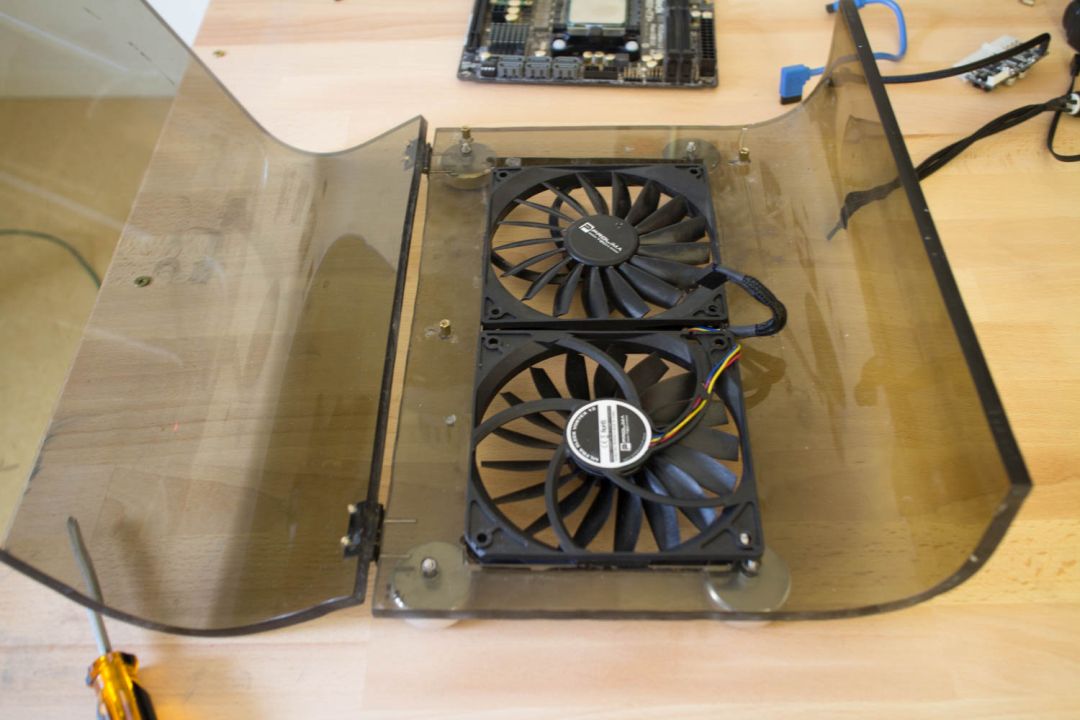
In the first update I went through the beginning of this project back in 2011, how I upgraded the cooling with two 120mm slim fans in the bottom of the case and working on the frontplate.
I decided to finish the “Corsair Edition” of this build for Dreamhack Winter 2016, as they have a modding contest I thought I could try my luck there. So I need to get to work!
So what will we do today?
- Finish the backplate.
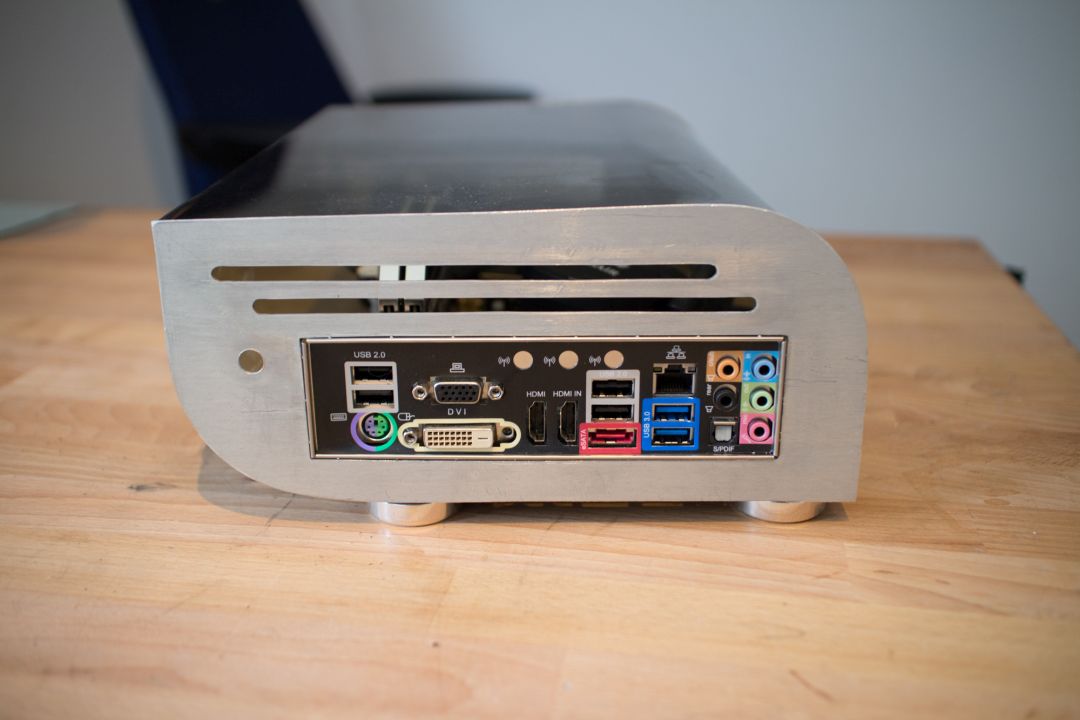
- Testfitting.
- Making a custom SSD-holder.
- Fans and fangrill.
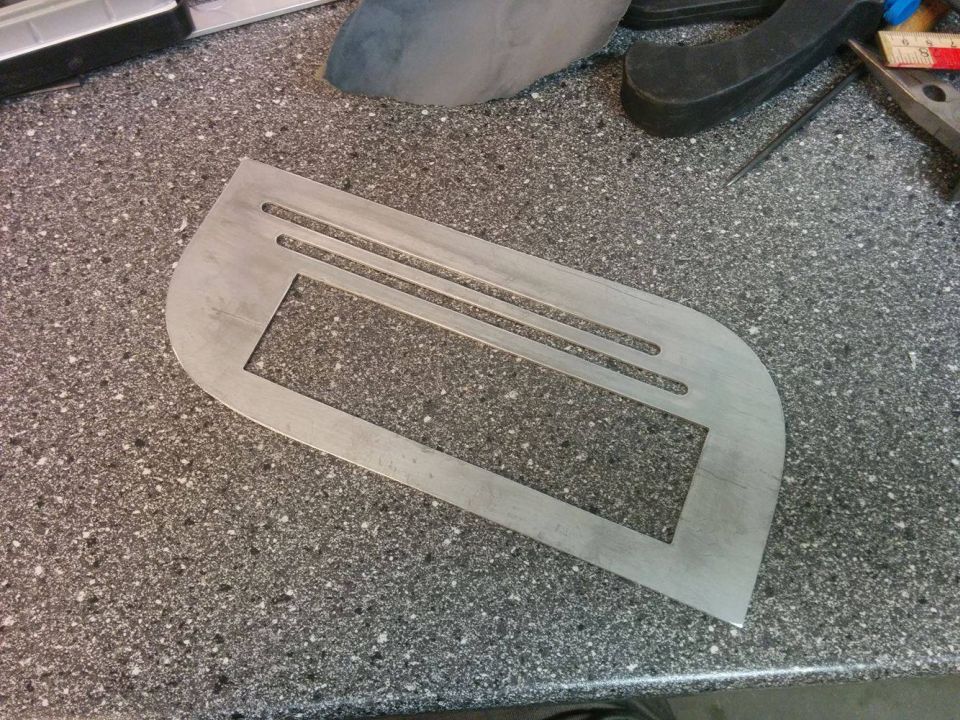
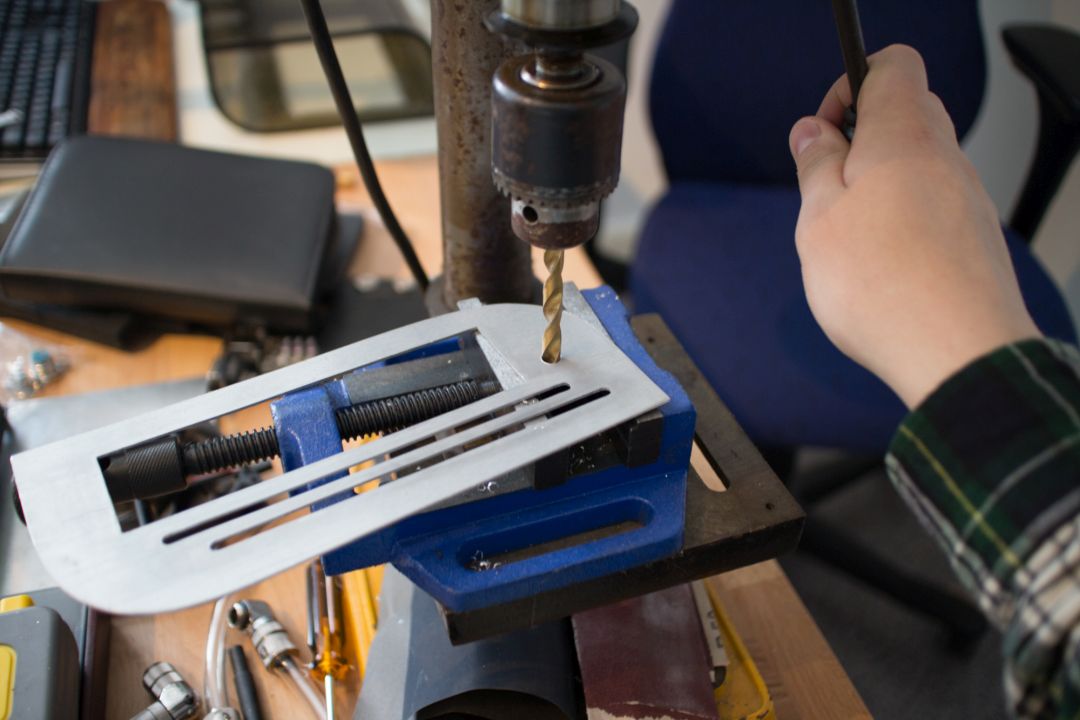
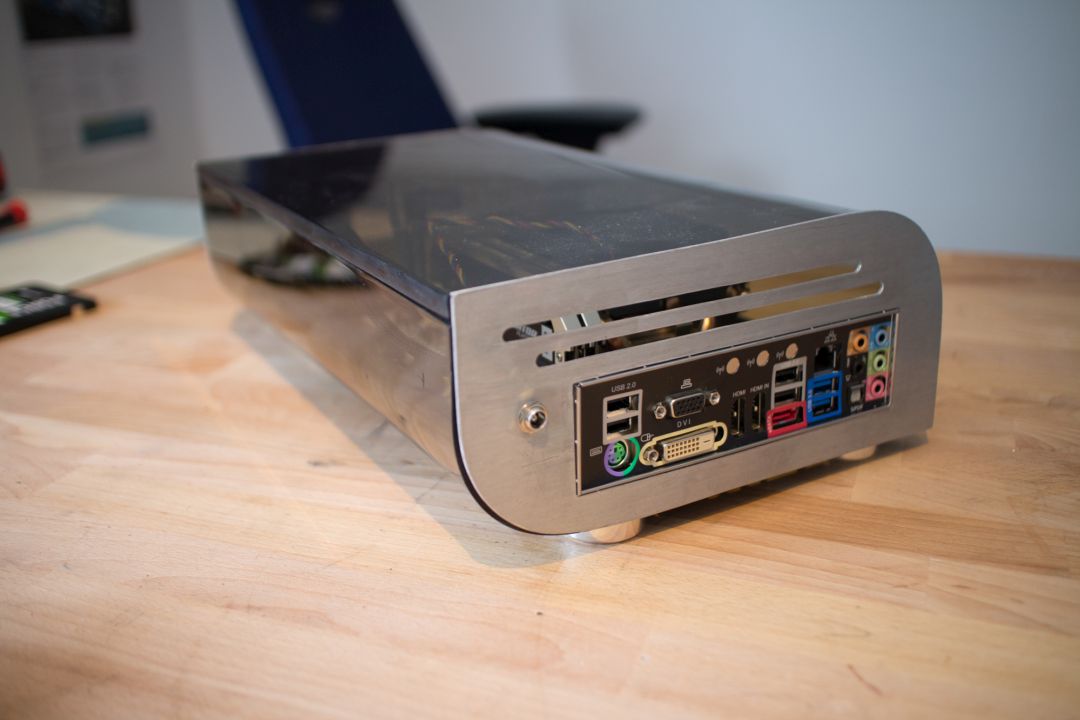
Backplate is finished with some small air-ventilation holes over the I/O-shield. Using a drill I made a hole for the power-connector for the Pico-PSU.
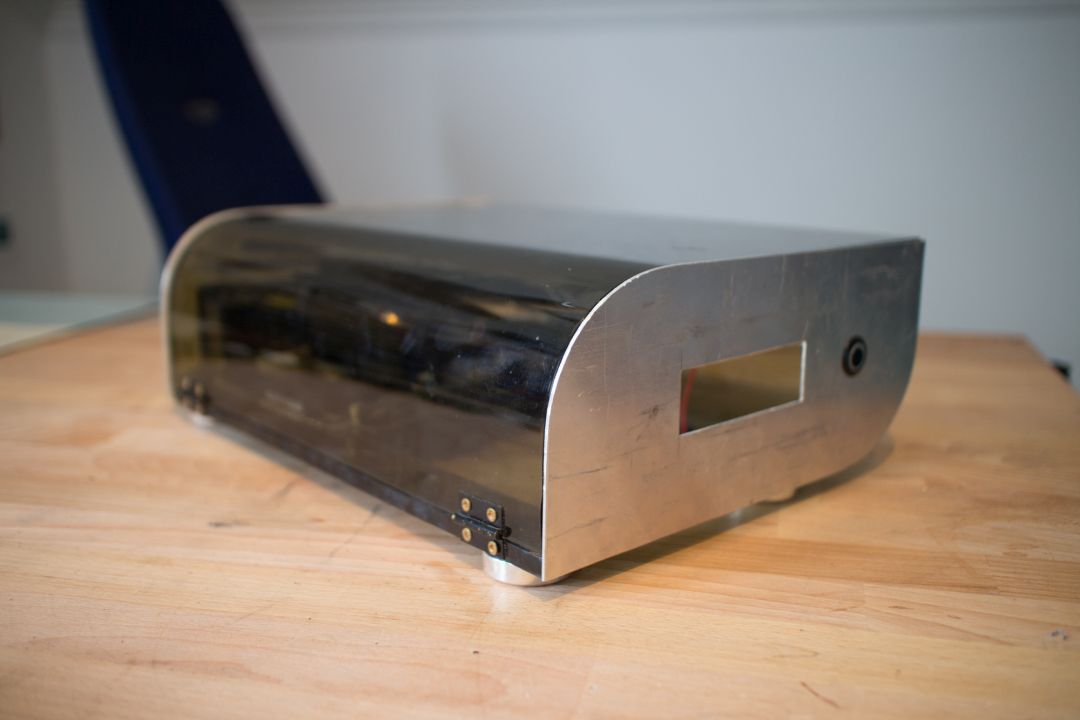
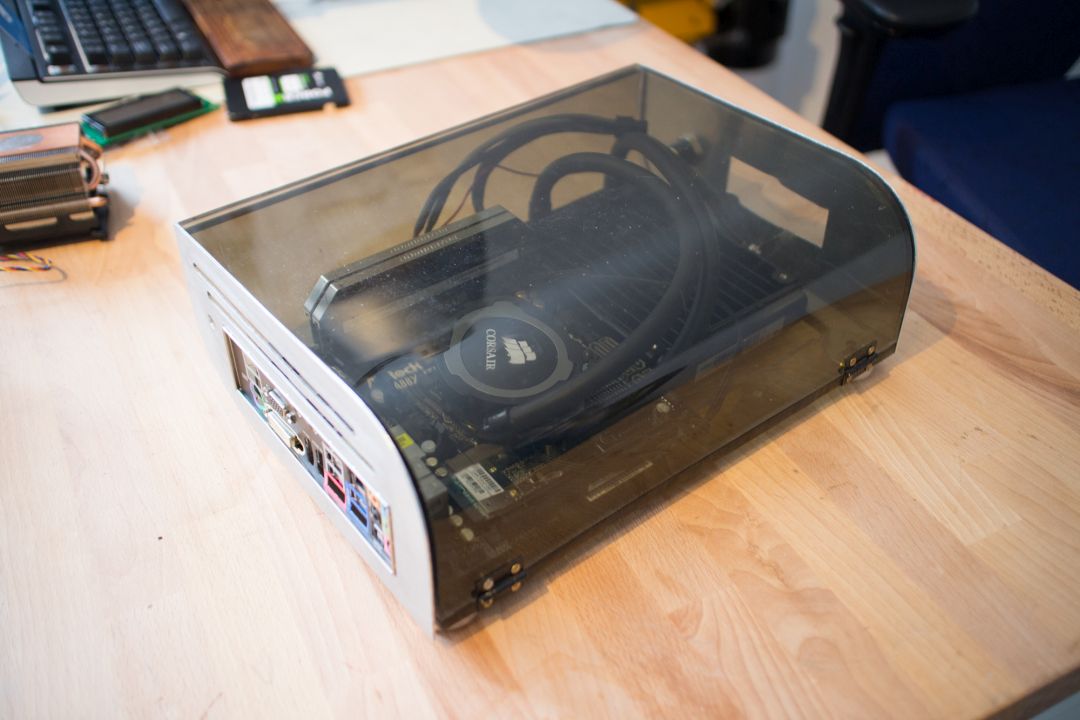
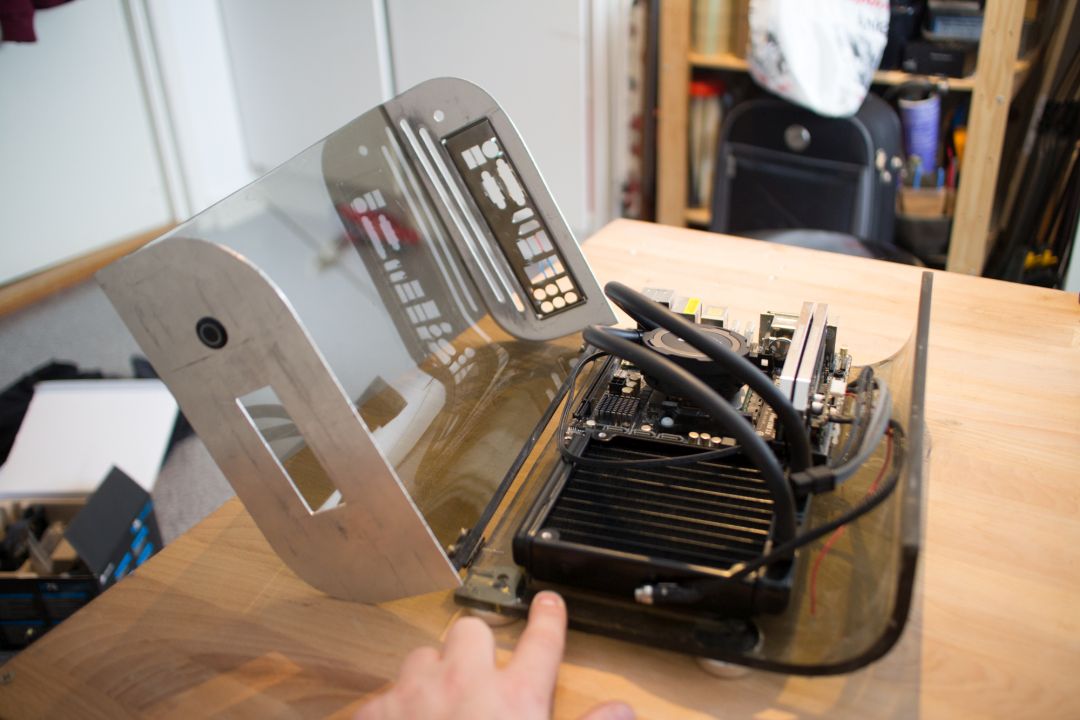
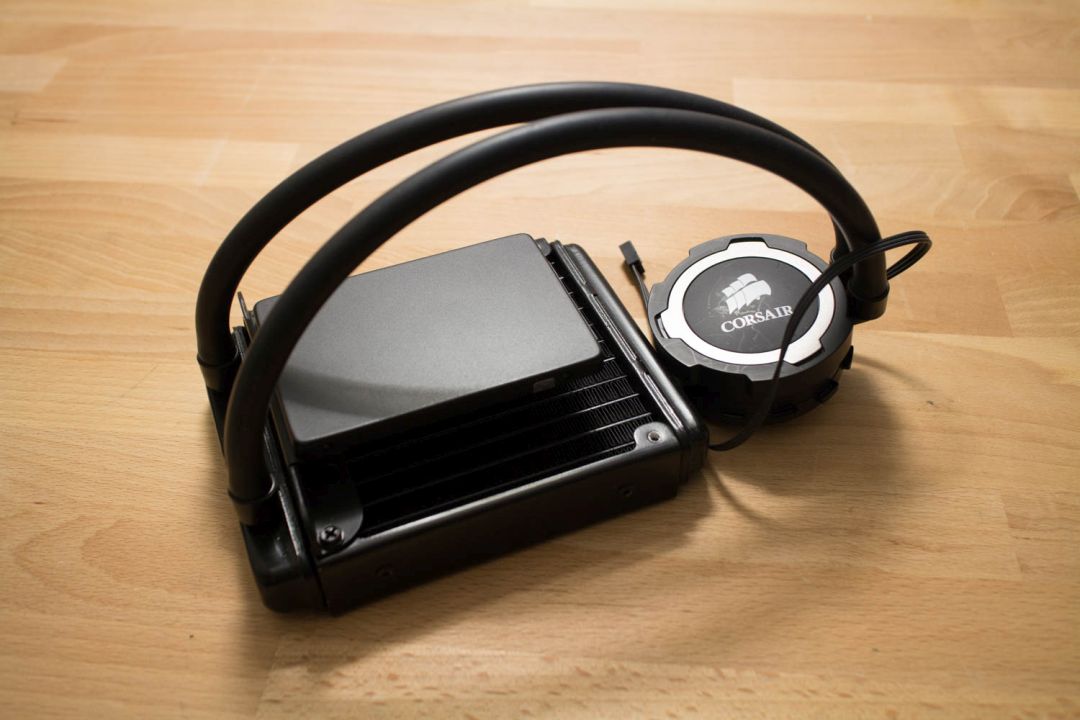
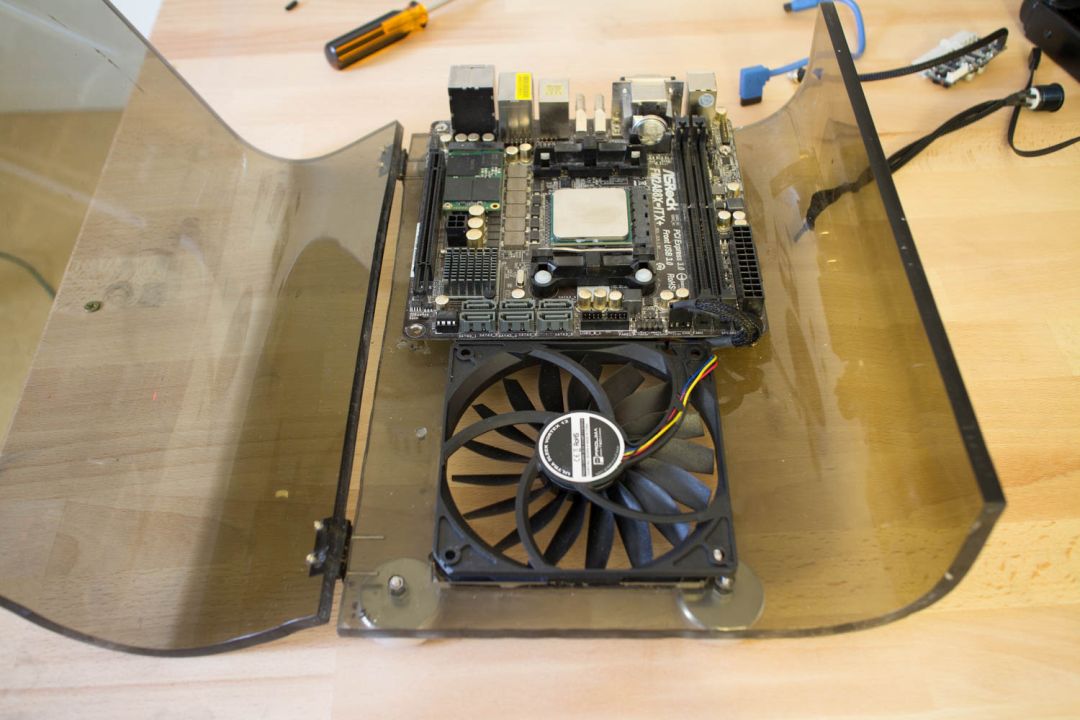
I installed all the hardware and mounted the front and backplate to see how everything fit together.
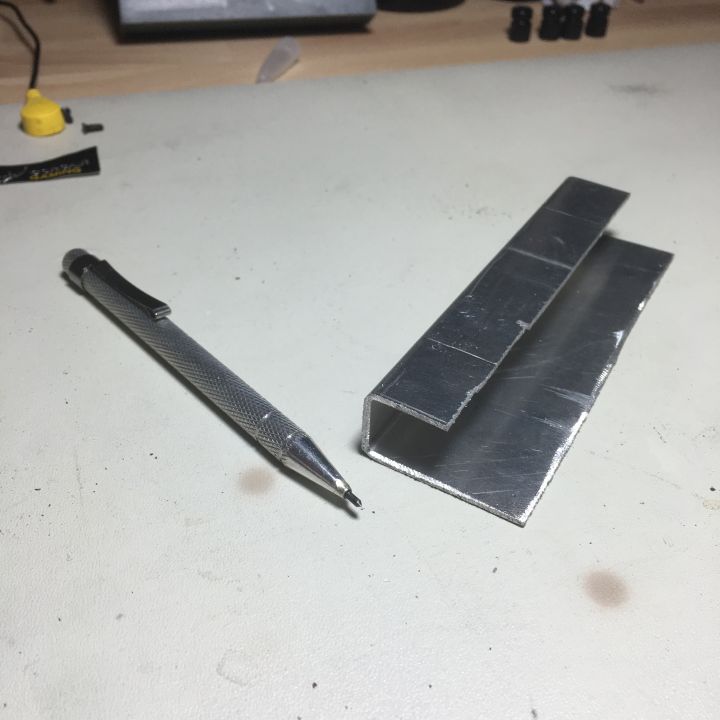
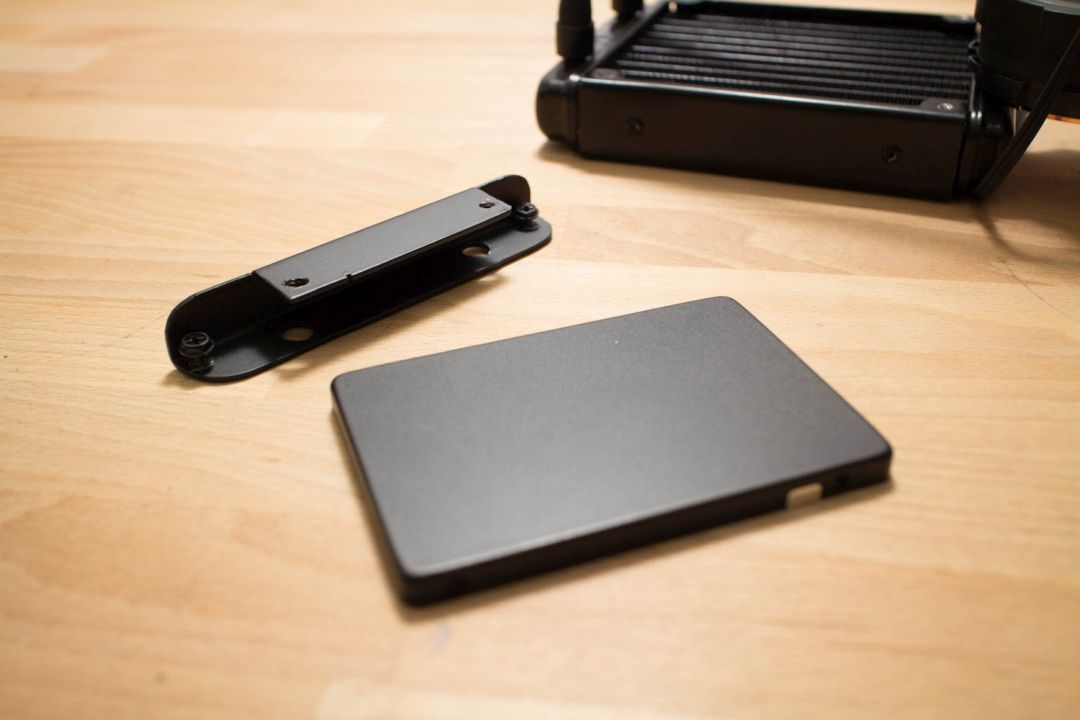
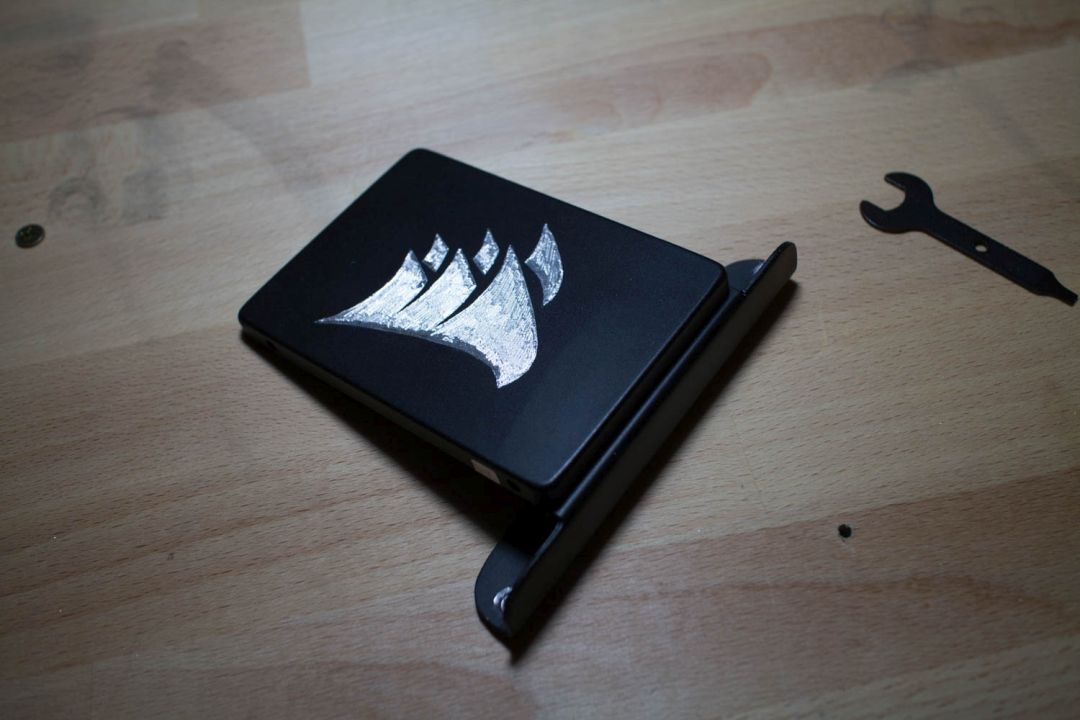
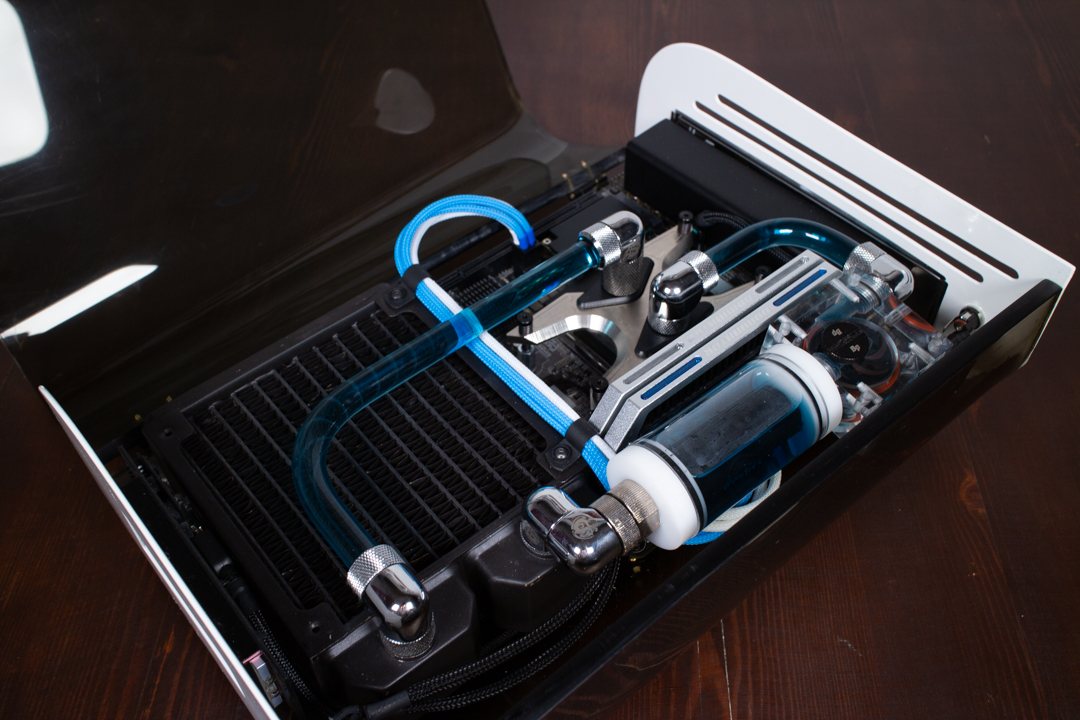
One thing I really enjoy with small builds is to work on new solutions to save space. I needed to mount the SSD somewhere and what I came up with was to make a simple holder for the SSD in aluminium, that would be mounted to the radiator.
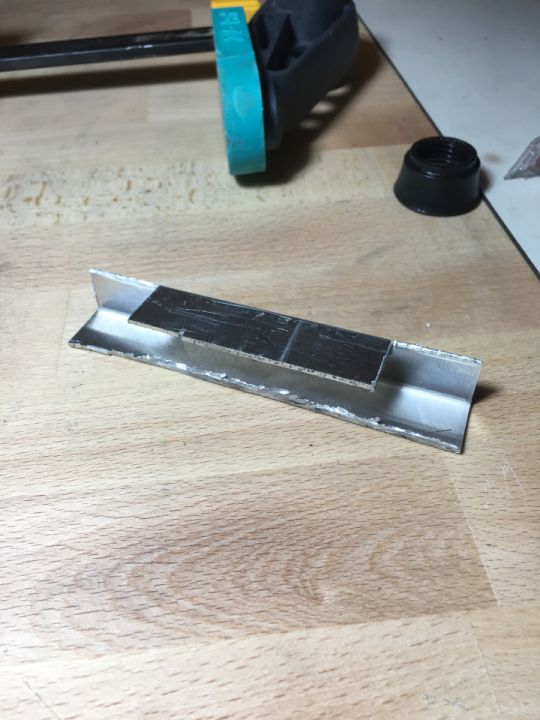
I took a small sheet of aluminium, bent it twice and started filing down the edges and made the corners round. It also got some matt black paint to fit together with the SSD.
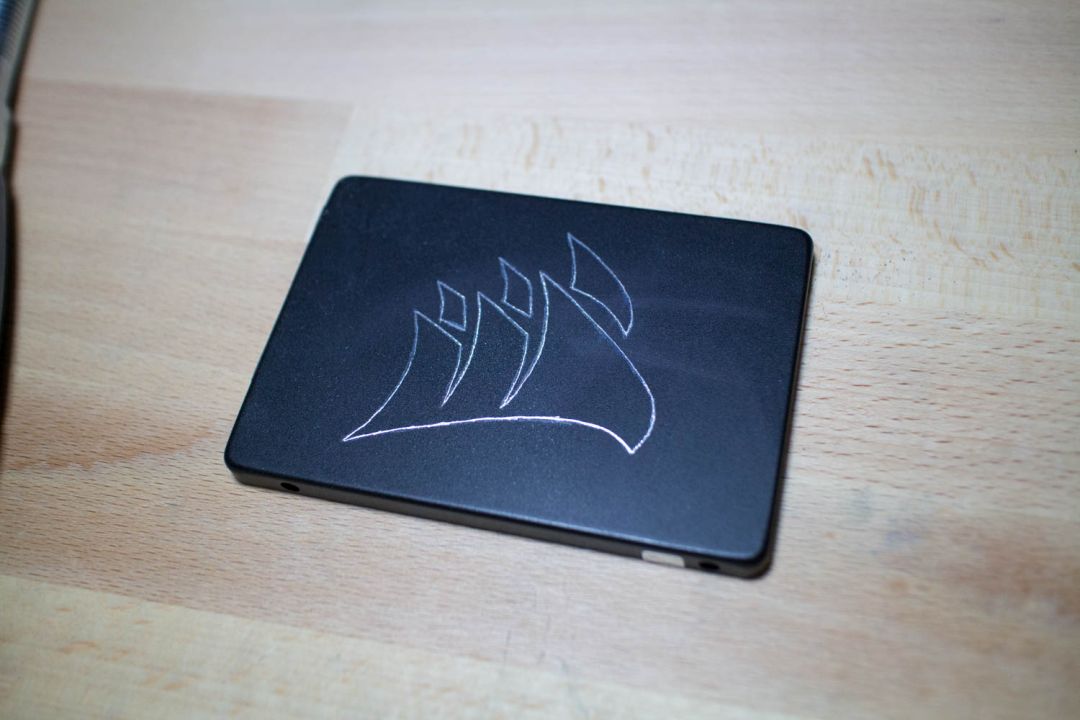
As Corsair sponsored this build back then, I wanted to do something to show that off, so I decided to engrave the SSD with Corsair sails logo.
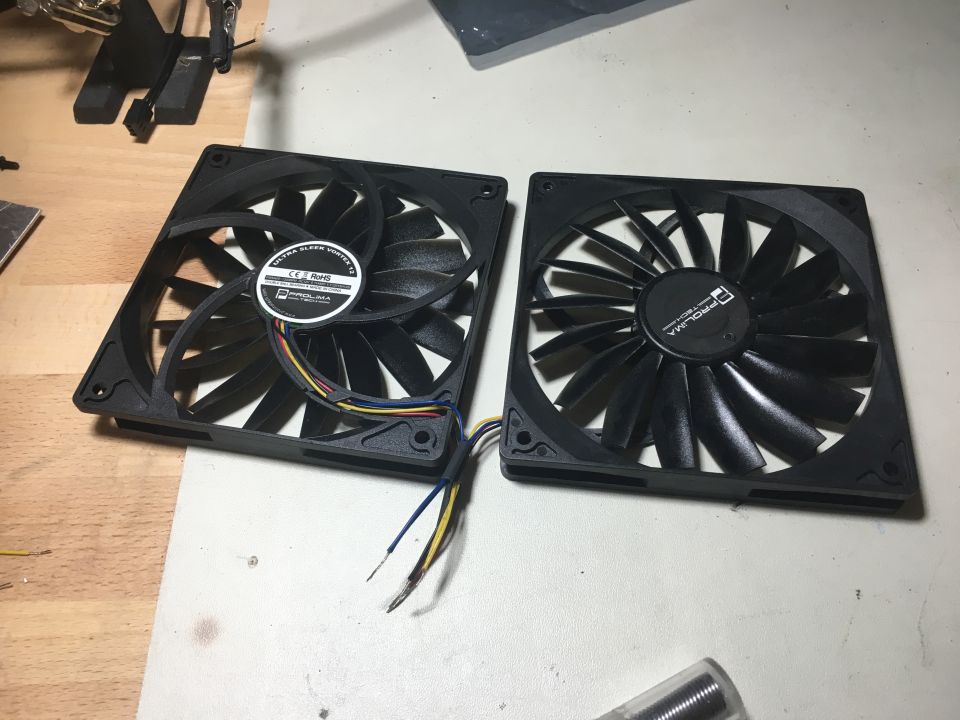
As I only have two fan-ports on the motherboard, I had to solder the two 120mm fans together. Something I really like with scratchbuilds, is the possibility to make a case, exactly like you want it and exactly based on the hardware you use, make custom-cables the perfect length.
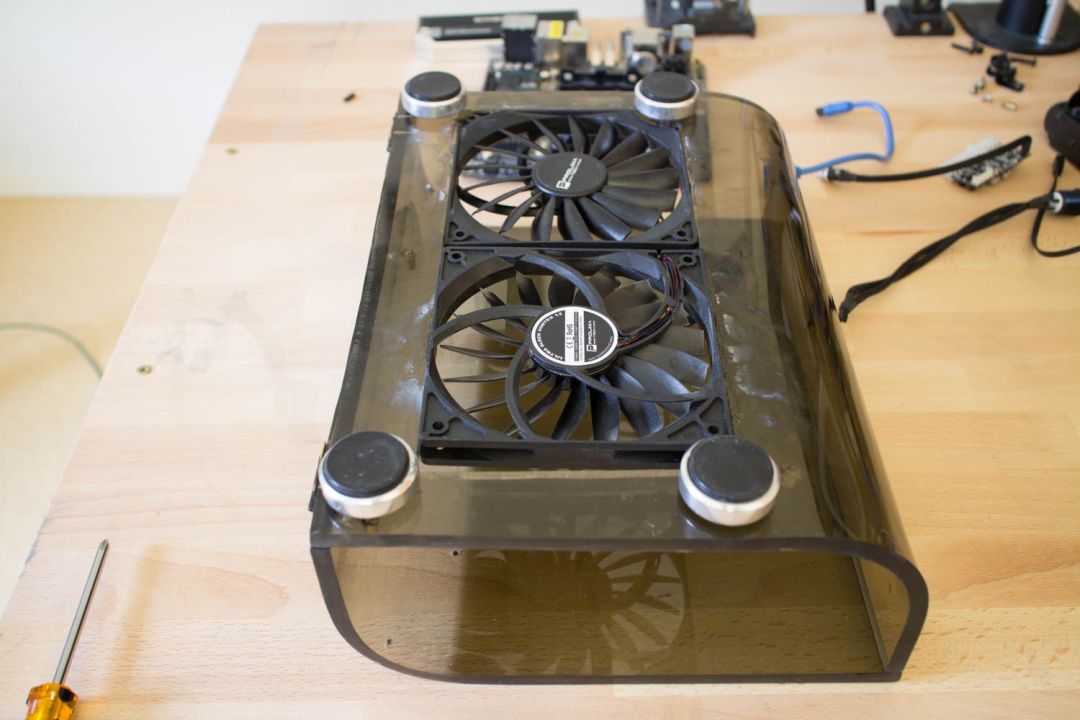
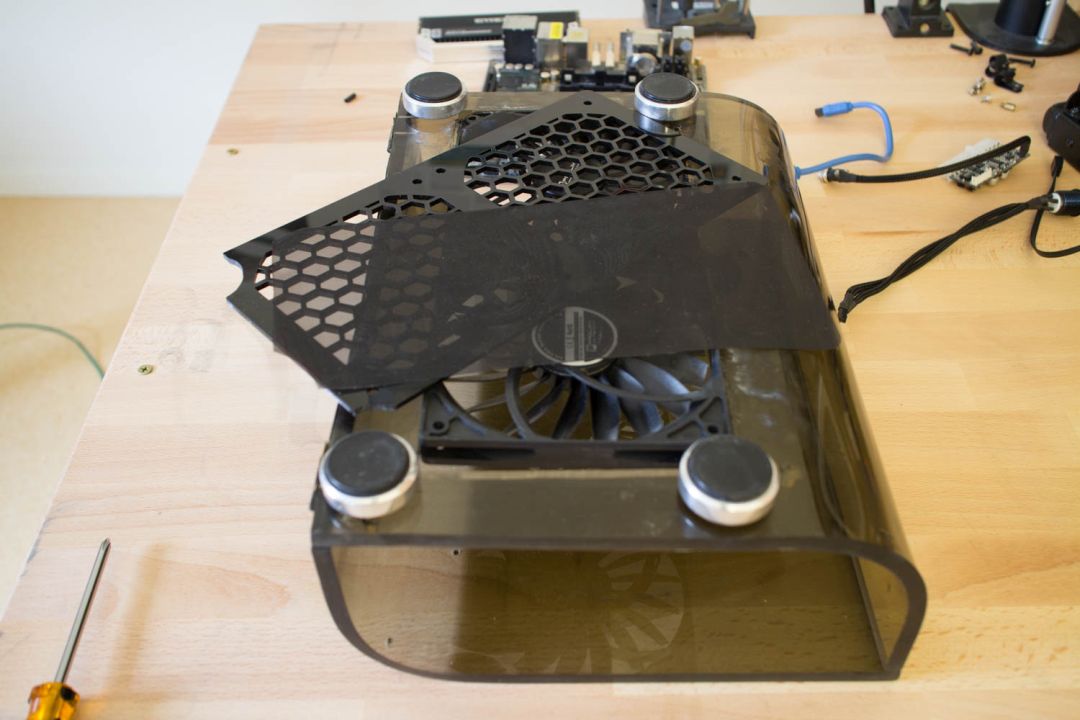
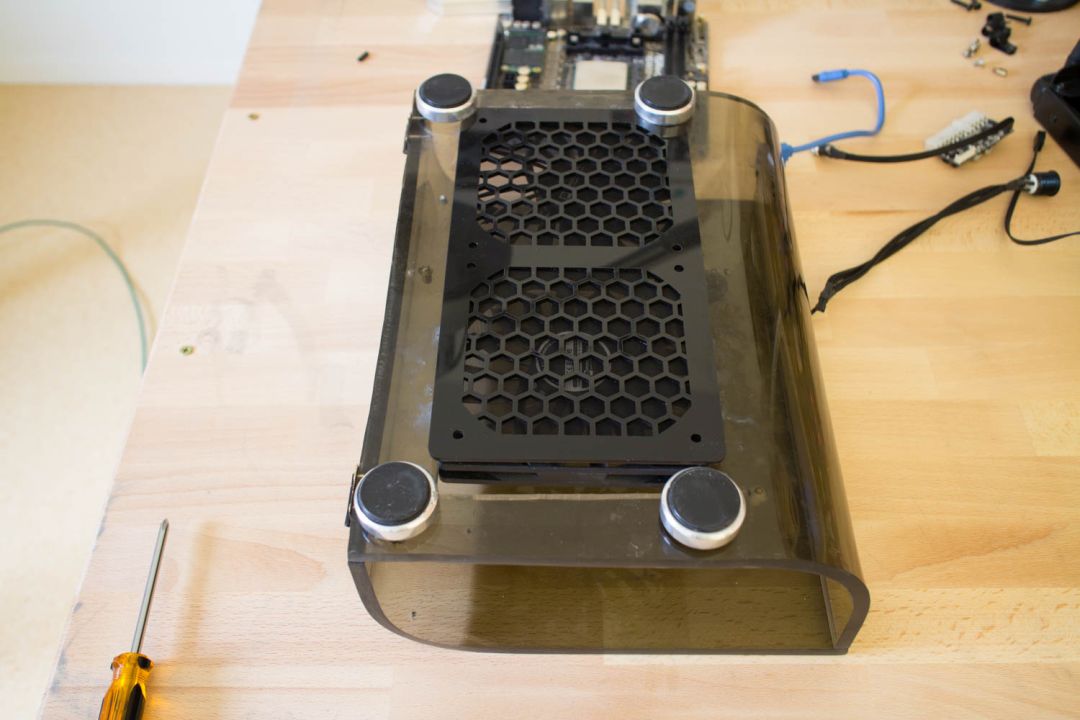
However, the fans in the bottom does not really look good, so I wanted to somehow hide those, I solved this with a old MNPCTech fangrill I found as well as a dustfilter.
This was all for this update, in the next one I will show this off.
- Sleeving everything.
- Polish the acrylic.
- Painting.
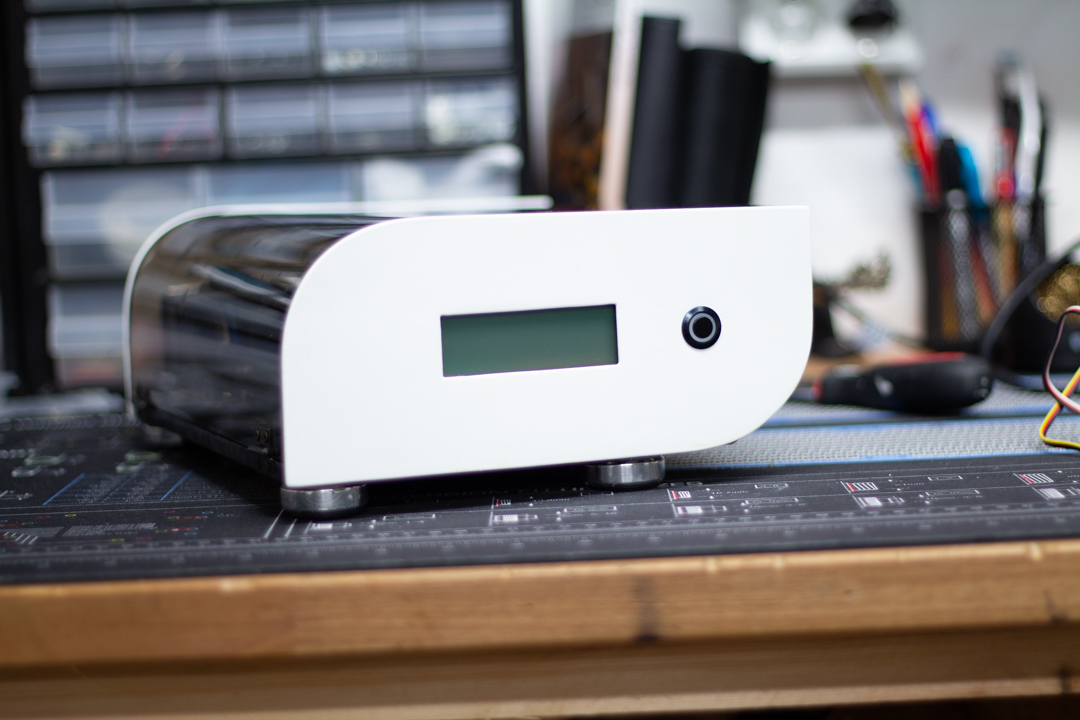
- Customizing the LCD.
- Installing LCD and powerswitch.
- Installing casefeet and dustfilter.