This is our first video at Minimalistic PC's. A big thank you goes out to…
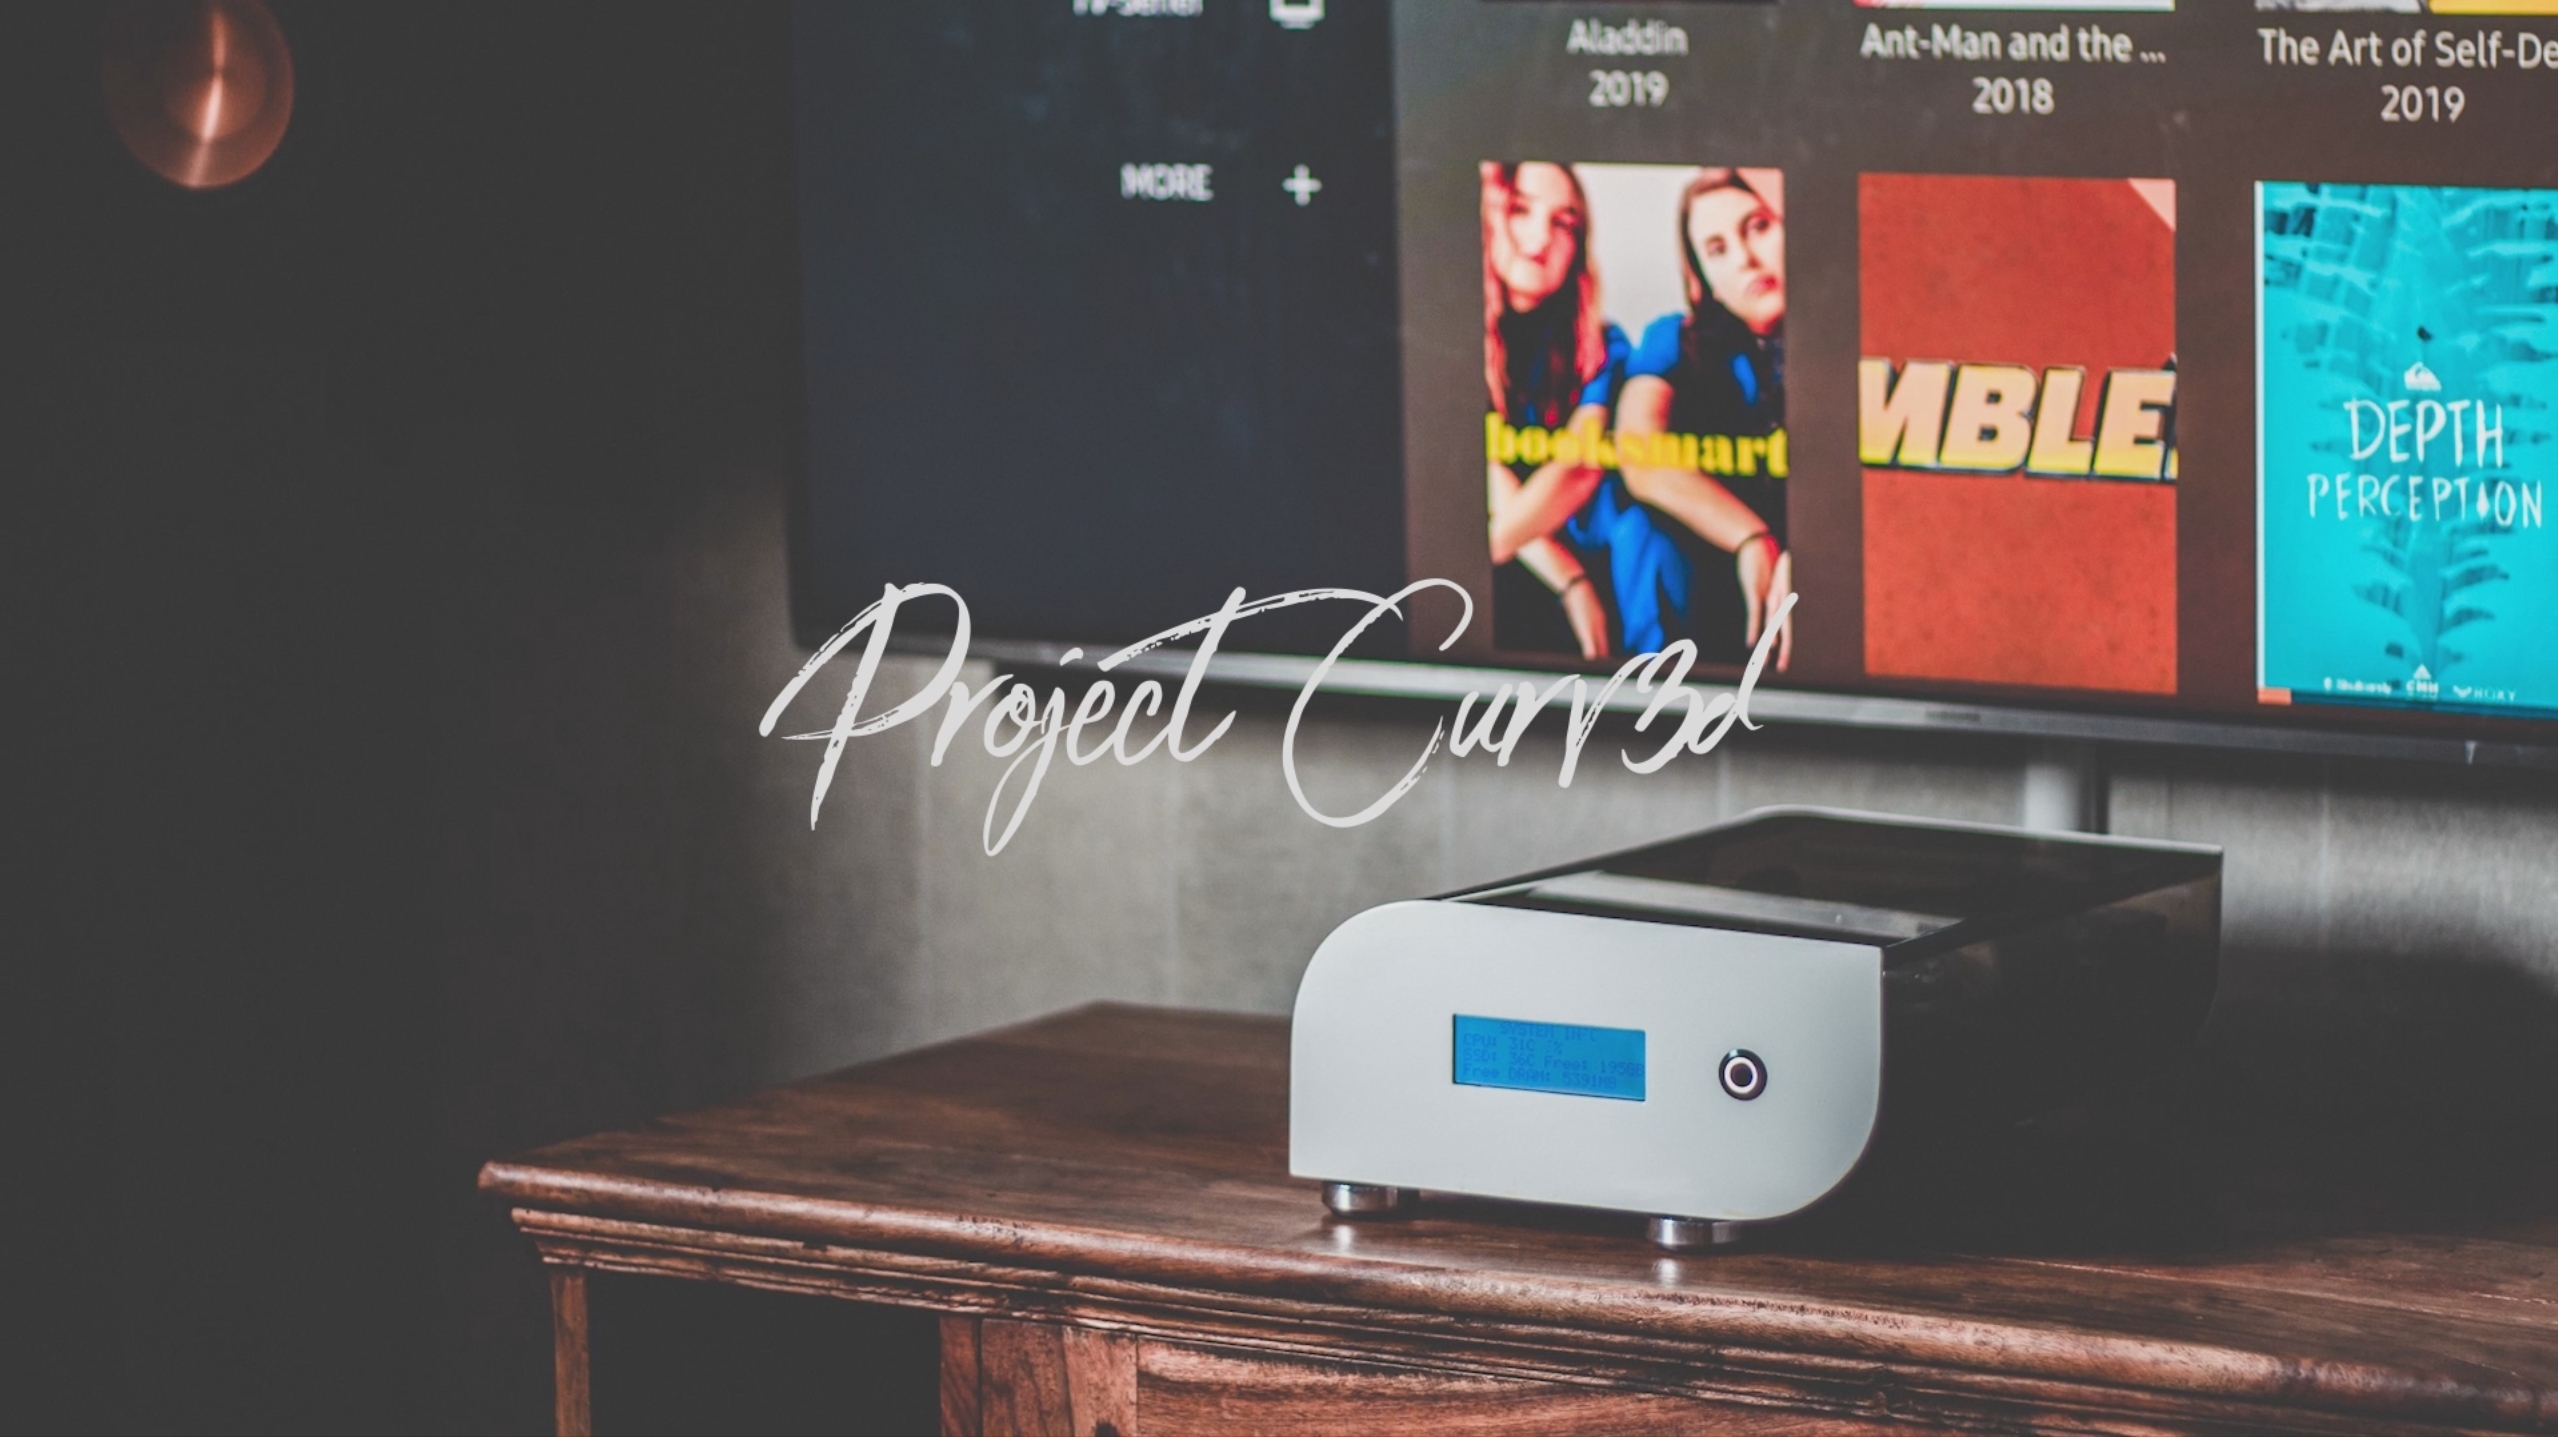
CURV3D: Update 3
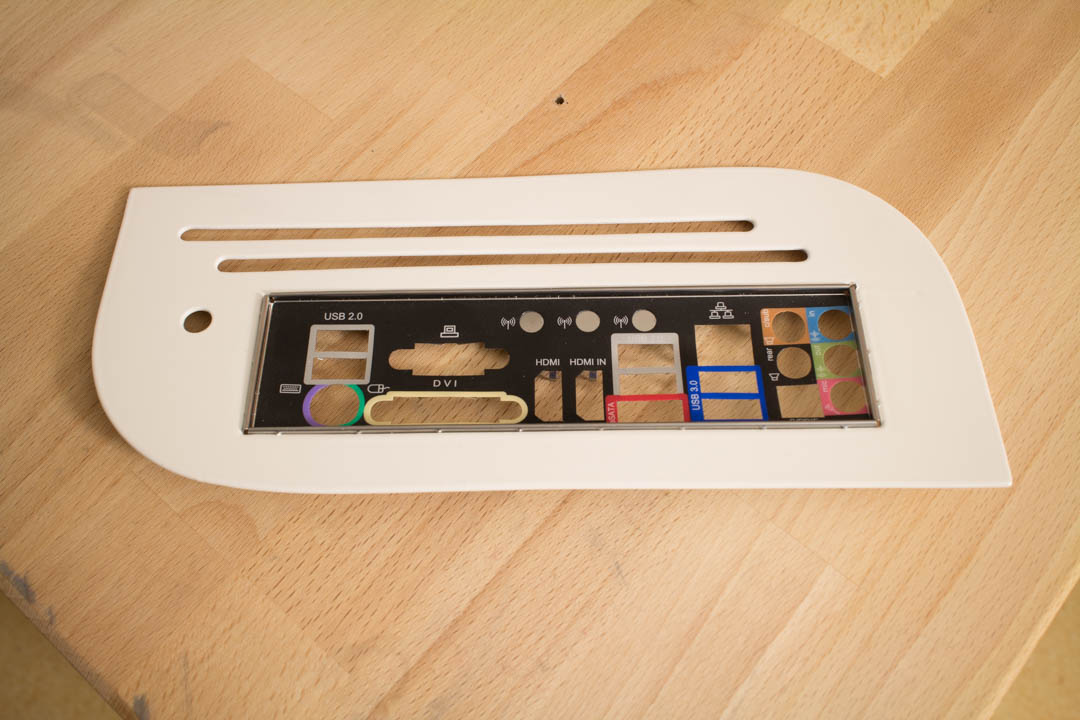
So I am back from Dreamhack and now I can start update you on what I have done with CURV3D, in the last update I finished the backplate as well as made a custom SSD-holder.
Today I will show you the Pico-PSU and sleeving, how to polish acrylic and how I installed the dustfilter and casefeet.
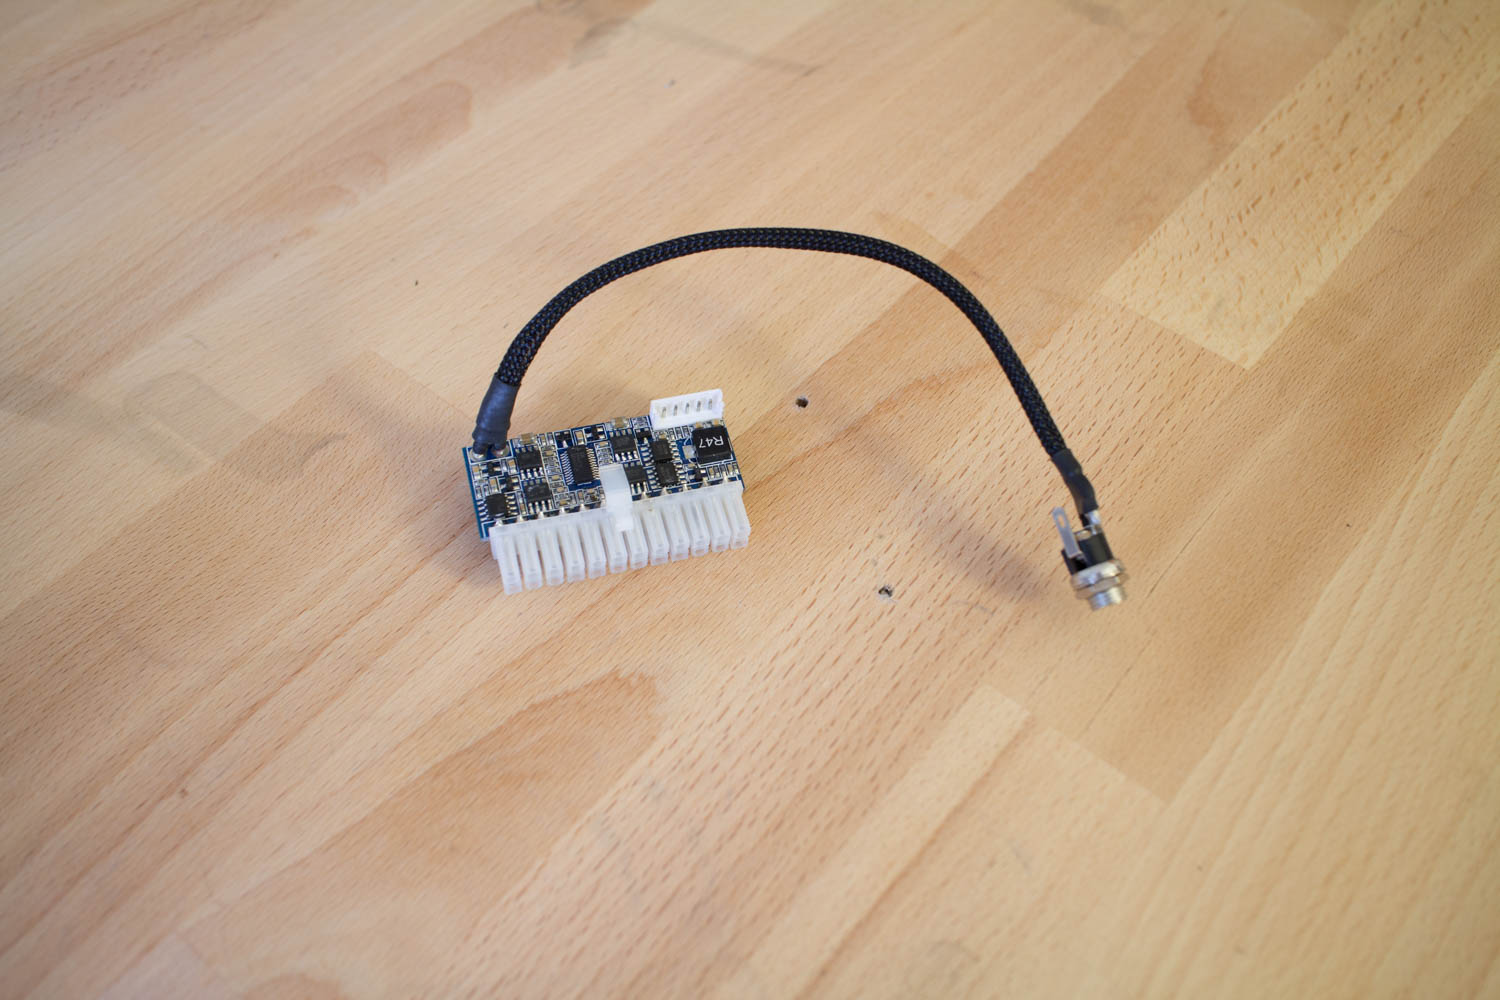

So this is what is powering this little PC, a Pico-PSU, or as Streacom calles their version, Nano-PSU. This little piece itself is powered by a power-brick.
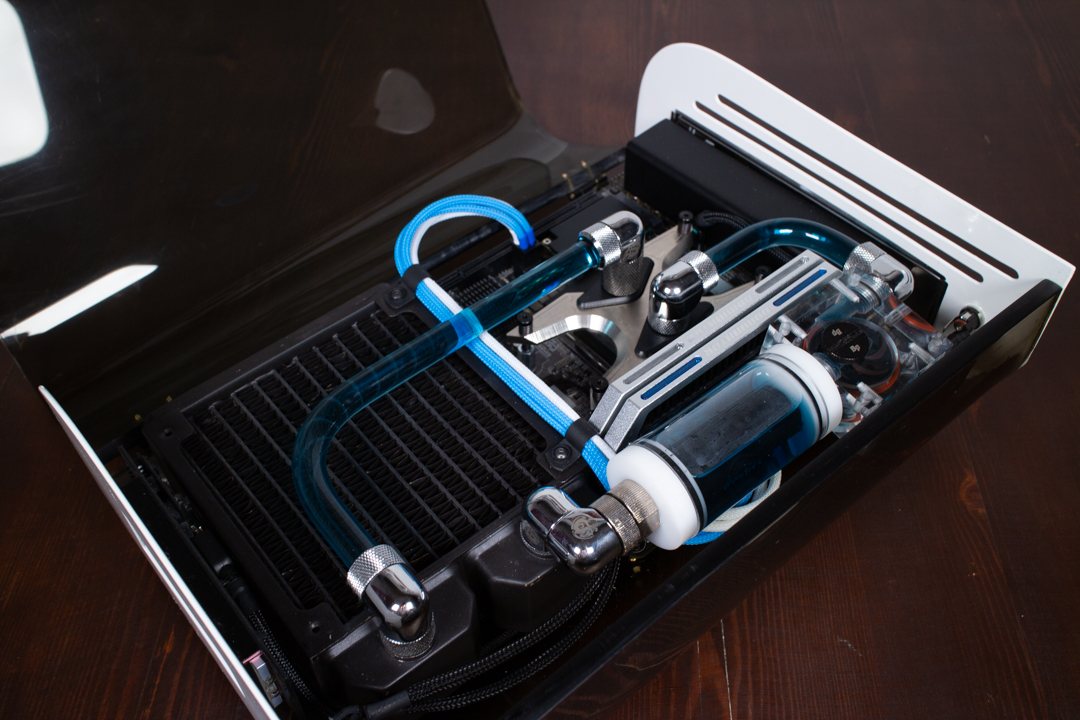
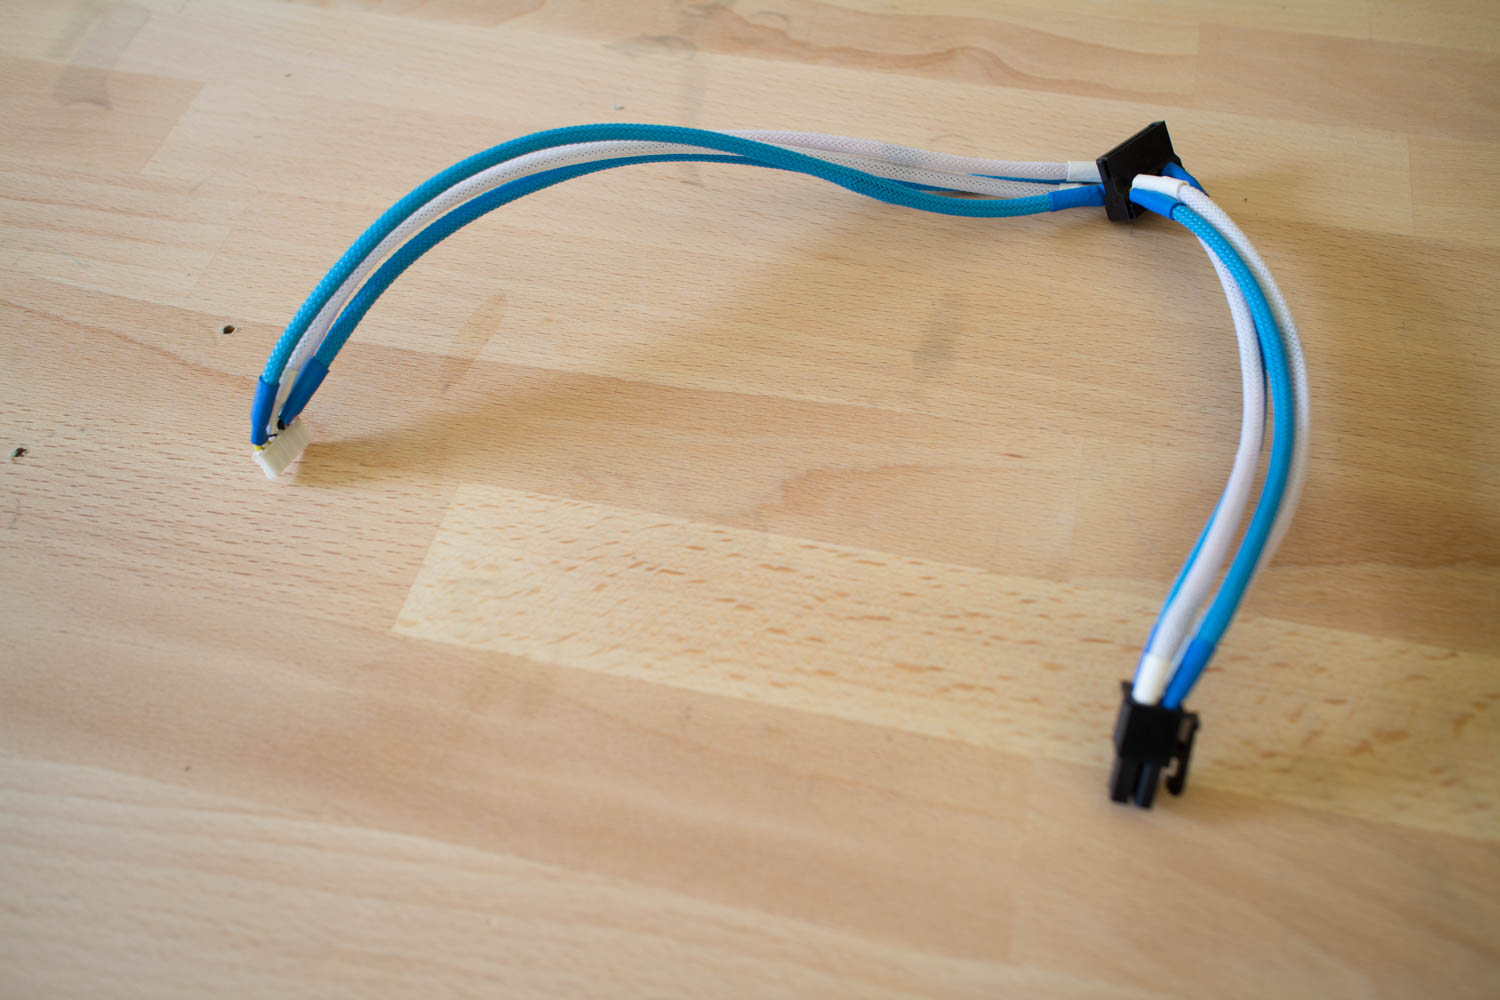
I made a custom cable to power the SSD and motherboard, so it goes from the PSU -> SATA -> 4pin.
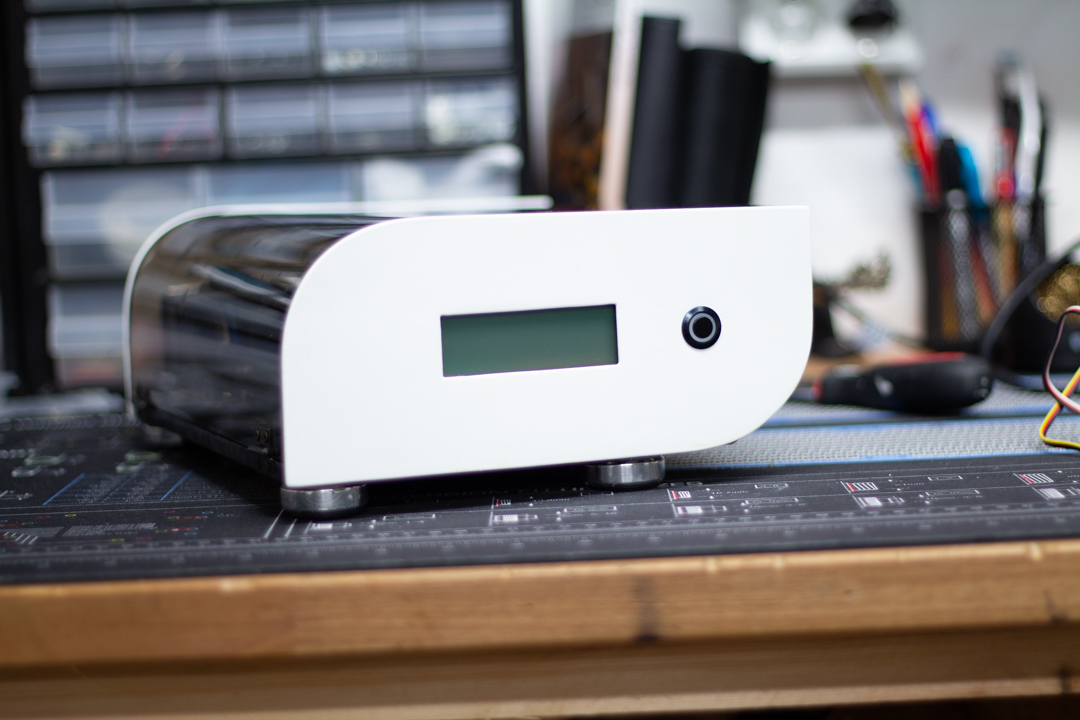
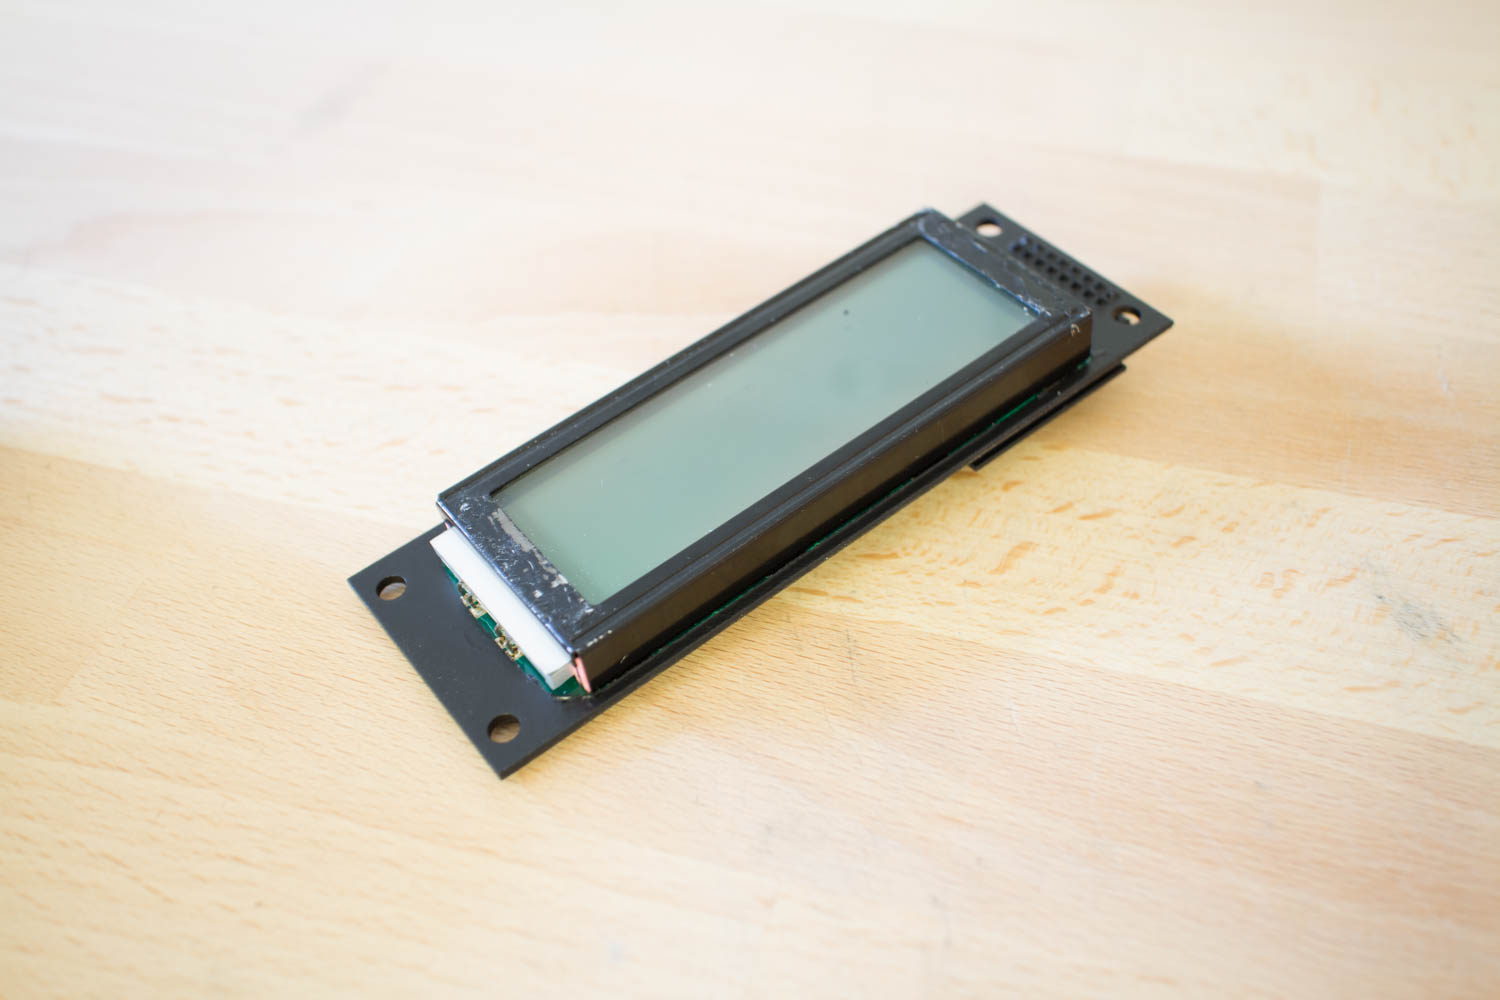
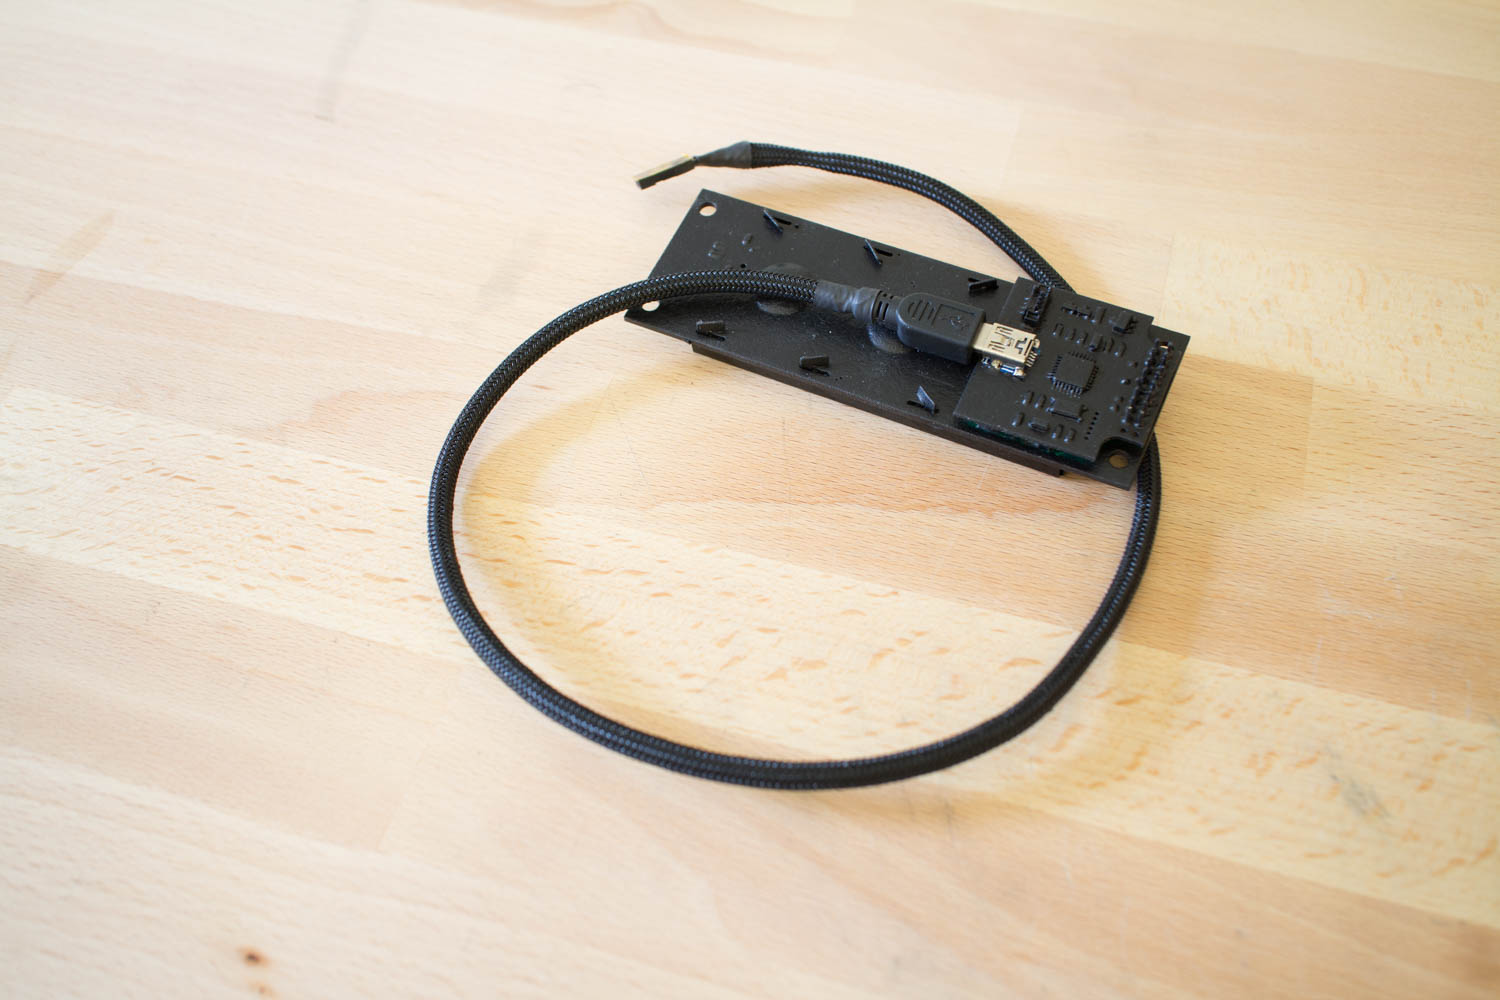
Something that stood out in the build was the green PCB of the LCD, so that got some plastidip and the USB-cable got some black sleeving as well as the powerswitch.
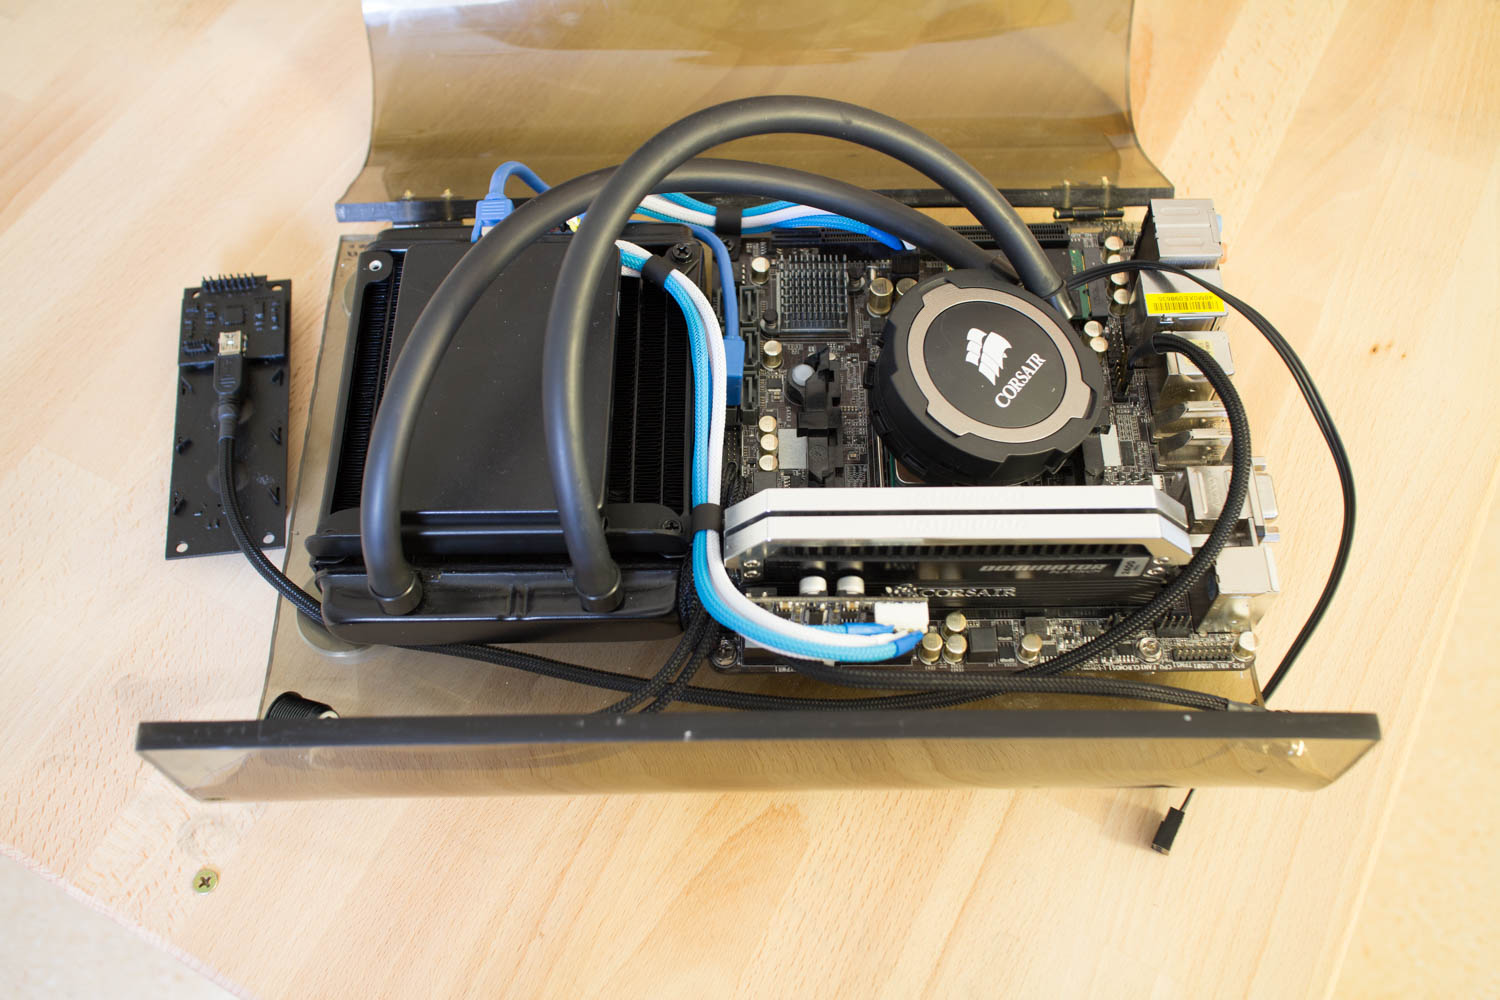
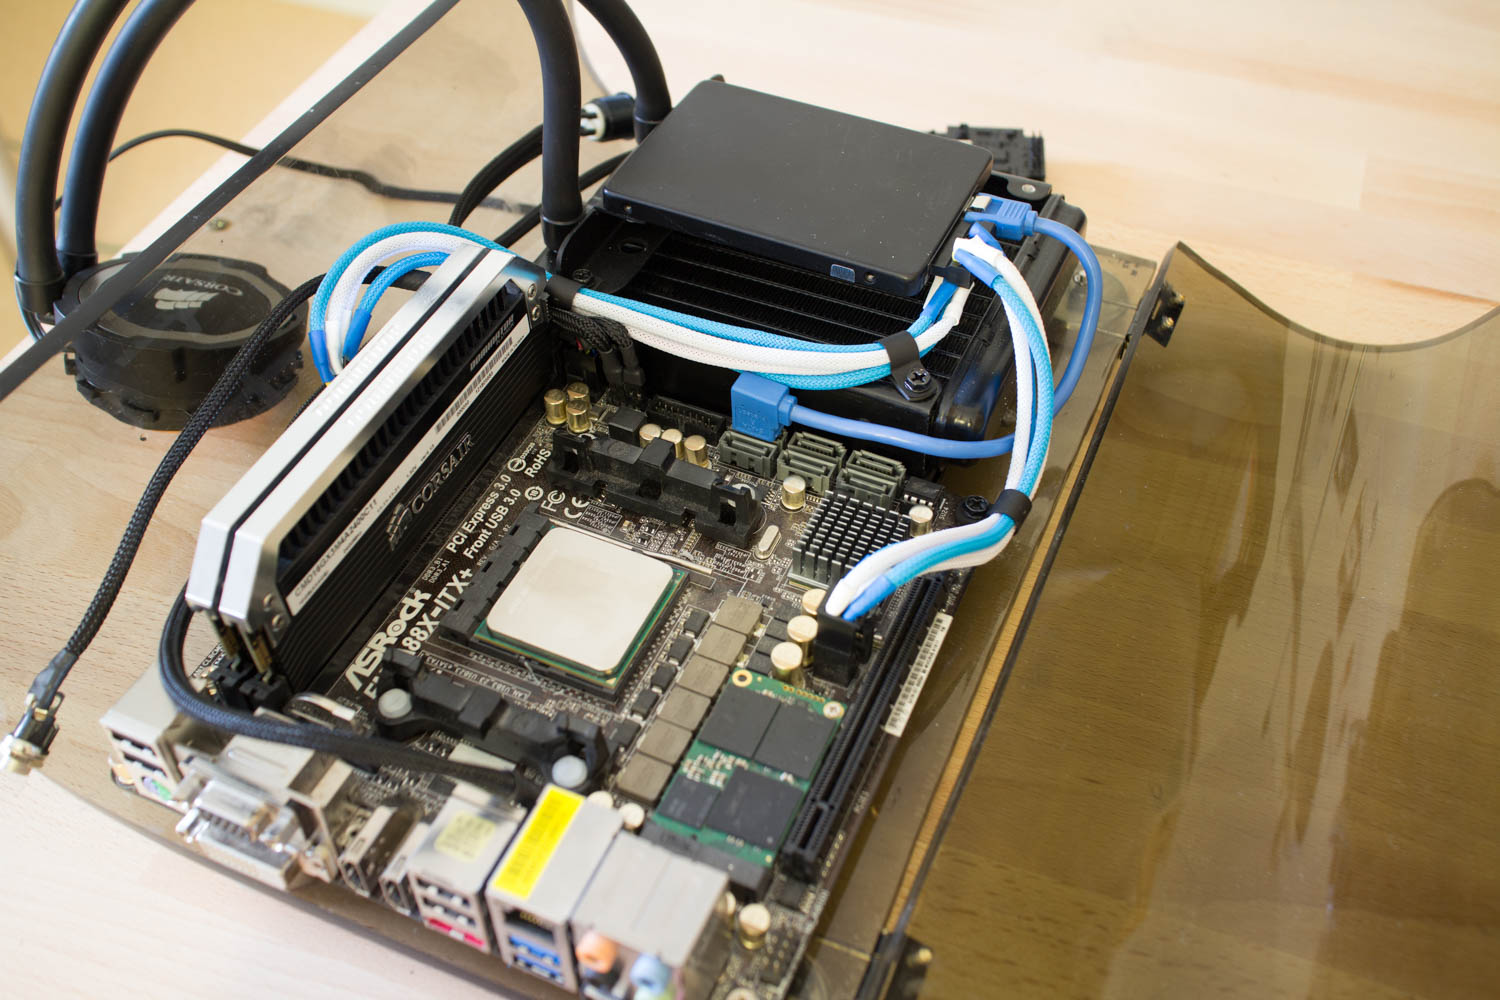
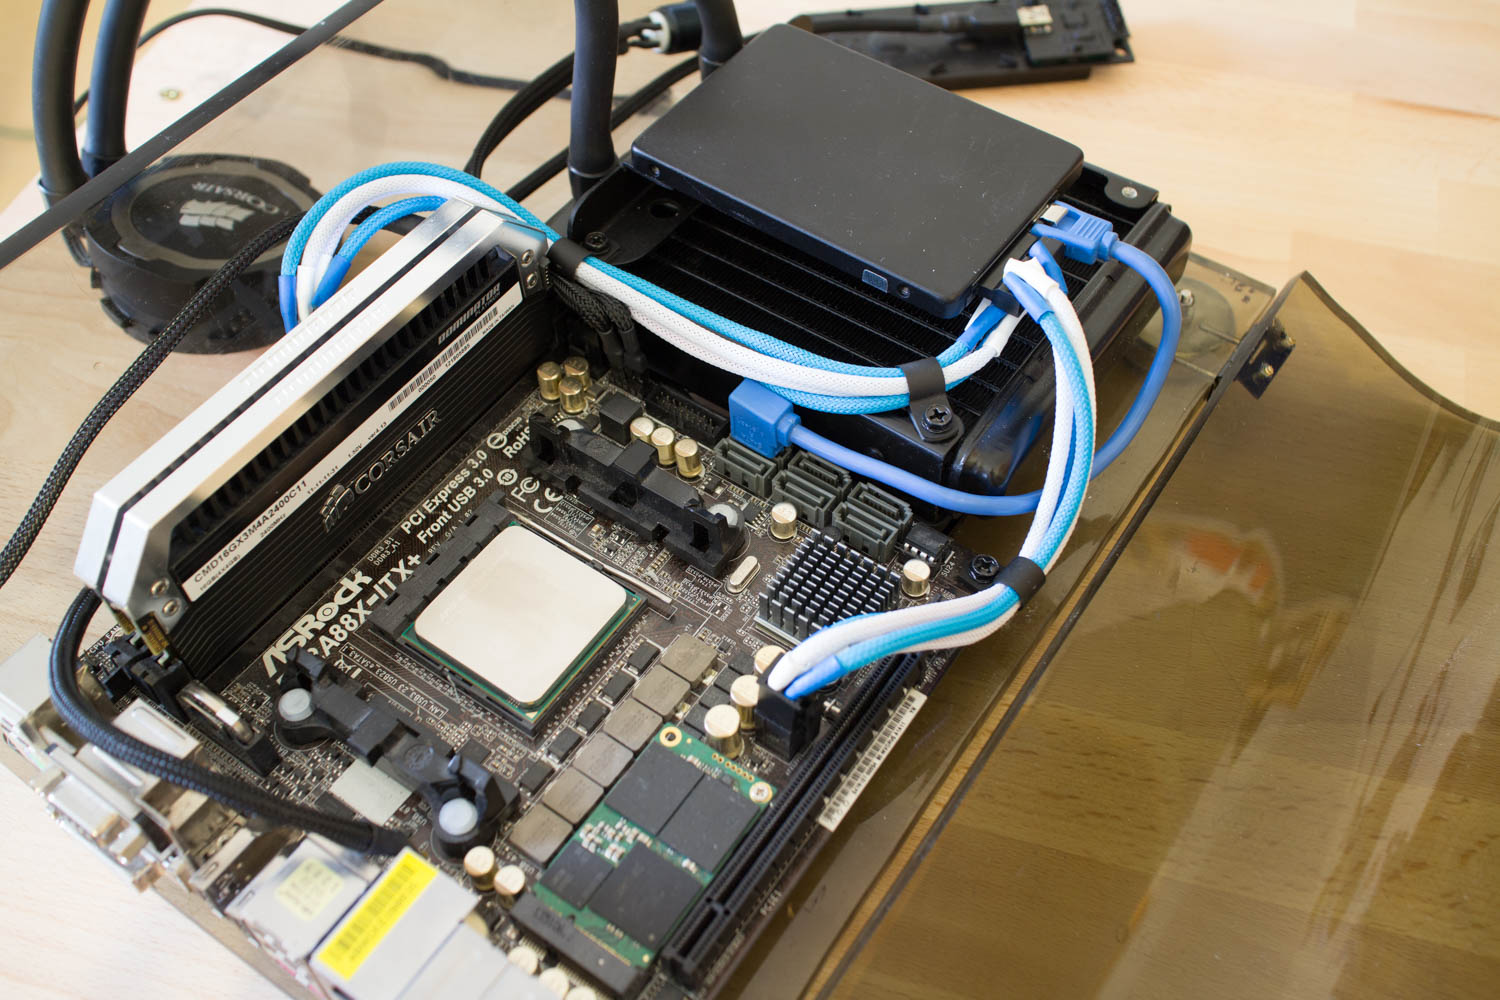

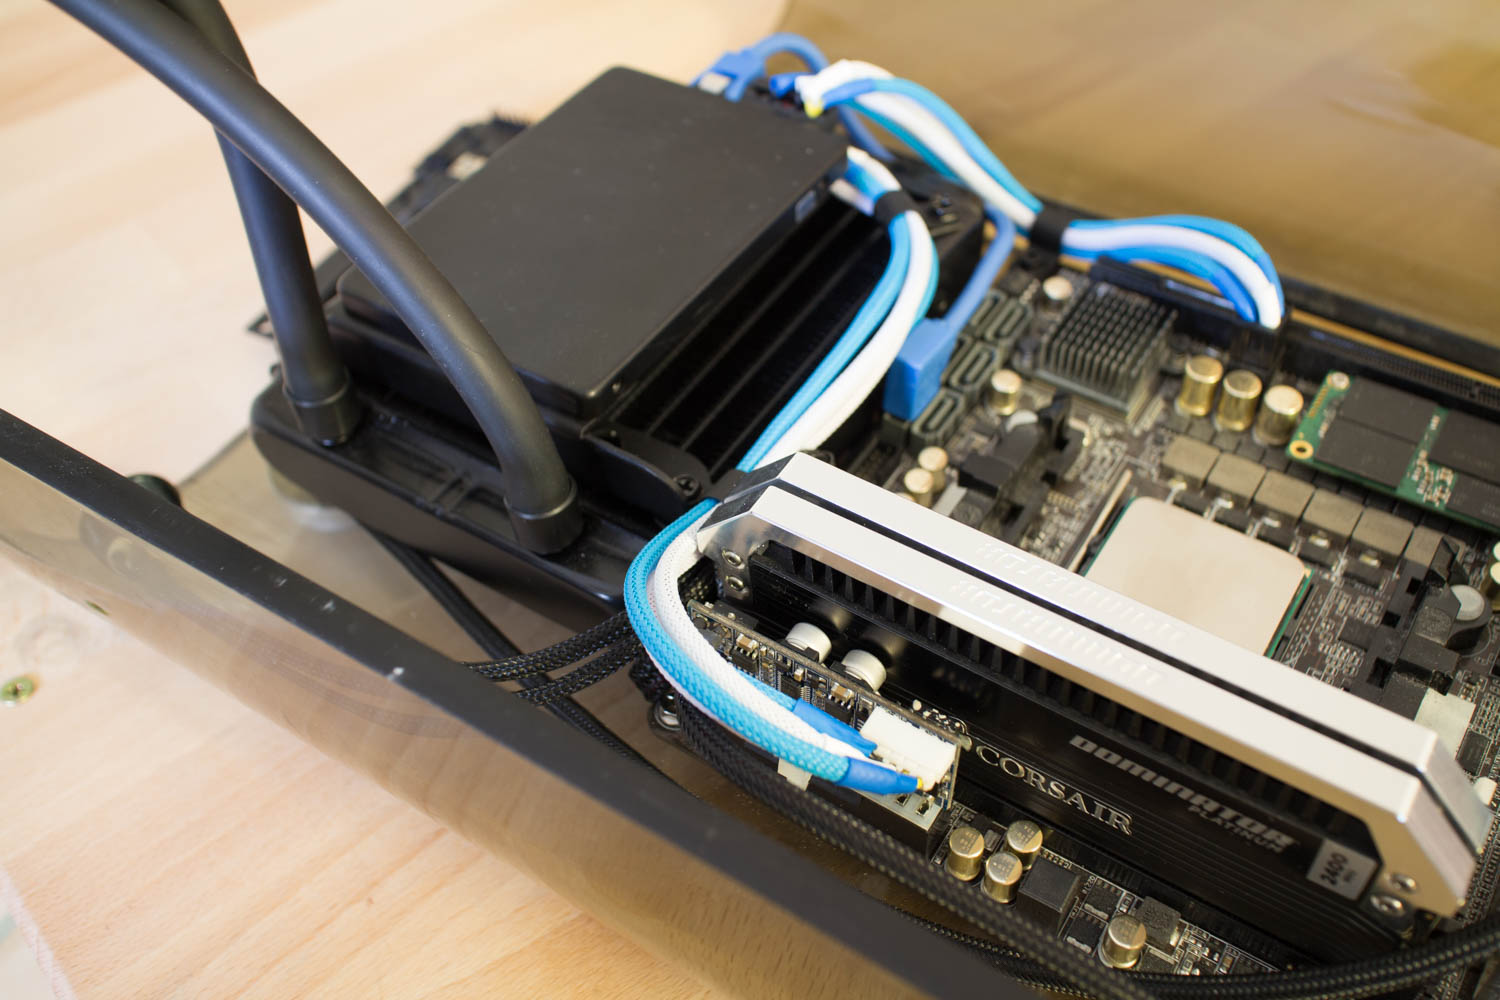
Together with some P-clips I tried to tie down the cables as nice as possible, it all ended up like this.
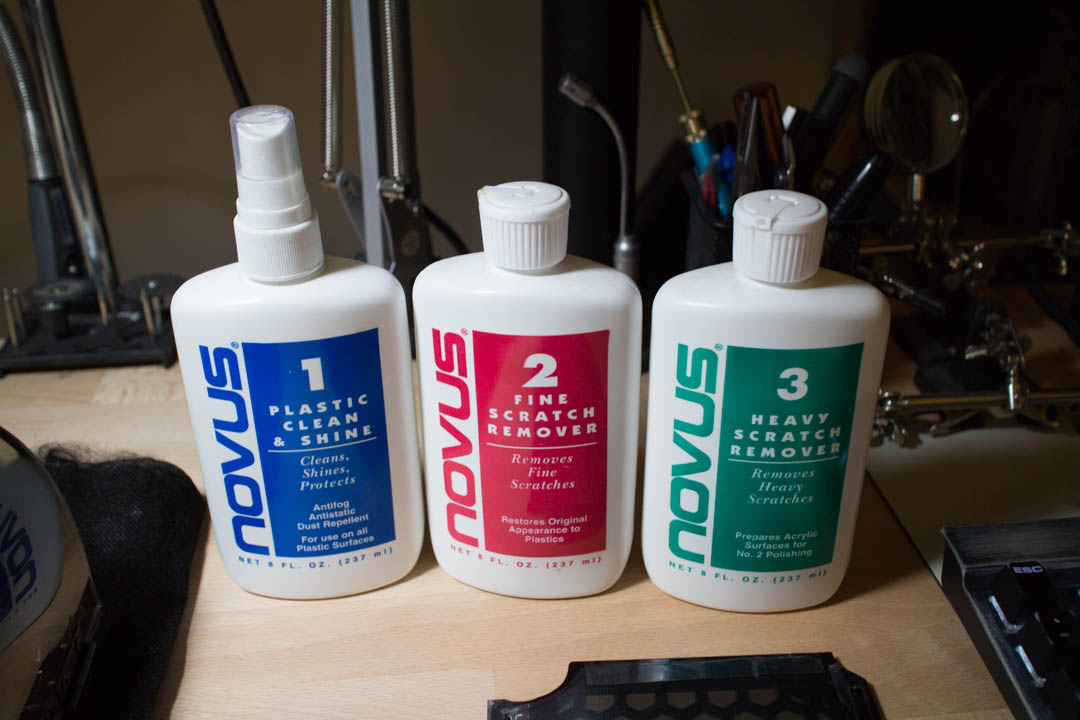
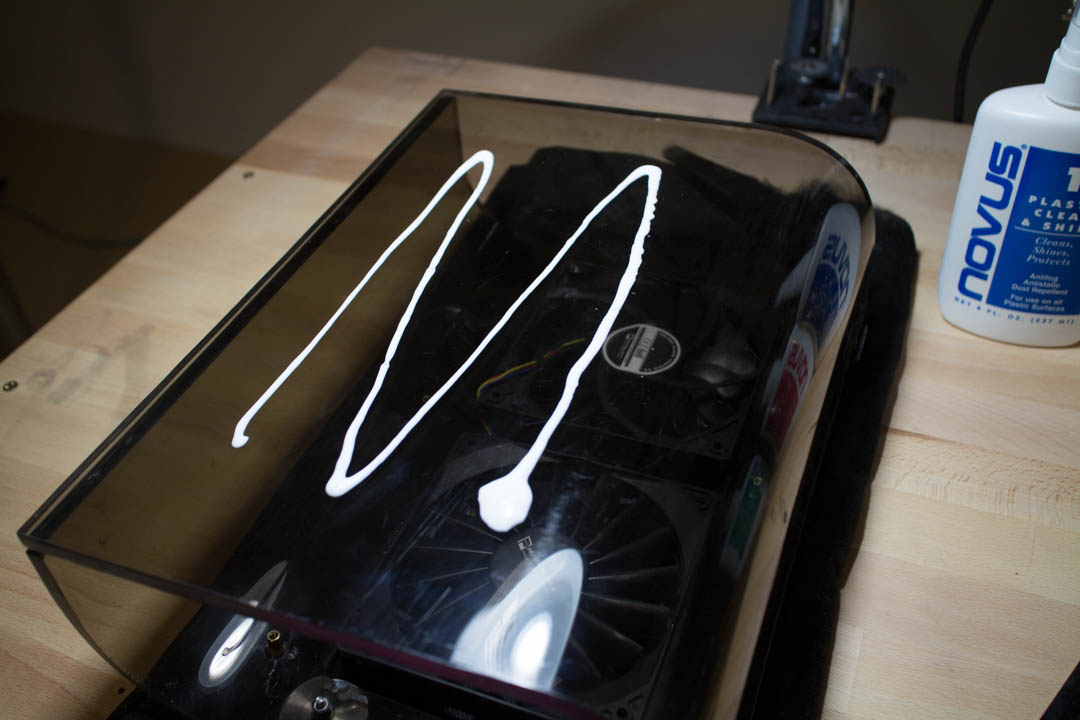
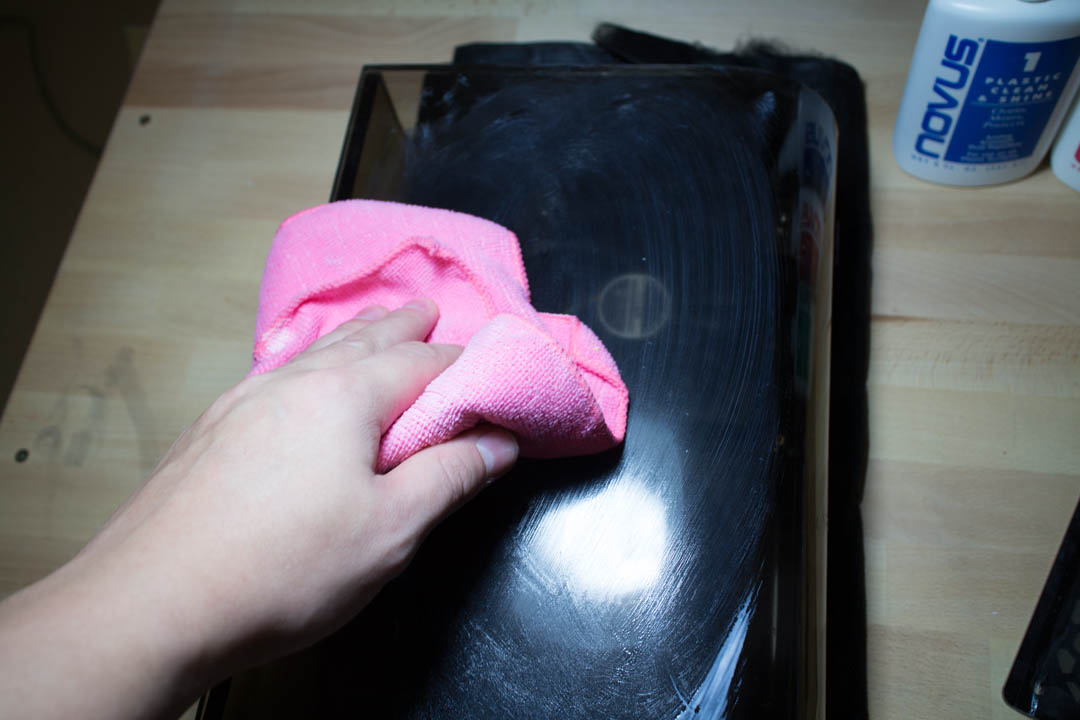
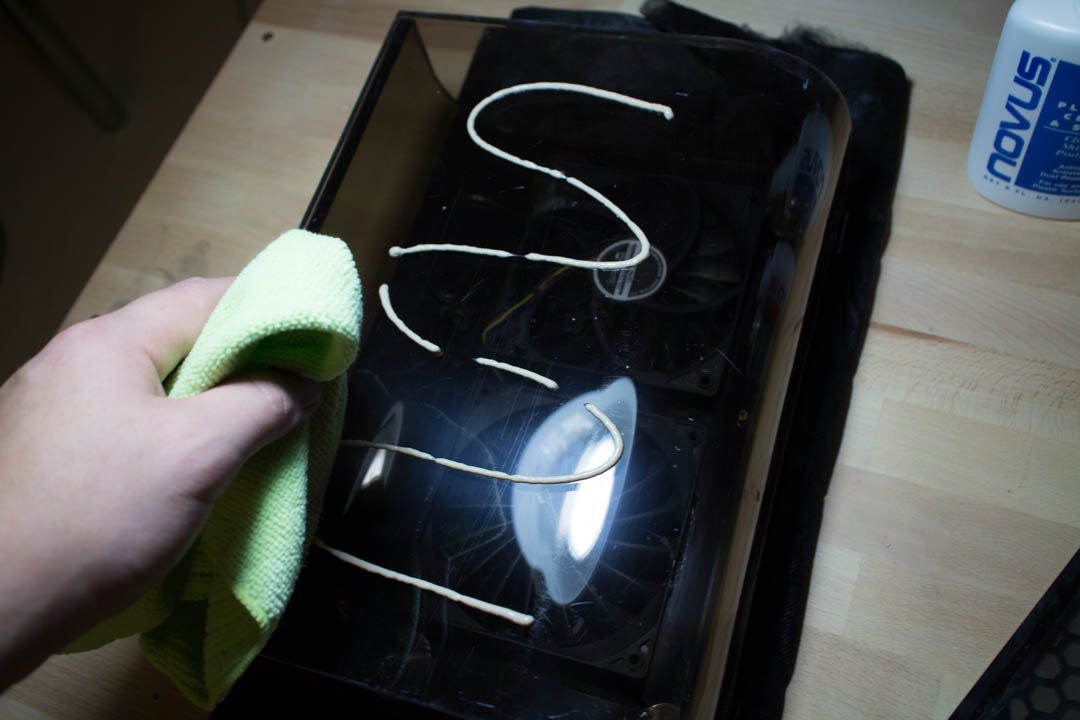
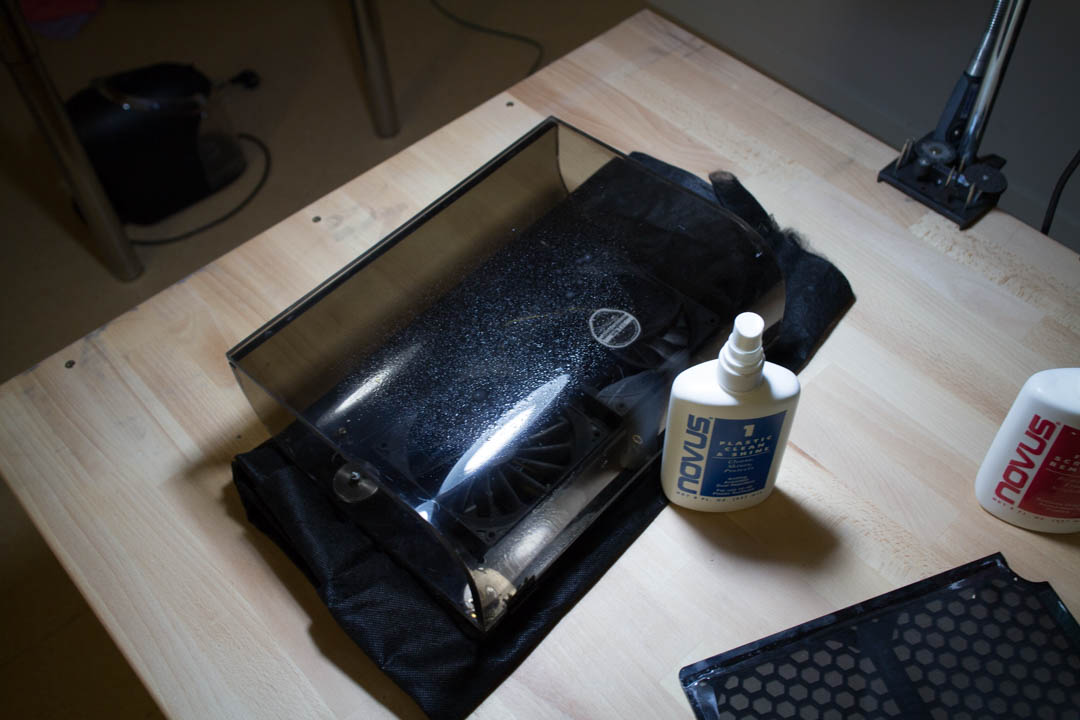
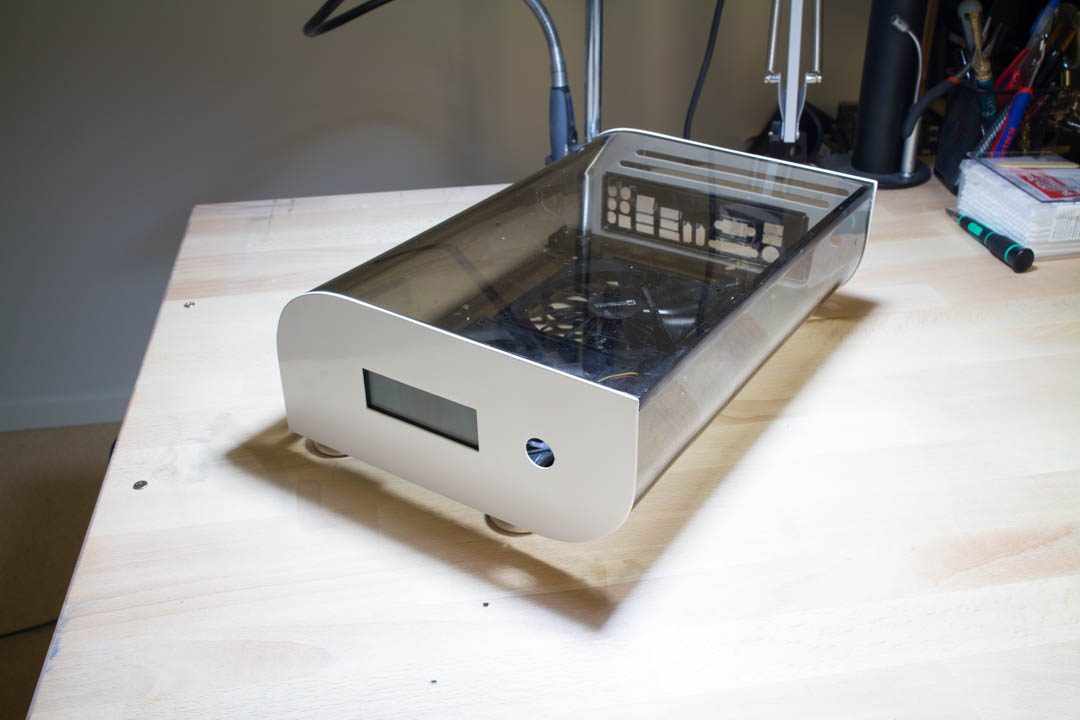
The acrylic needed some polishing and for that I used Novus Plastic Polish kit, it comes with three bottles, one for really heavy scratches, one for smaller scratches and the last for some shine!
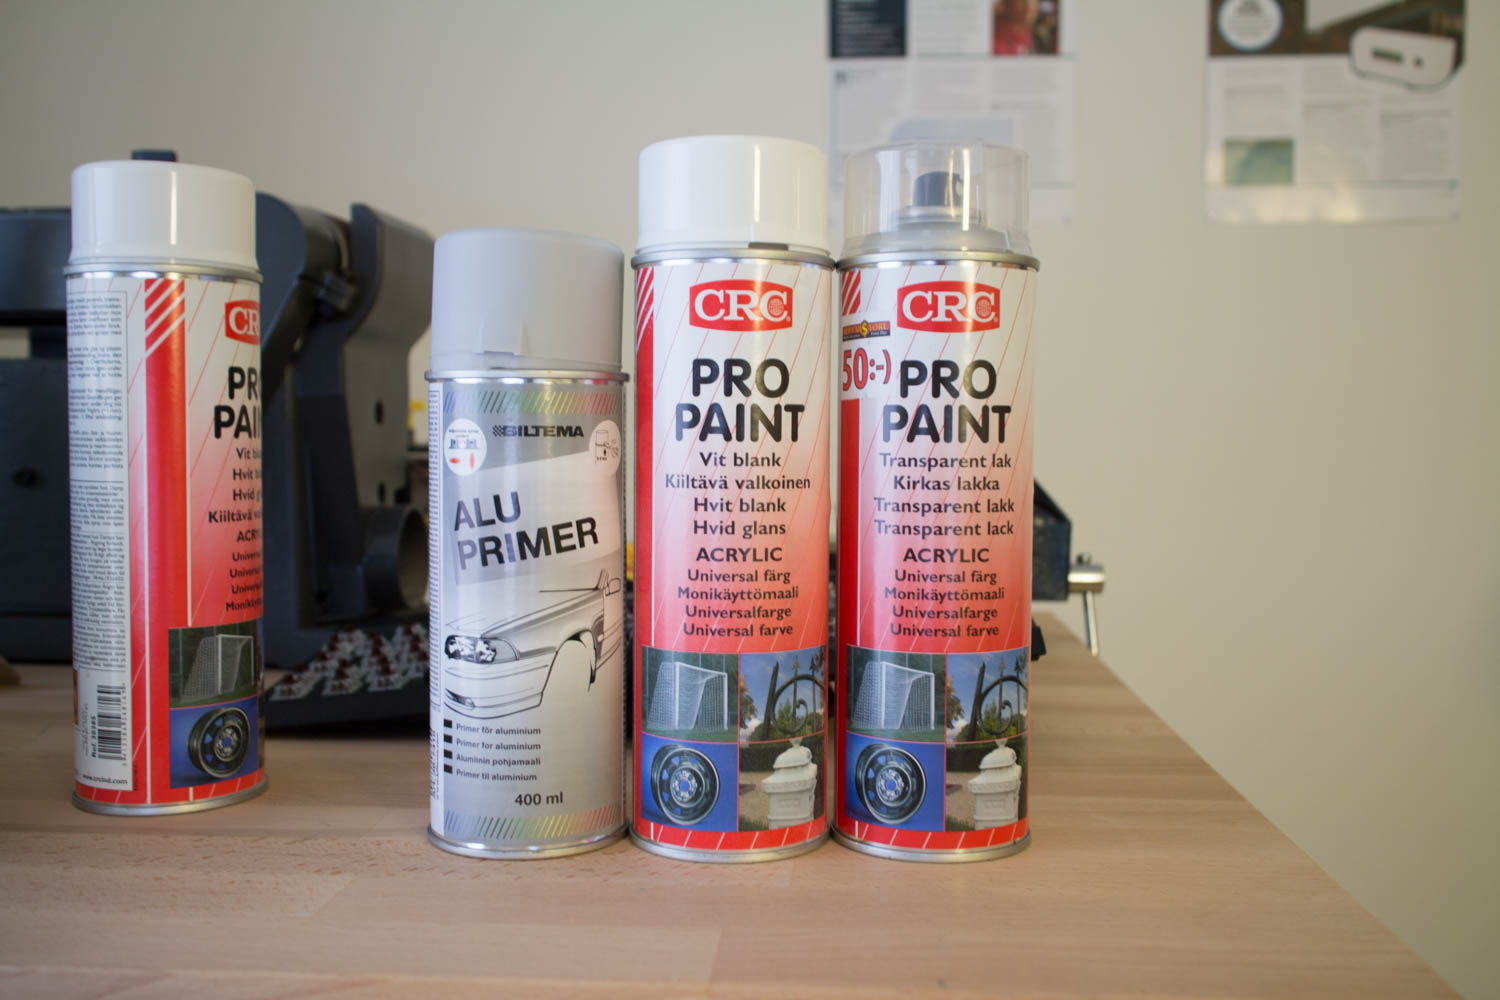
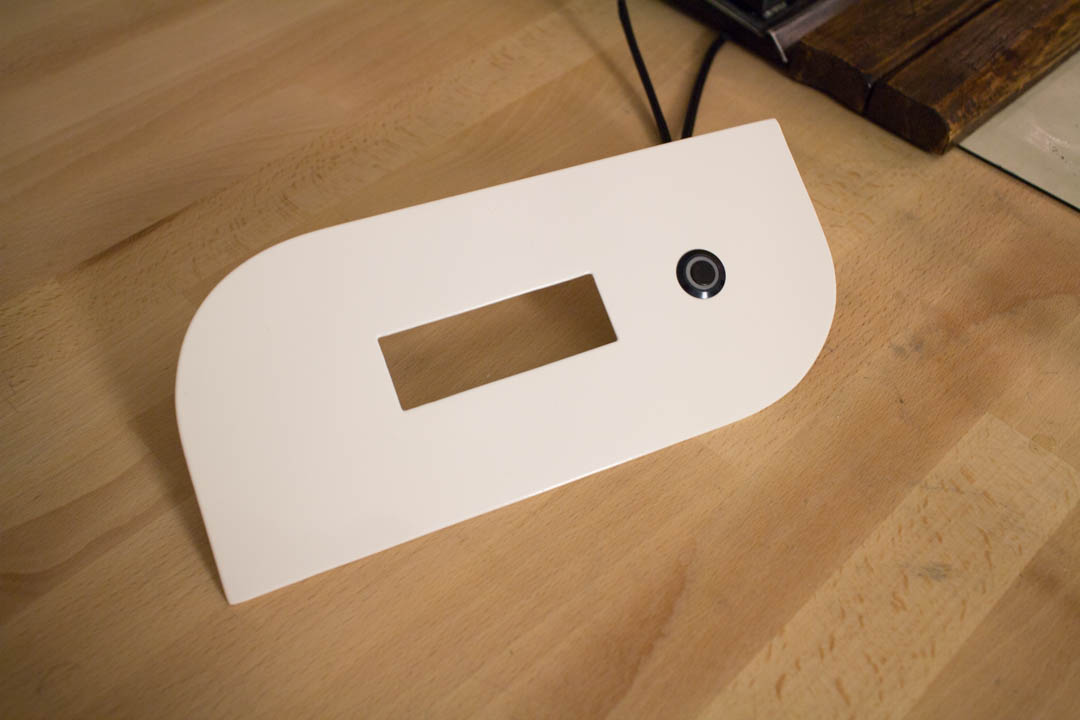
The front and backplate needed some white paint, this time I made them out of aluminium, which is not very easily painted, but with time and patience and the right tools it is possible to get a nice and durable result.
What you need?
- Sandpaper 200-2000 grit.
- Aluprimer, preferably self-etching.
- Regular paint.
- Clearcoat.
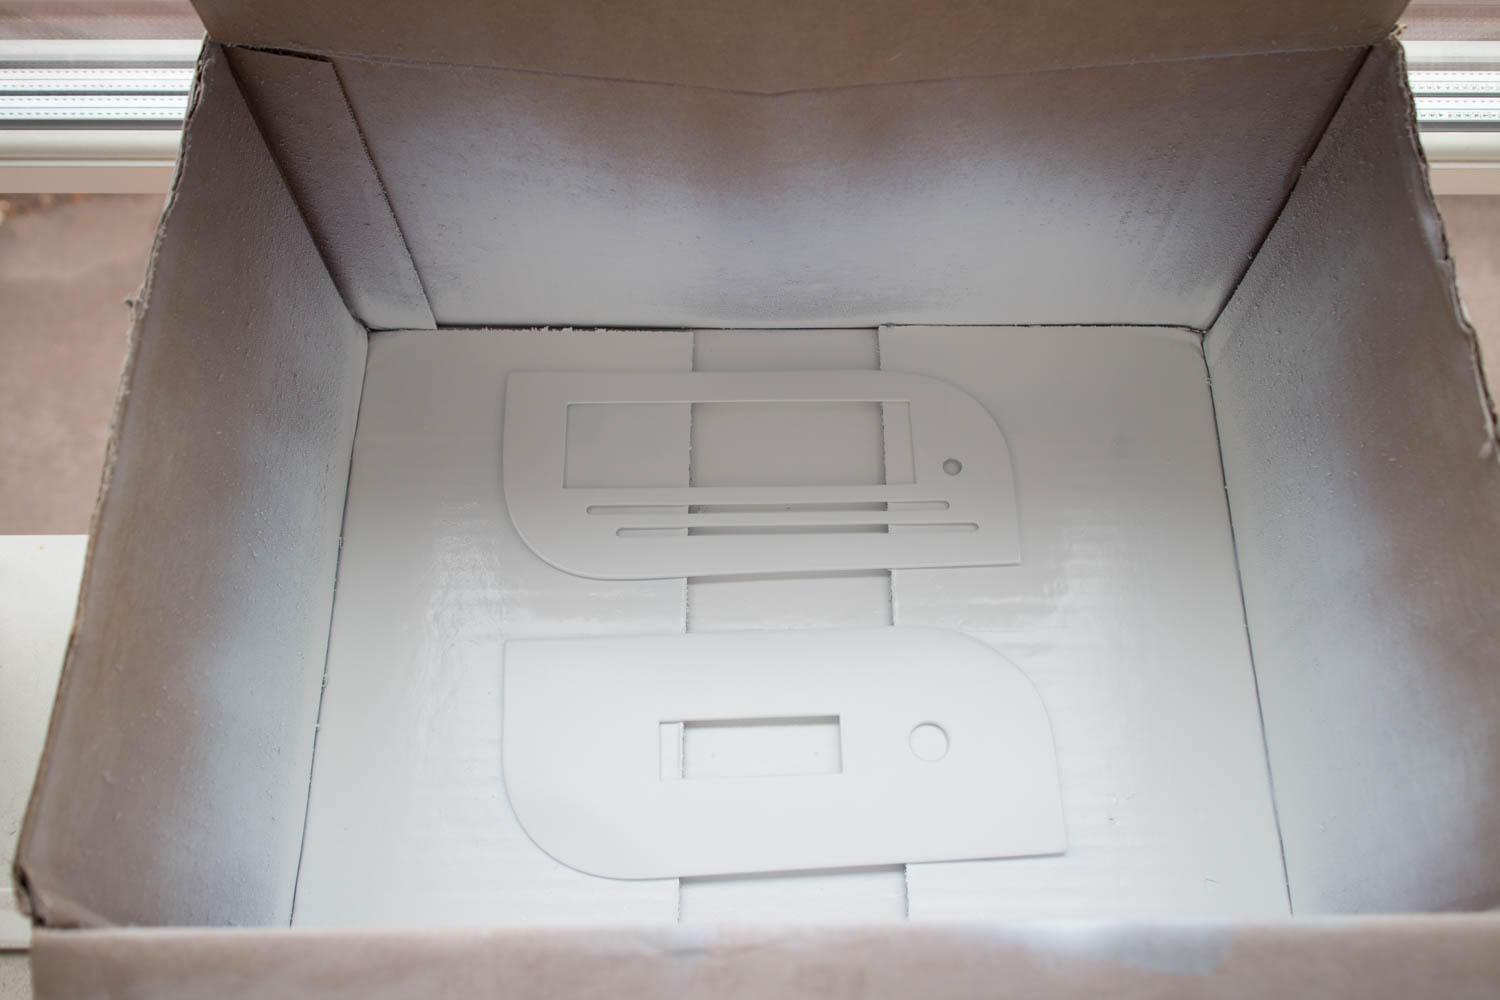
Start by using lower grit paper to make the aluminium prepared for the paint, remember to clean it after sanding it.
Then do thin layers of the primer until it covers everything, let it dry for 24h.
Use higher grit sandpaper to remove small parts to have a very smooth surface before the regular paint. With the regular paint, do thin layers as well until you get a good result, let it dry for another 24h.
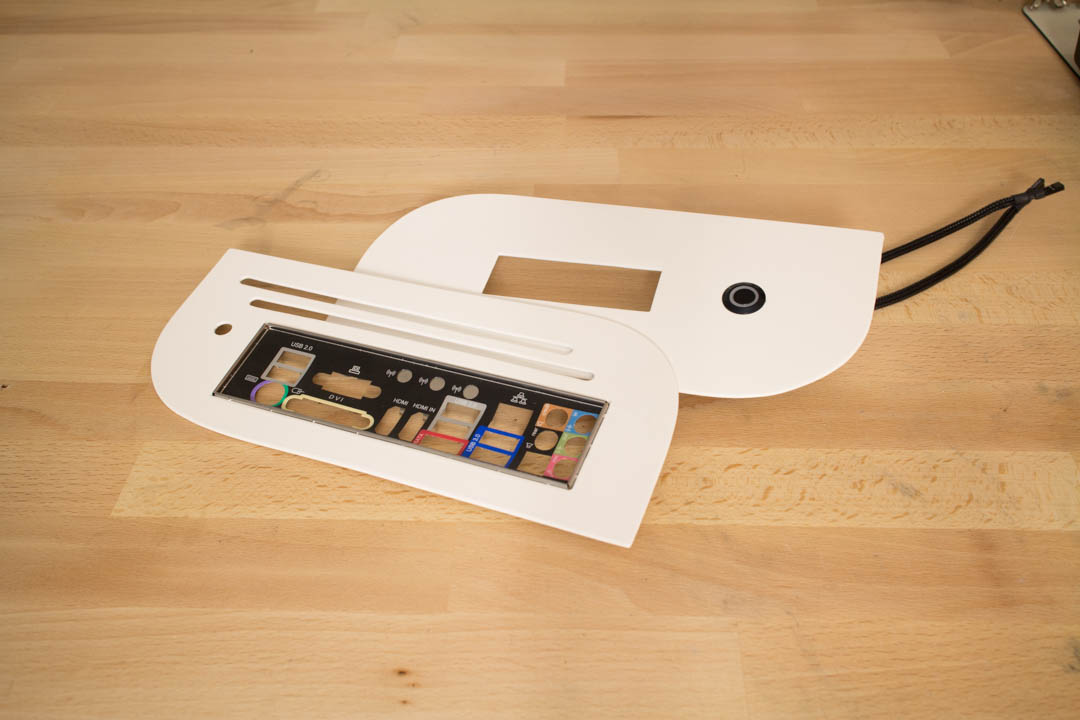
Again, use higher grit sandpaper to get a smooth and nice surface before the last part, clearcoat, same here, 5-6 thin layers and then let it dry for 24h.
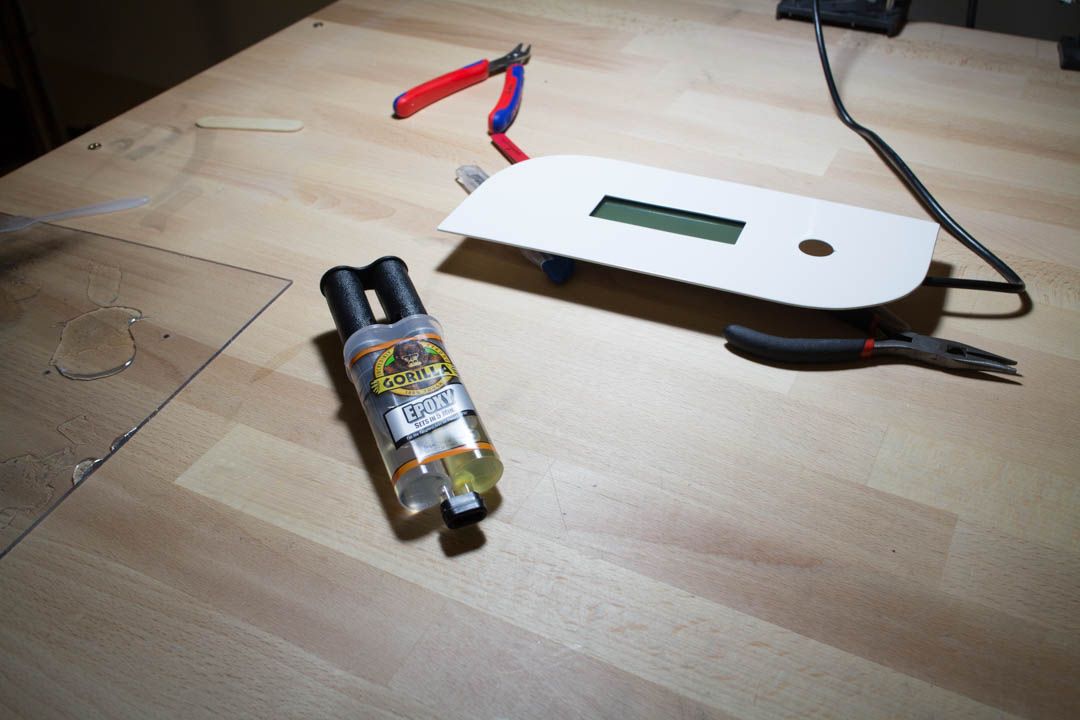
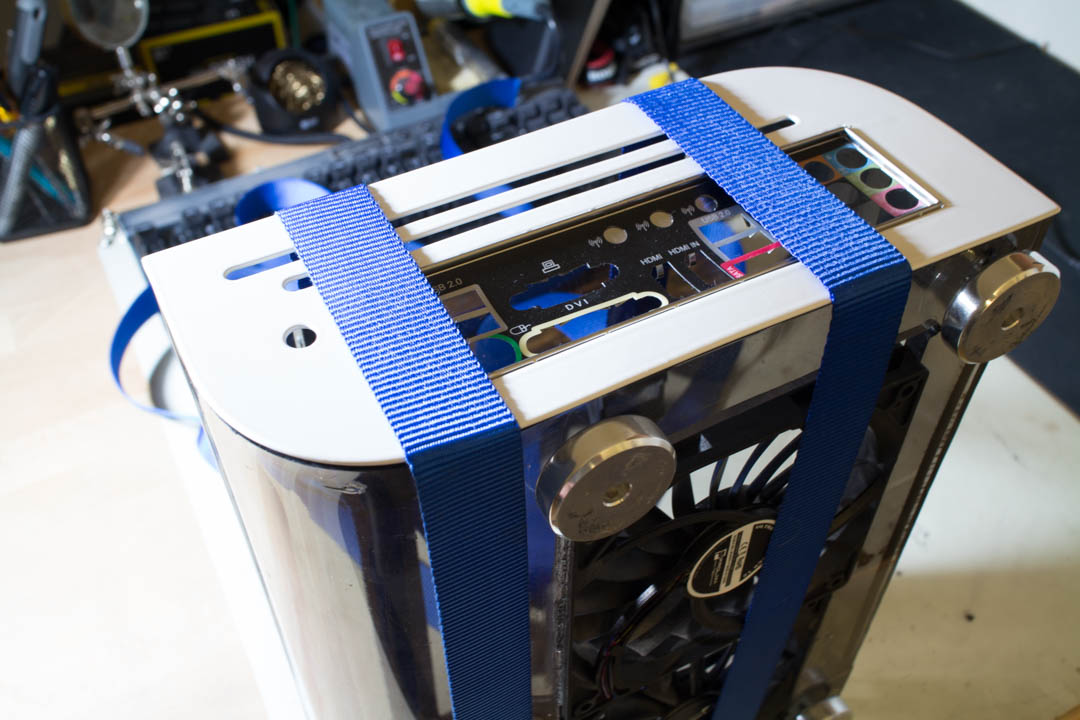
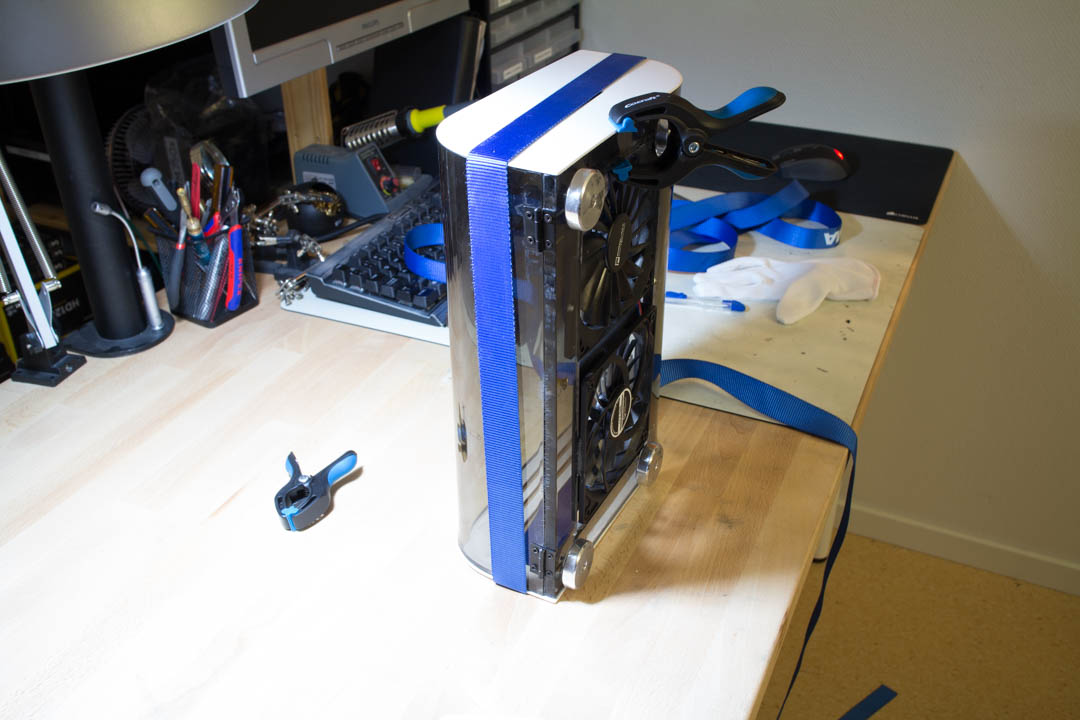
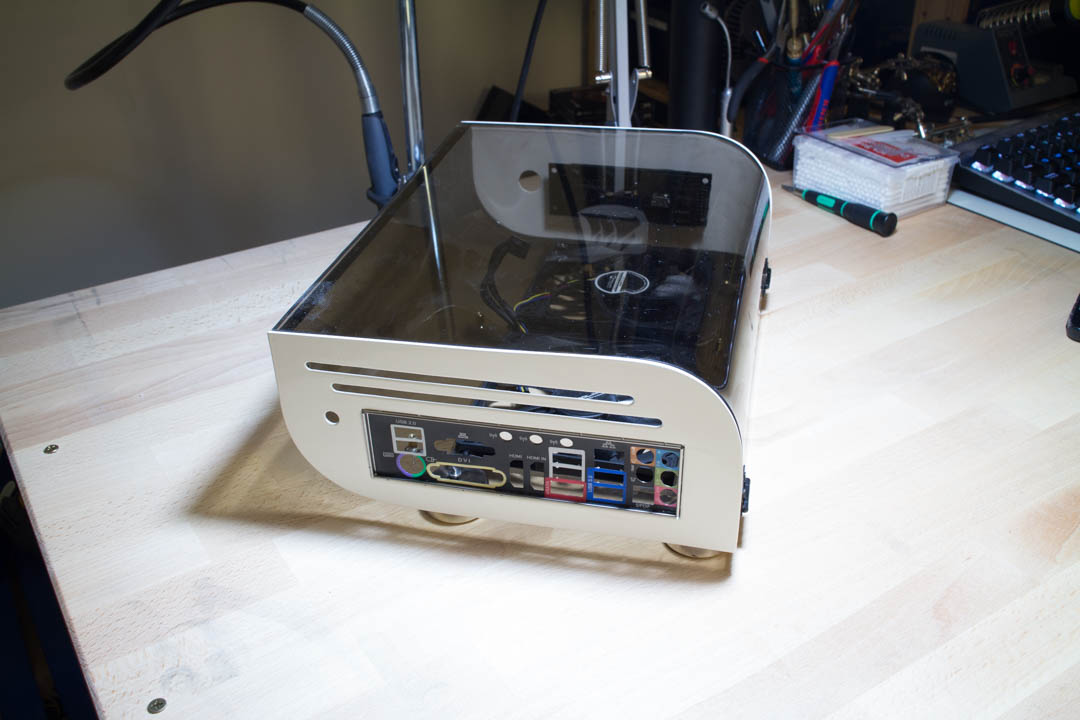
The LCD was mounted to the frontplate with the help of epoxy, same as how the front and backplate are mounted to the acrylic base. Epoxy, bands and clamps to hold it together for 24h and then good to go!
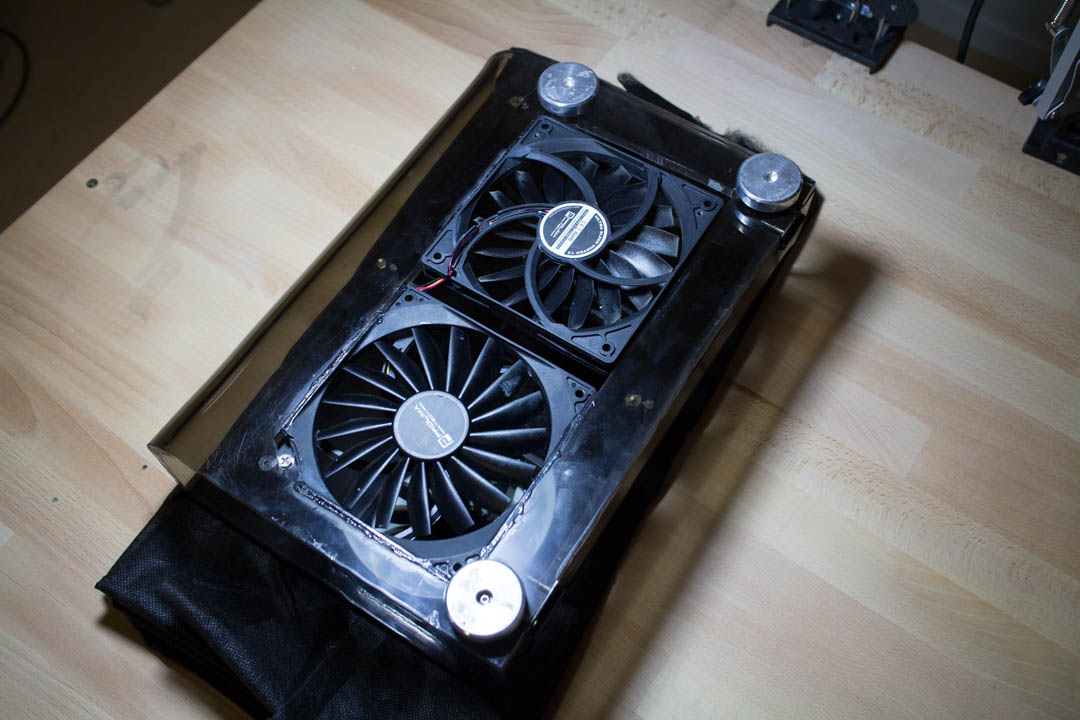
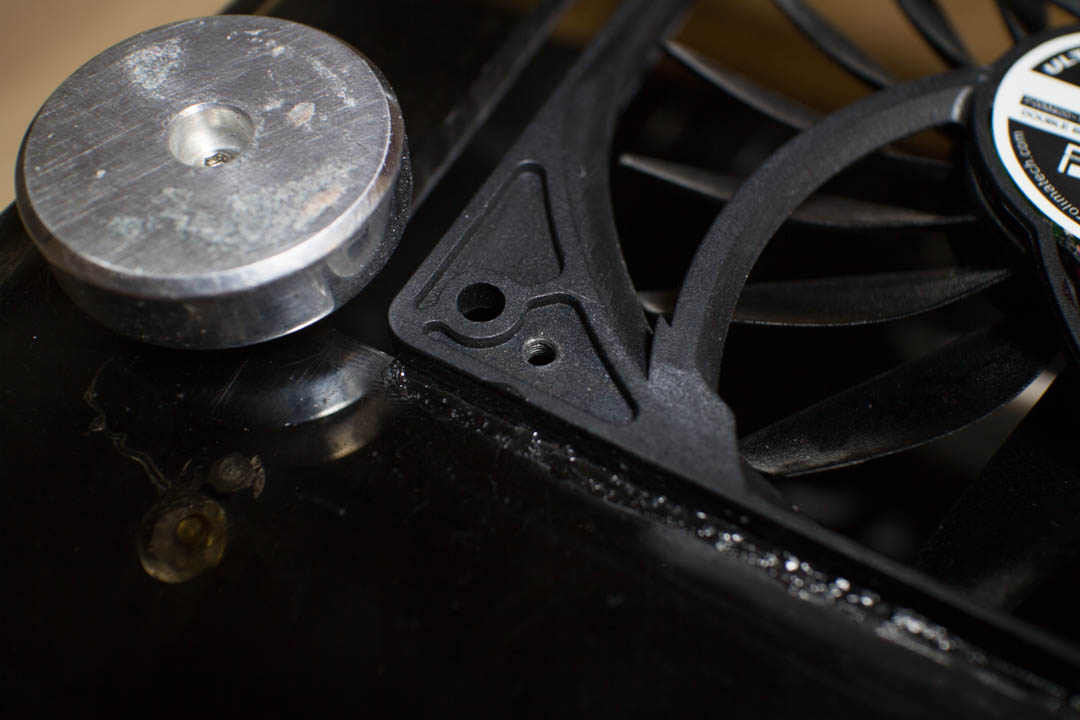


Earlier I made a fangrill with dustfilter for the bottom fans, I mounted this by pressing it under the front casefeet and then screwing it in to the frame of one of the fans.
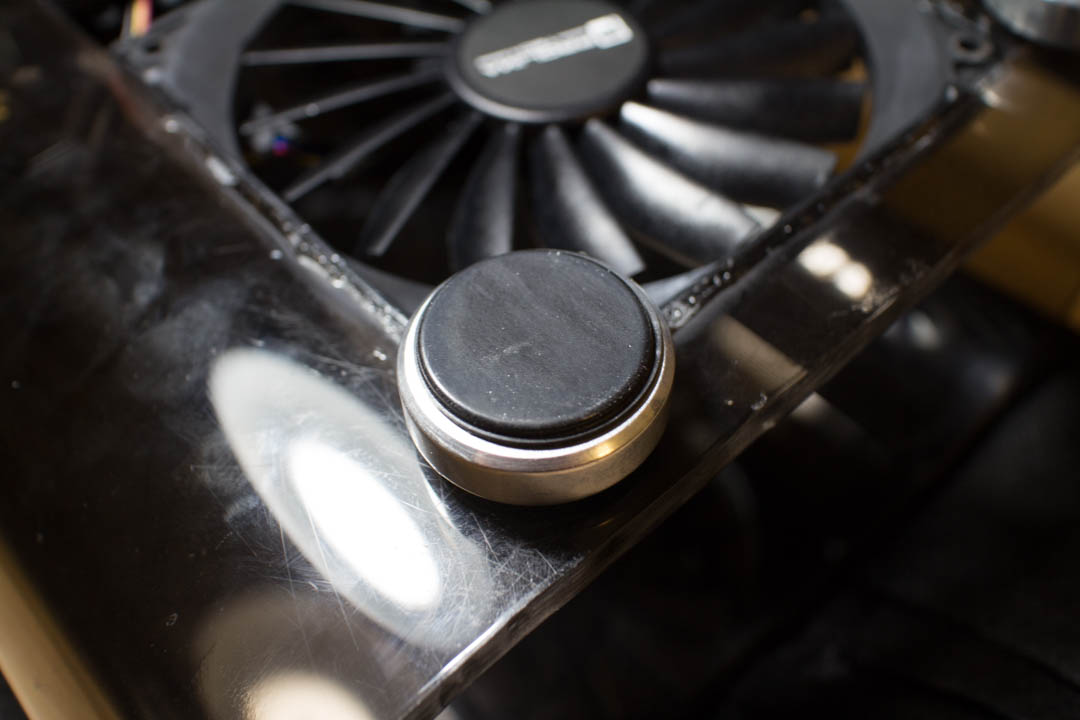
The casefeet are custom-made by Fannblade in the US, they are installed in the same mounting holes as before. A small rubber pad is also installed to lower some vibrations.
This was it for this update, next time I will show you how the hardware was installed, how the LCD works and how everything went at Dreamhack Winter 2016!